
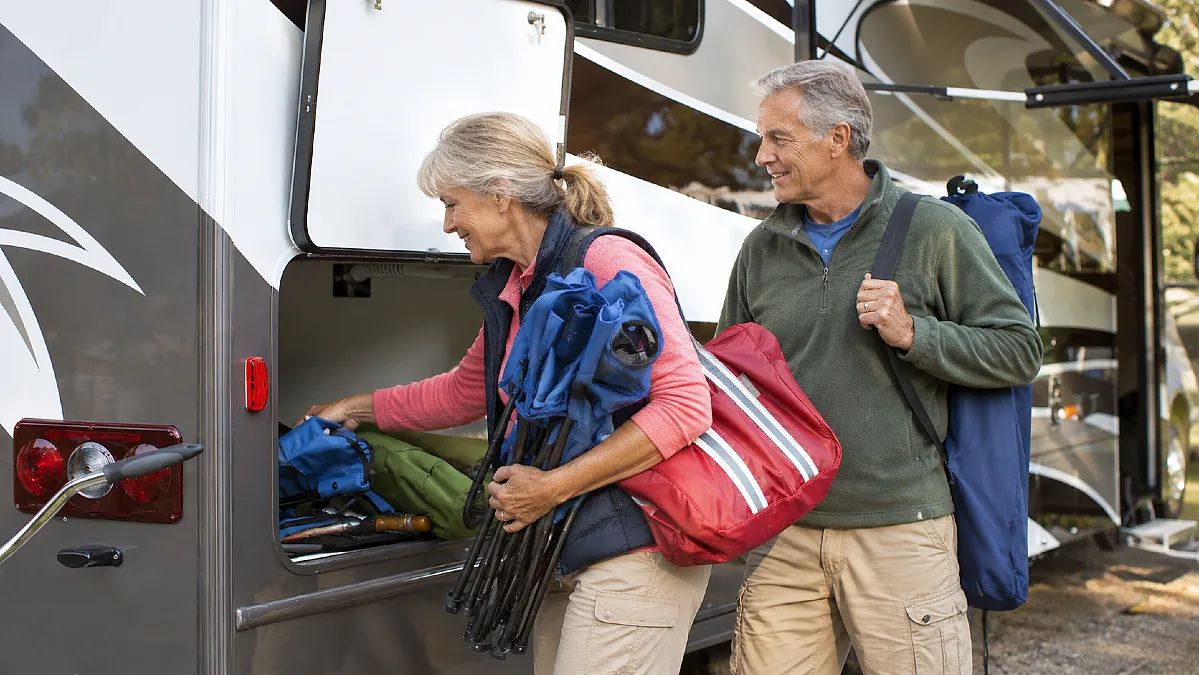
You drained the water lines. The tanks are empty. The RV is parked where it will sit until spring.
But there may still be a bag of crackers behind a cabinet door, shampoo in the shower, batteries inside three remotes, and a forgotten bottle of water under the dinette.
Those little things can become much bigger problems after months of cold weather. Food can attract pests. Liquids can freeze. Damp fabrics can hold moisture. Batteries can discharge or leak.
A good RV winter storage checklist should therefore cover more than plumbing. Before you lock the door for the season, remove the items that do not belong inside an unused RV all winter.
1. Remove Every Item From the Refrigerator and Freezer
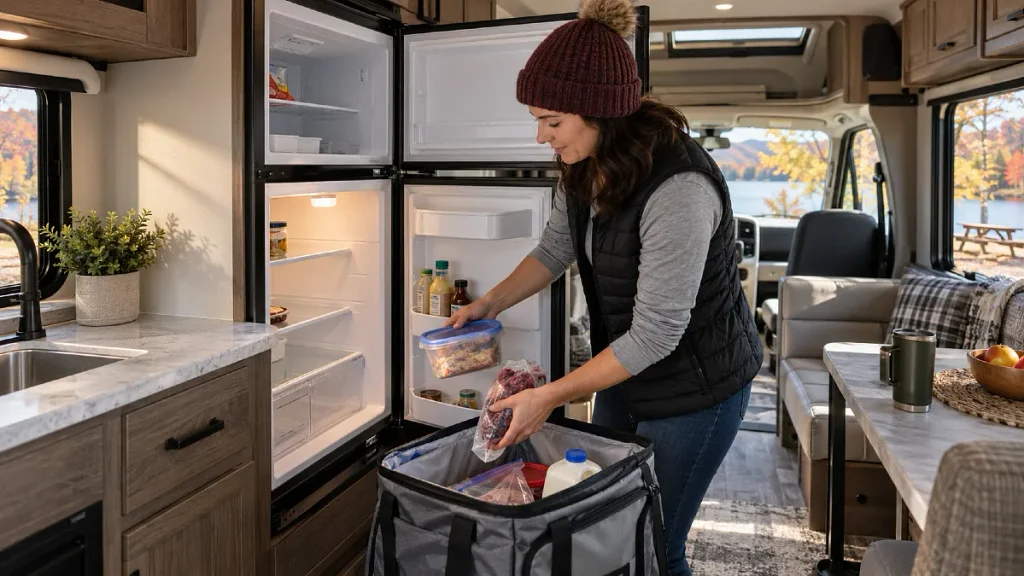
Start with the obvious food first.
Take out meat, frozen meals, condiments, produce, leftovers, ice, butter, drinks, and anything hiding inside the refrigerator door. Check the freezer again after you think it is empty.
Winnebago’s winter storage guidance recommends removing all food before storage and keeping the interior clean and dry. FoodSafety.gov also makes clear that refrigerated food has limited safe storage times when proper temperatures are not maintained.
Once the refrigerator is empty, clean up spills and crumbs. Let the inside dry completely before storage.
Follow the refrigerator manufacturer’s directions for the storage position of the doors. Many RV refrigerators have a way to keep the doors slightly open so trapped moisture and odors are less likely to become a spring problem.
Do this before moving on: Look behind removable shelves and inside every door bin. That last sticky bottle cap matters more than it looks.
2. Clear Dry Food Out of Every Cabinet
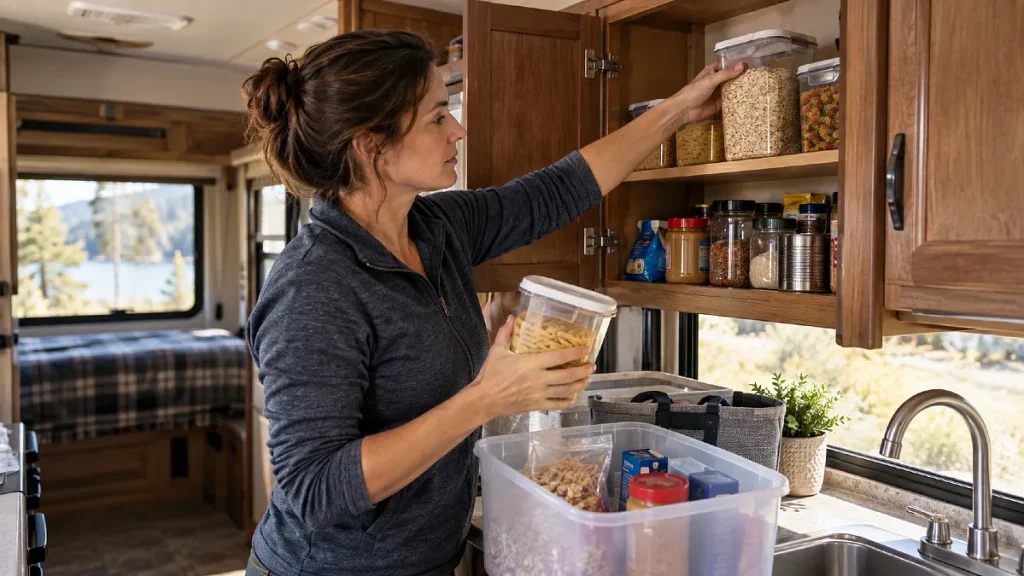
A sealed package does not earn a winter pass.
Remove crackers, cereal, rice, flour, sugar, pasta, coffee, tea, spices, candy, protein bars, pet treats, pet food, nuts, and other pantry supplies.
Winnebago specifically recommends removing all food before winter storage because even forgotten dry food can attract mice. Camping World’s August 2026 winter checklist also recommends removing dry goods that could become a food source for pests.
Do not stop at the kitchen cabinets.
Look inside the outdoor kitchen, bedside storage, dinette drawers, tote bins, backpacks, fishing bags, cup holders, and pass through compartments. Camp snacks have a habit of ending up in strange places.
After the food is gone, vacuum the cabinet corners.
The goal is simple: do not give a mouse a reason to stay.
3. Take Out Cans, Glass Bottles, and Drinks That Can Freeze
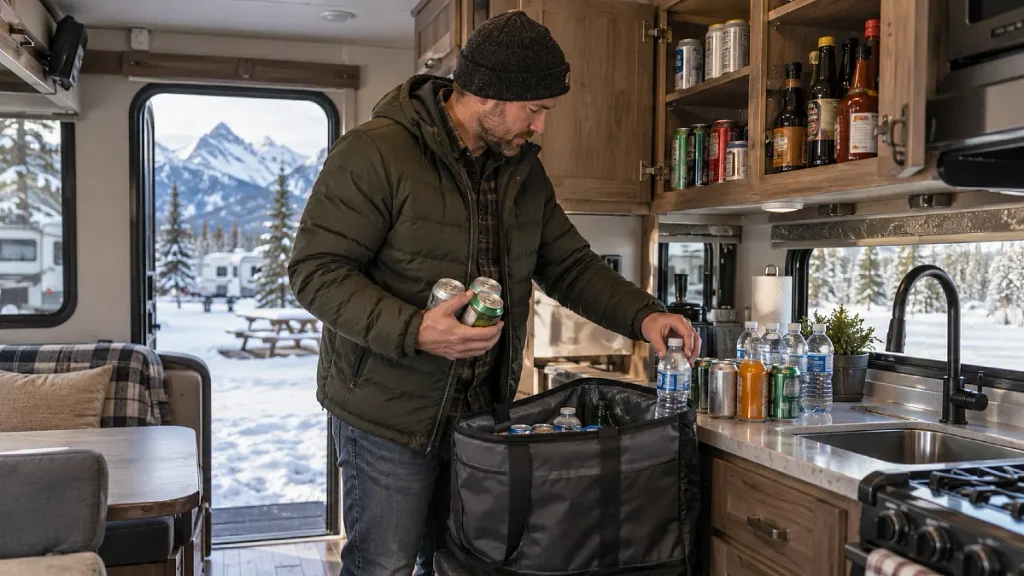
That unopened drink may seem harmless because it cannot spoil quickly.
Cold changes the problem.
KOA’s RV winter storage guidance recommends removing canned goods and glass bottles because changing temperatures can damage containers or their seals. Winnebago also advises clearing canned and packaged food from an RV before long winter storage.
Remove bottled water, soda cans, canned soup, sparkling water, juice, sauces in glass bottles, and similar liquids when your RV may experience freezing temperatures.
Do another check under seats and beds. Campers often store spare drinks there because the spaces are convenient during a trip.
A leaking bottle inside a house is annoying. A leaking bottle sitting inside a closed RV for three months can soak flooring, wood, fabric, or storage bins before anyone notices.
Taking it home takes less than a minute.
4. Empty Every Trash Can and Recycling Bin
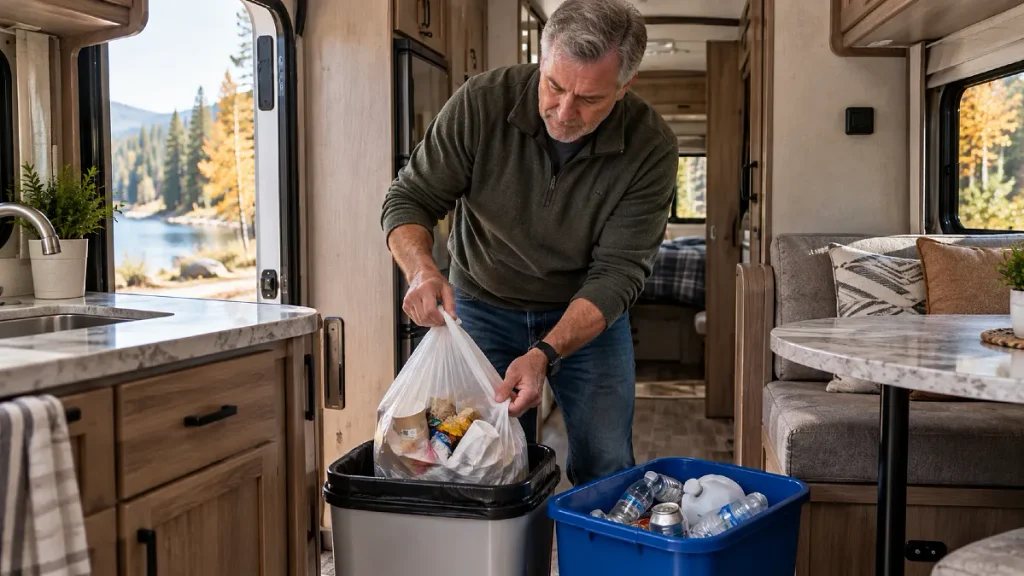
An RV can look clean while still holding plenty of things a pest can smell.
Empty the kitchen trash, bathroom trash, recycling bin, outdoor trash bag, and any small bags tucked beside seats or cabinets.
Then look for what did not make it into the trash.
Camping World recommends removing food and even small food particles before winter storage because pests can be a major problem in an idle RV. The National Park Service also warns that scraps, wrappers, and scented waste can attract wildlife.
Vacuum around the dinette, sofa, kitchen cabinets, and driver’s seats in a motorhome.
Wipe up syrup, drink spills, grease, and sticky cooking residue.
This is one of the easiest items on your RV winter storage checklist, yet it can make a major difference when you open the door again in spring.
5. Bring Medicines and Temperature Sensitive Toiletries Home
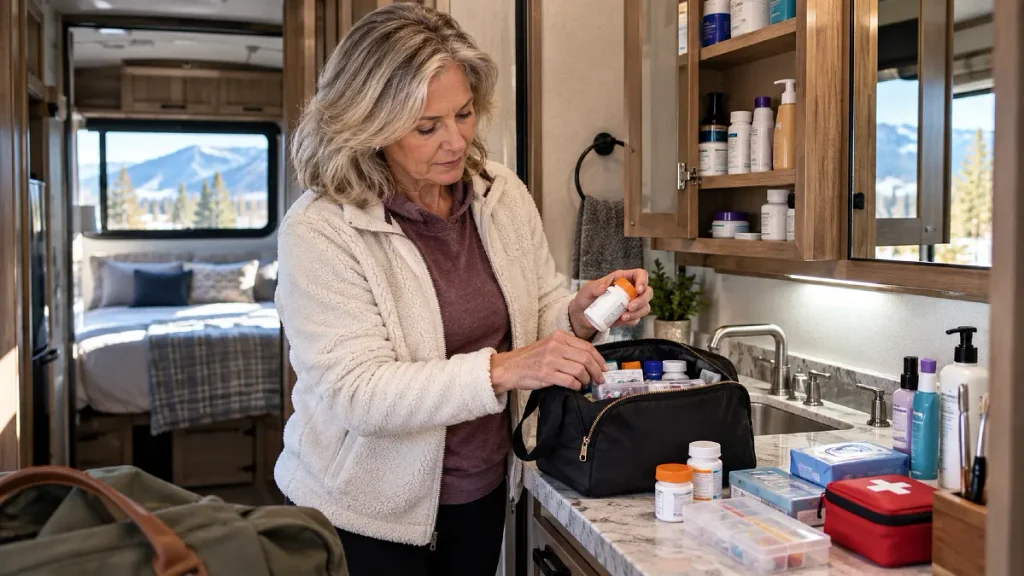
Do not use an unused RV as a winter medicine cabinet.
Take prescription medicines, pain relievers, allergy medicine, ointments, liquid medicine, test supplies, and other medical products home.
The FDA says medicines should be stored according to their labels. It also warns that improper storage conditions can reduce the effectiveness of some medicines.
Check personal care products while you are in the bathroom.
Shampoo, lotions, liquid soap, cosmetics, contact lens products, and other liquids may have their own storage limits. Read the label instead of assuming every sealed bottle can handle repeated freezing temperatures.
You do not need to throw these items away.
Bring them into a location that meets the manufacturer’s storage directions, then pack what you need again next season.
This also gives you a good chance to check expiration dates before your next trip.
6. Remove Damp Towels, Bedding, and Dirty Laundry
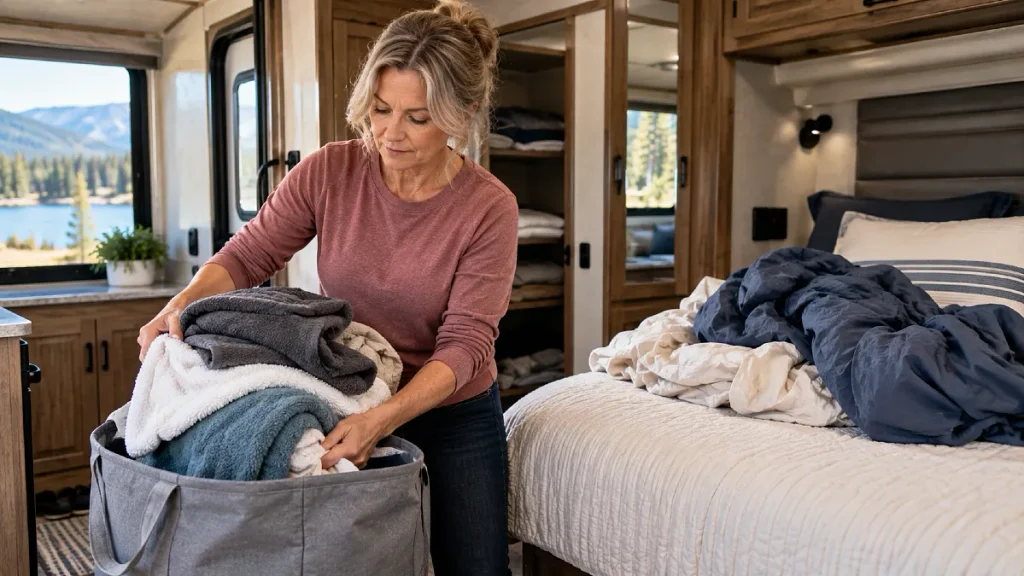
A wet towel left on the bathroom floor can hold moisture long after you leave.
Take home damp bath towels, dish towels, bath mats, wet clothing, dirty laundry, and bedding that needs washing.
Camping World’s current winter checklist recommends storing or sealing soft goods when moisture is a concern. Winnebago also recommends keeping stored RVs clean and dry and raising mattresses and cushions so air can move around them.
Clean bedding can sometimes remain in the RV if your storage conditions are dry and you protect it correctly.
That decision depends on your climate and storage building.
Damp items are different. They should leave.
Before closing the RV, check under mattresses and cushions for moisture. If anything feels damp, dry it completely first.
Spring is much nicer when your first job is making coffee instead of dealing with a musty sleeping area.
7. Remove the Water Filter Cartridge Before It Freezes
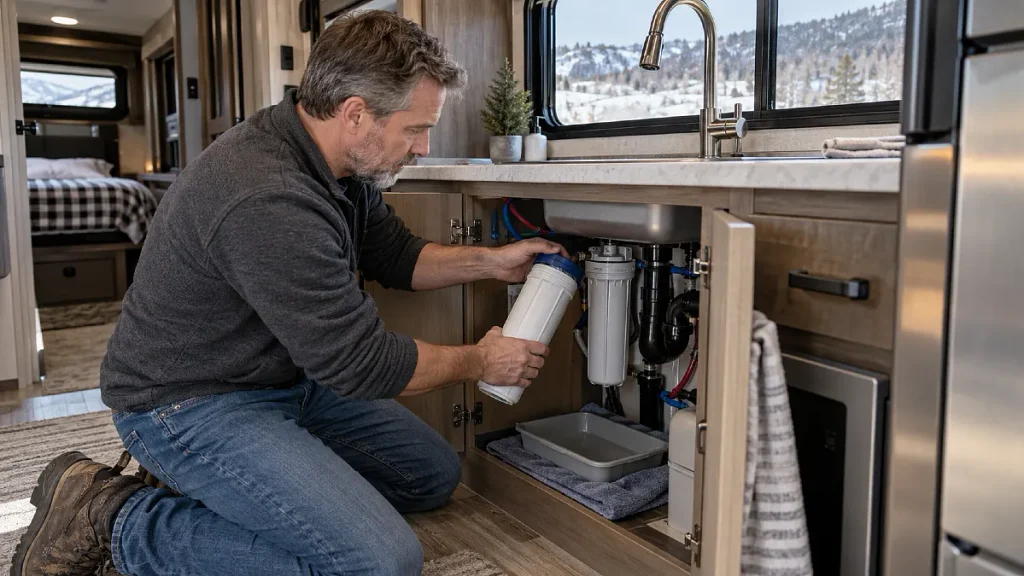
This little part is easy to forget because you usually cannot see it.
If your RV has a whole RV water filter, check its winterization instructions before pumping RV antifreeze through the system.
Keystone RV’s winterization instructions tell owners with a water filter to remove and discard the cartridge, drain the water from the base, then reinstall the housing or use the proper bypass setup. Winnebago gives similar guidance for whole RV water filters.
Your model may use a different system, so open the owner’s manual before removing parts.
Also check for filters connected to drinking water faucets, refrigerators, ice makers, or other appliances.
The filter is part of the plumbing system.
Draining the fresh tank does not automatically mean every filter housing and small water component is protected from freezing.
That is why this belongs on the removal list rather than being left for spring.
8. Take Batteries Out of Portable Devices
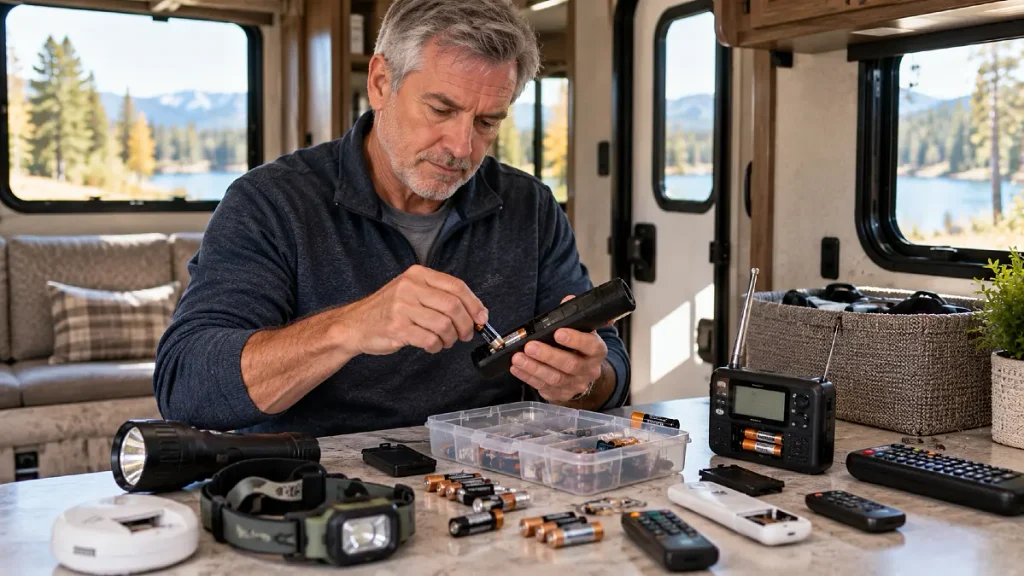
Walk through your RV and count how many small batteries are hiding inside things.
You may find them in remotes, flashlights, clocks, lanterns, portable weather equipment, handheld fans, small radios, kitchen gadgets, or other camping gear.
Duracell says batteries should be removed from devices that will not be used for several months. Energizer also recommends removing batteries from equipment during long periods of nonuse.
Take those batteries home and store them in a dry place at normal room temperature according to the battery maker’s directions.
Do not toss loose batteries together with coins, screws, or other metal objects.
And keep this advice focused on portable equipment.
Safety alarms and other permanently installed RV equipment may have their own power and storage requirements. Follow the RV and alarm manufacturer’s directions rather than removing a safety system’s power simply because you are clearing the camper.
9. Deal With the House Battery According to Its Type
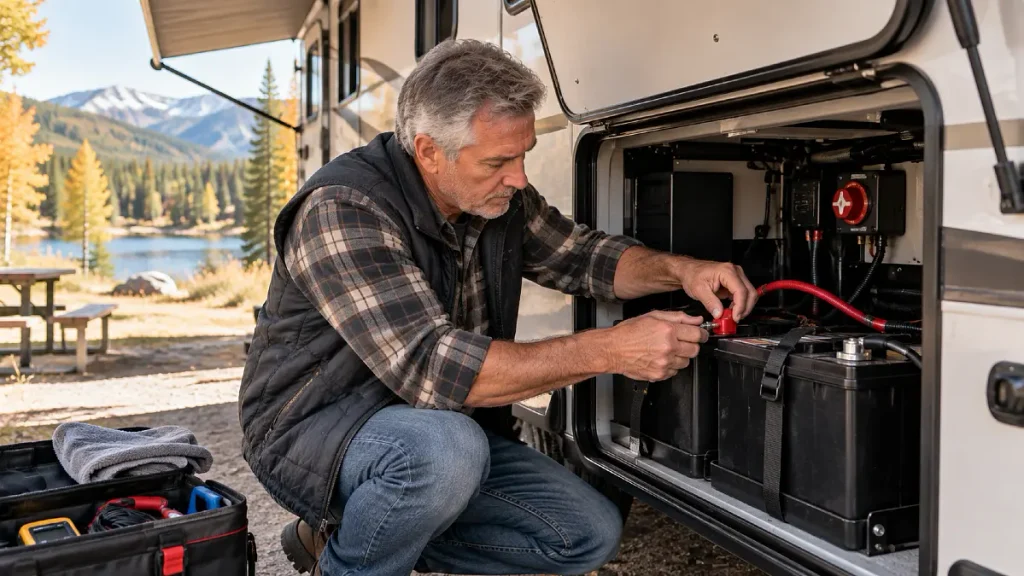
Your house battery deserves its own check because there is no single correct winter storage method for every RV battery.
Interstate Batteries updated its RV battery guidance in July 2026 and recommends disconnecting the house battery from loads during long periods of nonuse to reduce unnecessary discharge.
But battery chemistry matters.
Winnebago’s December 2025 cold weather guidance for certain Lithionics lithium systems says storage procedures vary with temperature and storage length. For some long storage conditions, it recommends a specific charge range followed by powering the system off.
Battle Born’s May 2026 LiFePO4 storage guidance gives different instructions for its own batteries, including charging and fully disconnecting loads and charging sources before storage.
That difference is exactly why you should check your battery label.
Find the brand and model. Then follow that manufacturer’s winter storage procedure.
For some RVs, you may physically remove the battery. For others, disconnecting or placing the battery system into its approved storage mode is the better choice.
Do not copy another camper’s battery routine unless you know the systems match.
10. Remove Portable Propane Cylinders From the RV Interior
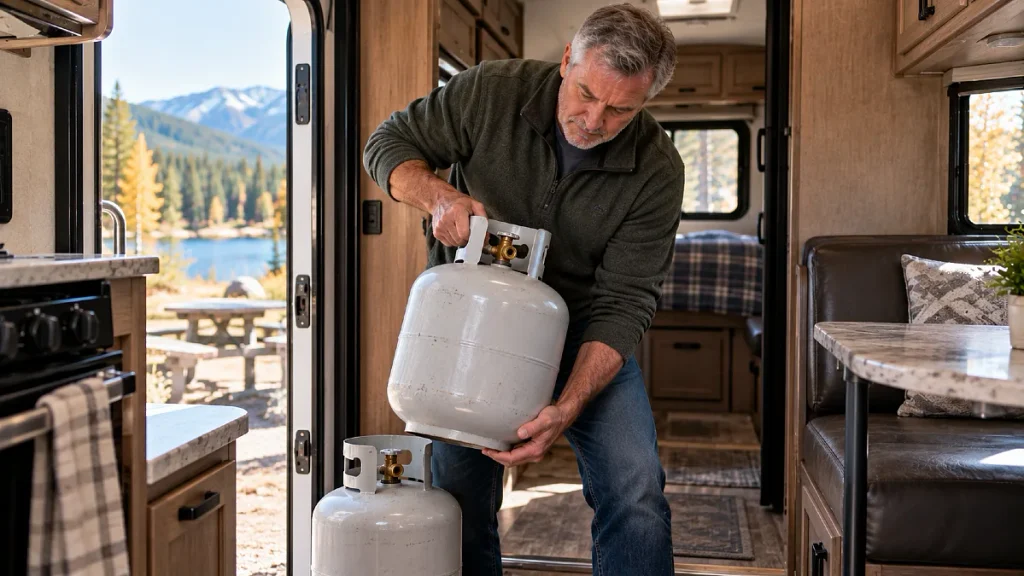
Portable propane deserves more care than simply placing the cylinder in a cabinet until spring.
The Propane Education and Research Council says portable propane cylinders should not be left inside an enclosed vehicle. Its safety guidance says cylinders should be kept outside and away from ignition and heat sources.
That applies to portable grill cylinders and similar containers you may have carried during camping trips.
Take them out of the RV and follow the cylinder maker’s storage directions.
A permanently installed RV propane system is different from a loose portable cylinder.
Do not start disconnecting built in tanks or fixed components unless your RV’s instructions call for it. Your owner’s manual should explain the correct storage procedure for the RV propane system.
The important distinction is simple.
Loose portable cylinder and built in RV propane system are not the same thing.
11. Take Valuable and Temperature Sensitive Electronics Home
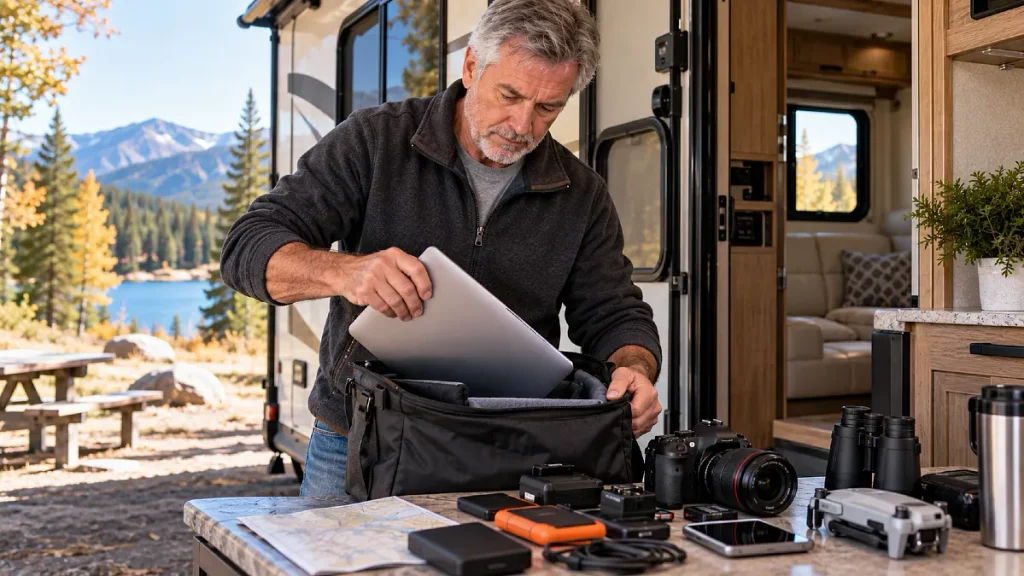
Your RV television may be fine in its installed location if its manufacturer allows the temperatures your RV will experience.
Your tablet, camera, laptop, GPS unit, portable speaker, and other removable electronics have little reason to stay.
Camping World’s August 2026 winter checklist recommends removing electronics when an RV will face extreme cold. It also recommends removing valuables and important documents before storage.
Temperature is one reason.
Moisture and theft are two more.
Check the charging drawer, dashboard, bedside storage, cabinets above the bed, and compartments near the entry door.
Take home passports, spare credit cards, cash, campground documents containing personal information, cameras, tablets, and other valuables.
You can also take a few photos of the cleaned RV before locking it.
That gives you a quick record of how the interior looked when storage began.
The Final 5 Minute RV Winter Storage Check
Once the 11 items are handled, walk through the RV from one end to the other.
Open every cabinet and drawer once more. Look under seats, beds, sinks, and inside the shower.
Then ask yourself five questions:
- Is there anything here that can feed a pest?
- Is there anything here that contains water or another liquid that could freeze?
- Is anything damp?
- Is a battery still powering something that will sit unused?
- Is there anything valuable that would be safer at home?
If the answer is yes, deal with it before locking the door.
And remember that removing these items does not replace proper plumbing winterization. Camping World’s August 28, 2026 winterization guide calls protecting the RV water system one of the main steps needed before freezing temperatures arrive.