
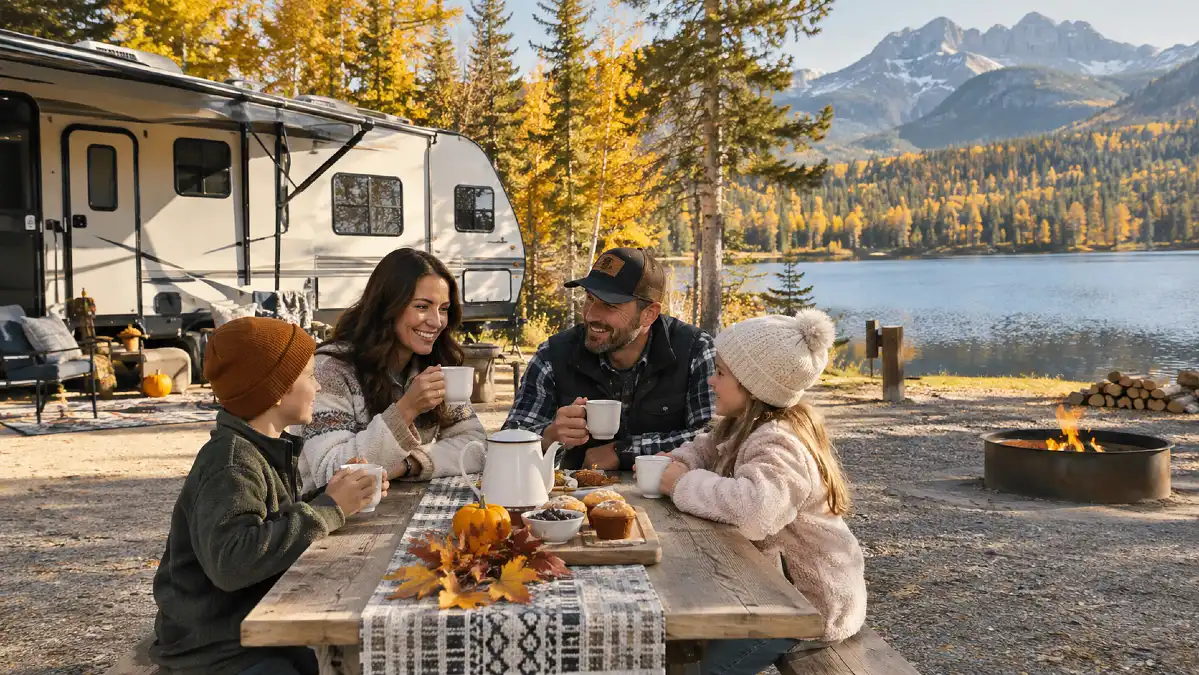
The campsite beside the lake looks perfect in the booking photo. Golden trees reflect in the water, the picnic table faces the sunset, and you can already picture your first cup of coffee there.
Then the rain starts. Your site sits in a low spot, the water faucet was shut off last week, the restroom is farther away than expected, and the beautiful open shoreline catches every gust of wind.
That is why fall campsite features matter more than scenery alone. The National Park Service recommends looking at hazards such as flooding, wind, dead branches, bathroom location, RV needs, and electrical hookups when choosing a site.
A pretty view still matters. But in September, October, and November, practical details can decide whether you spend the evening relaxing or fixing problems in the dark.
1. Choose High Ground Before You Choose a Waterfront View
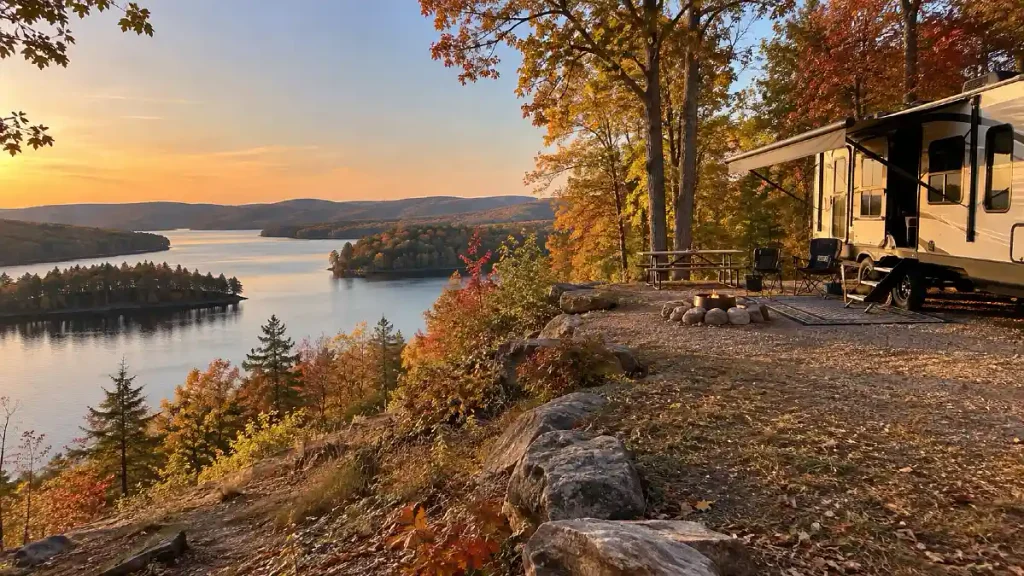
A creekside site can be beautiful. But the lowest site in the loop may become a poor choice when heavy rain arrives overnight.
The National Weather Service tells campers not to camp on low ground beside streams because rain farther upstream can send water into gullies and waterways quickly. A storm does not have to be directly over your campsite to create a problem.
When comparing campsites, study the ground rather than the scenery first. Look for a pad that appears slightly above nearby drainage areas.
Check for:
- Visible dips around the tent pad
- A creek or drainage channel beside the site
- Ground that slopes into your living area
- Signs of standing water in campsite photos
- A safer route to higher ground
In a developed campground, stay inside the assigned campsite rather than creating a new camping area. Leave No Trace recommends using established sites and durable surfaces.
A site twenty yards farther from the water may give you a less dramatic photo. It may also give you a much easier rainy night.
2. Pick a Level Pad Before a More Scenic Slope
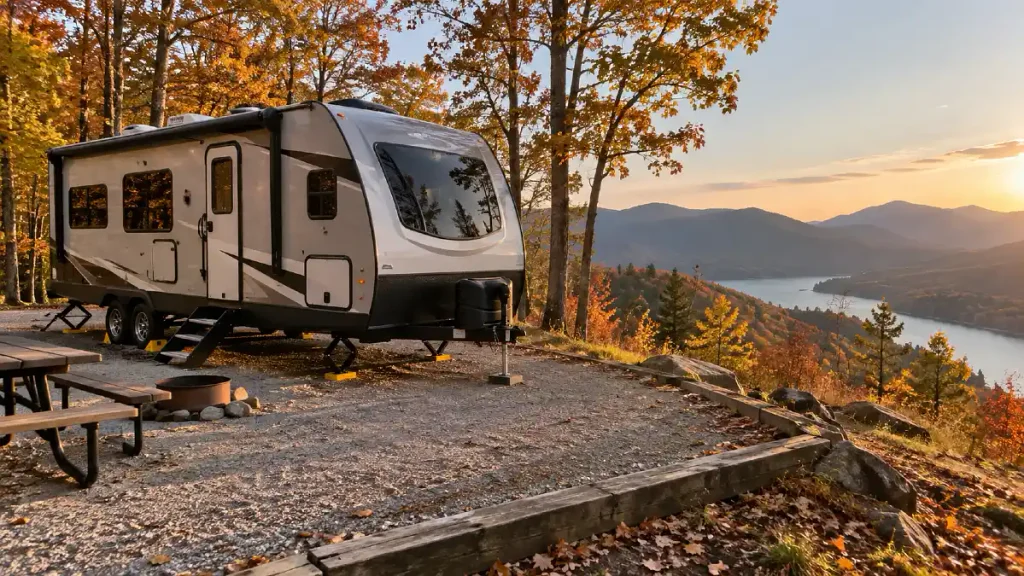
A campsite can look flat in a reservation photo and still have enough slope to make sleeping uncomfortable.
For tent campers, a sloped pad can send everyone sliding to one side of the tent. For RV owners, a steep parking area can make setup more difficult and may leave you with fewer safe leveling options.
Recreation.gov often gives much more useful information than the main campsite photo. Some listings include driveway grade, tent pad dimensions, driveway length, and site width.
Fairholme Campground Site 12 in Olympic National Park, for example, lists a slight driveway grade but also warns that the site itself is not level.
That small note could matter more than the view.
Before booking, look for:
- Driveway grade
- Tent pad size
- Parking surface
- Notes about slope
- Recent campsite photos
If two sites offer similar scenery, take the flatter one.
You will appreciate that choice when you arrive tired, cold, and ready to set up before sunset.
3. Make Sure Your Entire Rig Actually Fits
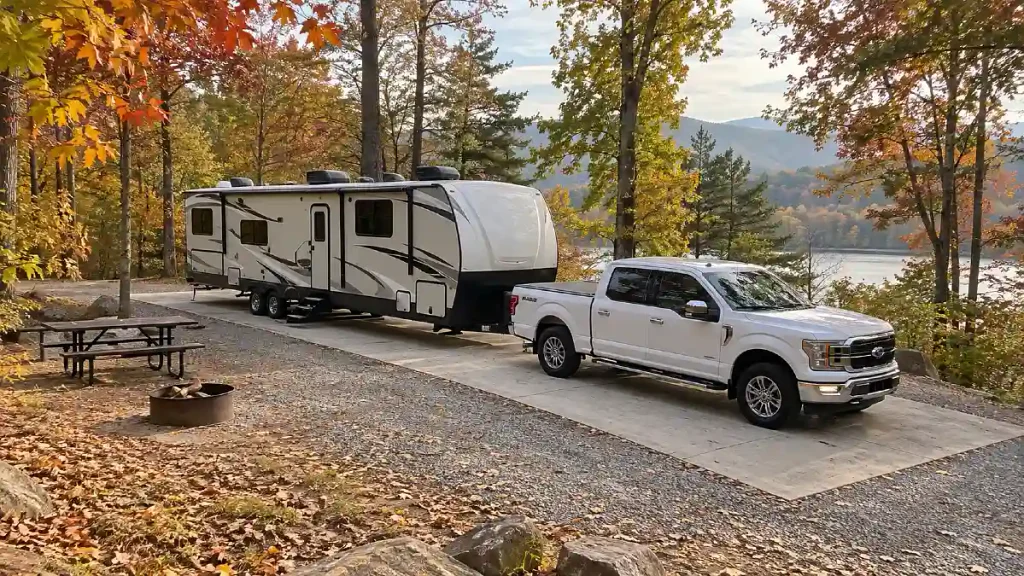
Do not judge campsite size from the picnic table photo.
Recreation.gov listings may include maximum vehicle length, site length, width, driveway entry style, grade, surface, and even overhead clearance. One campsite at Defeated Creek Park, for example, lists a 69 foot maximum vehicle length and 16 feet of overhead clearance.
Other sites can be far smaller. Schoodic Woods has campsites that limit equipment to less than 20 feet, and Recreation.gov warns that a reservation can be cancelled if the equipment is too long for the reserved site.
Measure your real setup before booking.
That means considering your:
- Trailer
- Tow vehicle
- RV
- Bike rack
- Rear cargo carrier
- Slide space
- Awning space where allowed
Also check whether your tow vehicle must remain on the campsite.
A mountain view will not help if half your rig does not fit safely inside the space assigned to you.
4. Look Up Before You Park Under Fall Trees
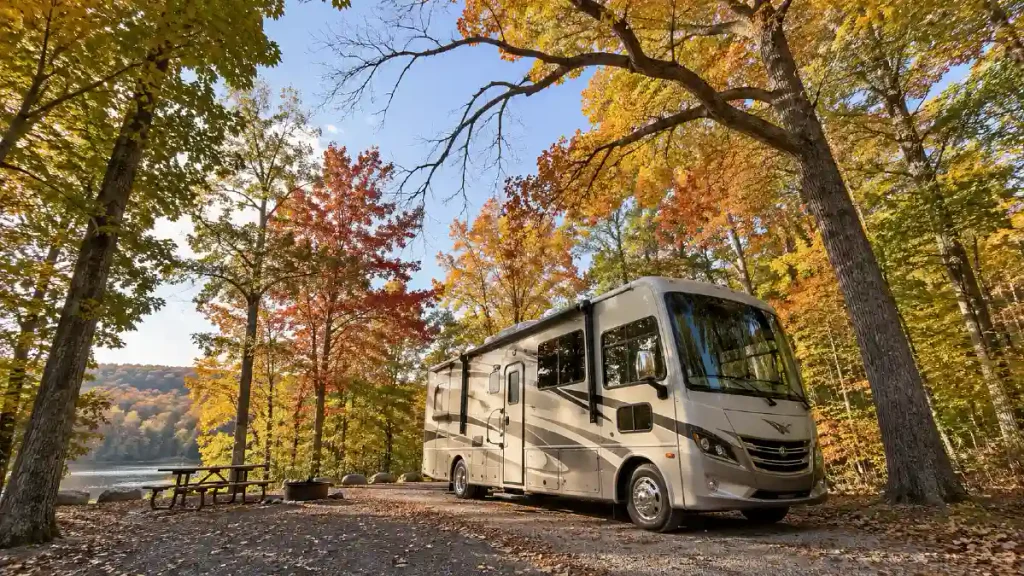
Bright fall leaves can make a wooded campsite hard to resist.
But your first tree check should happen above your head.
The National Park Service advises campers to watch for dead trees and branches when selecting a site. Its tree safety guidance warns against lingering or camping beneath dead, cracked, broken, or hanging branches or trees showing serious damage.
Branches can fall even when a tree is not completely dead. Sequoia and Kings Canyon National Parks also warns that falling branches and trees can occur even without wind.
Walk around the campsite before you unload.
Look above:
- The tent
- The RV
- Your chairs
- The picnic table
- The place where children or pets may spend time
If something overhead looks unsafe, talk to campground staff about another site.
Do not let fall color distract you from what is hanging above the place where you plan to sleep.
5. Choose Wind Protection Instead of a Wide Open View
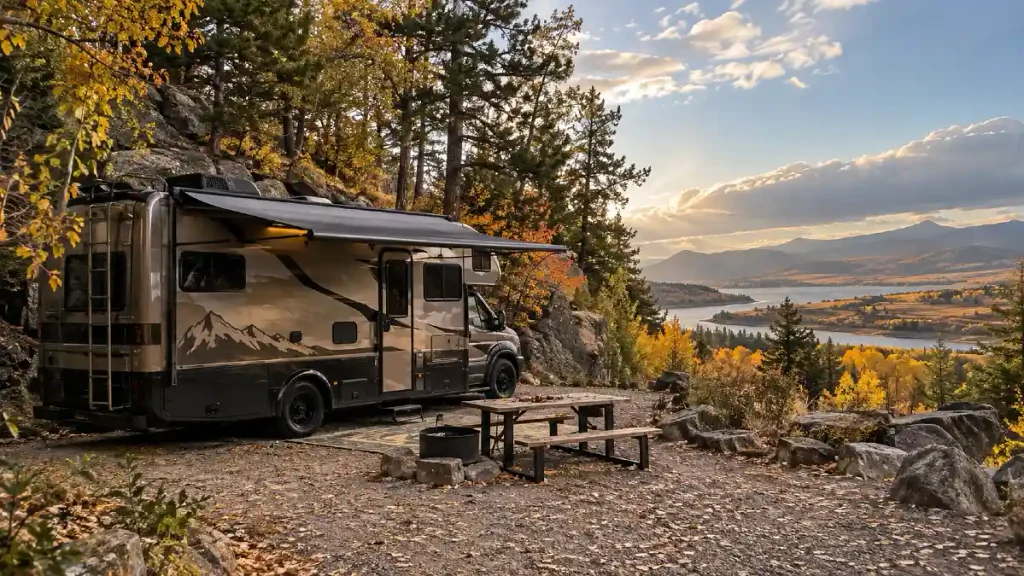
The most exposed campsite often has the biggest view.
That same exposure may become far less appealing after sunset.
Fall weather can bring strong gusts, especially around open water, ridges, high ground, and broad valleys. Big Bend National Park specifically tells campers to prepare for sudden gusty winds and secure tents and other loose items.
Look for a site with some natural shelter from the expected wind direction. Healthy trees, terrain, or another safe natural barrier may make the campsite more comfortable.
There is a balance here.
You do not want strong wind exposure. But you also should not solve that problem by pitching directly beneath damaged trees or hanging branches.
When you arrive, watch how leaves and branches are moving. Check the forecast again before putting up an awning or leaving loose equipment outside.
A slightly smaller view can be a fair trade for a calmer night.
6. Confirm the Drinking Water Is Still Turned On
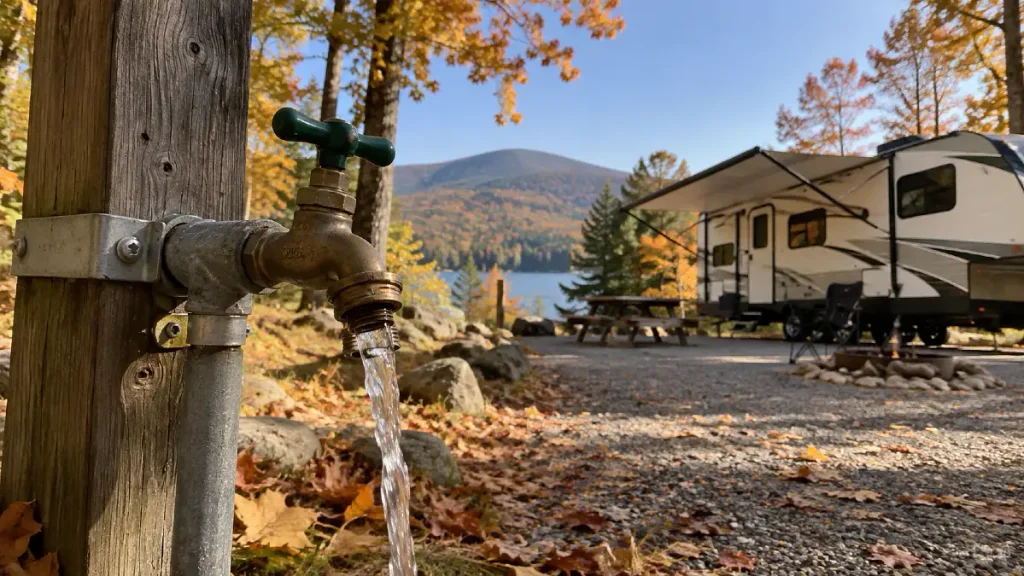
This is one of the biggest fall camping mistakes.
An open campground does not always mean full summer services are still running.
Lassen Volcanic National Park provides a clear 2026 example. Summit Lake Campground enters dry camping conditions from September 8 through September 21, when drinking water and flush restrooms are unavailable. The park says the water is turned off to protect infrastructure from freezing temperatures.
Other parks have similar seasonal changes.
Atwell Mill Campground in Sequoia and Kings Canyon notes that potable water is not always available during spring and fall.
At Pulltite Campground in Ozark National Scenic Riverways, water systems are scheduled to shut off October 15.
Denali provides another current example. Beginning September 21, 2026, the Bear Loop at Riley Creek Campground is scheduled to remain available without water or trash service. Campers must bring their own water and pack out trash.
Check the campground page close to departure, even if you made the reservation months earlier.
If the status is unclear, arrive with enough water rather than assuming the faucet will work.
7. Choose an Open Restroom You Can Reach Easily
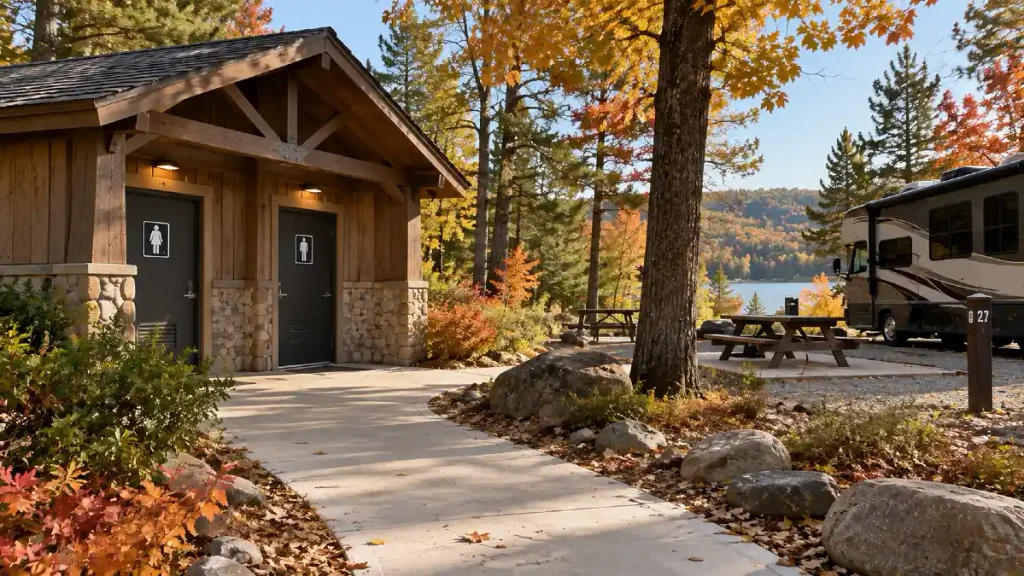
The restroom symbol on a campground map may tell only part of the story.
Fall can change the type of restroom available or whether a building remains open at all.
Glacier National Park lists several campground services as seasonal, including potable water, flush toilets, showers, dump stations, and campground staffing. Some campgrounds shift into a more basic fall operating period.
Pulltite Campground gives another useful example. Modern restrooms operate through October 1, after which campers may have to use another facility located farther from their campsite.
Think about this before choosing the far corner of the campground for privacy.
A five minute restroom walk in daylight can feel very different during:
- Cold rain
- Strong wind
- A dark early morning
- A middle of the night bathroom trip
The closest campsite is not automatically best either. Restroom traffic can mean more footsteps, doors, lights, and conversation.
The better choice is usually close enough for your needs without sitting directly beside the busiest path.
8. Pick a Food Locker When Wildlife Storage Rules Apply
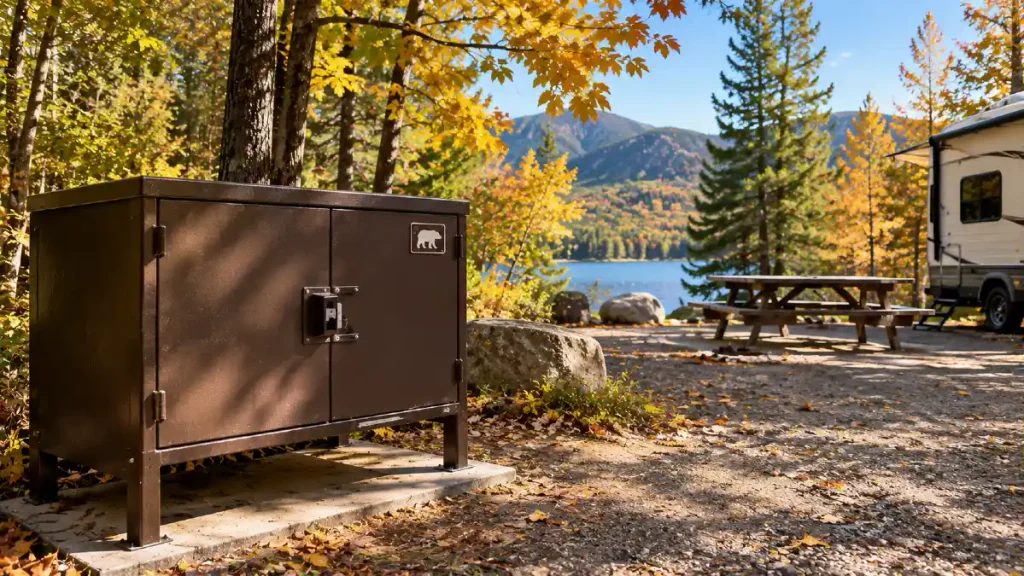
A food storage locker can be more useful than an extra glimpse of the mountains.
That is especially true where local rules require secure food storage.
Yosemite’s food locker guidance, updated in August 2026, says most campground sites have food storage lockers. The park provides locker dimensions so visitors can check whether coolers, food, drinks, and toiletries will fit.
Sequoia and Kings Canyon campground rules also require food and scented items to be stored in approved storage boxes or recreational vehicles in applicable campground situations.
Do not make your own assumption about what counts as safe storage.
Rules vary by location.
Before packing, check:
- Whether a locker is provided
- Whether it is shared
- Its dimensions
- What must go inside
- Whether vehicles are accepted for storage
- Local wildlife rules
A secure locker can simplify every meal, snack, and bedtime cleanup.
9. Choose Electricity When Cold Nights Will Drain Your Setup
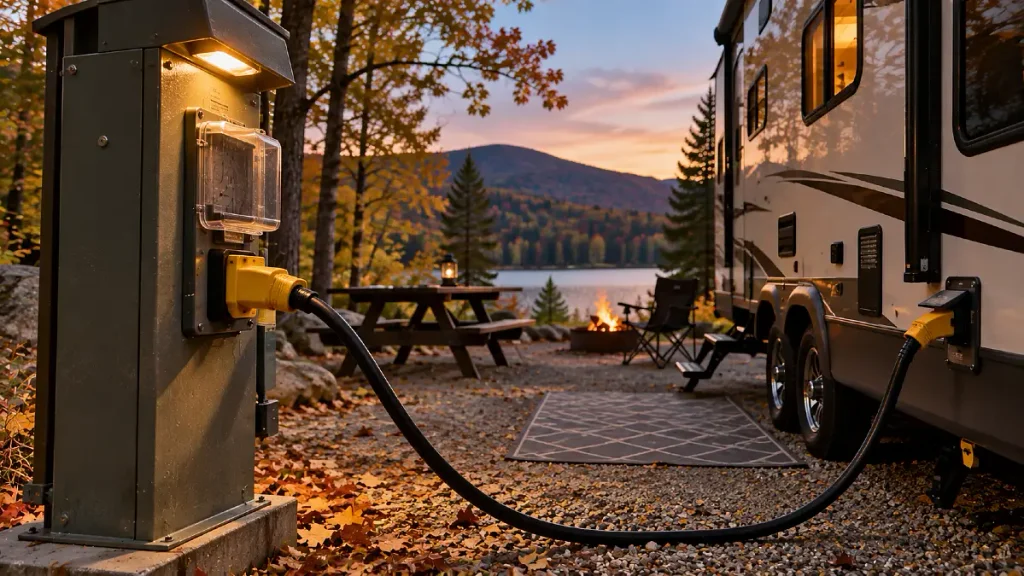
Electric hookups are not necessary for every camper.
For some fall RV trips, though, they can be more useful than a premium view.
Recreation.gov listings normally identify whether a site has electricity and may list the available service. Defeated Creek Park, for example, has sites listing 30 amp electrical service, while some Sol Duc RV sites list 50 amp service.
Check what your RV actually needs before reserving.
An electric site can also reduce how much you depend on generator time for battery charging and other supported electrical needs. That becomes useful in campgrounds with limited generator hours.
Tent campers should make the opposite calculation. If you do not need electricity, there may be little reason to pay more or give up a quieter site for it.
The point is simple.
Choose the campsite feature your setup uses rather than the feature that sounds premium.
10. Pick Morning Sun Over Deep Shade When Nights Are Cold
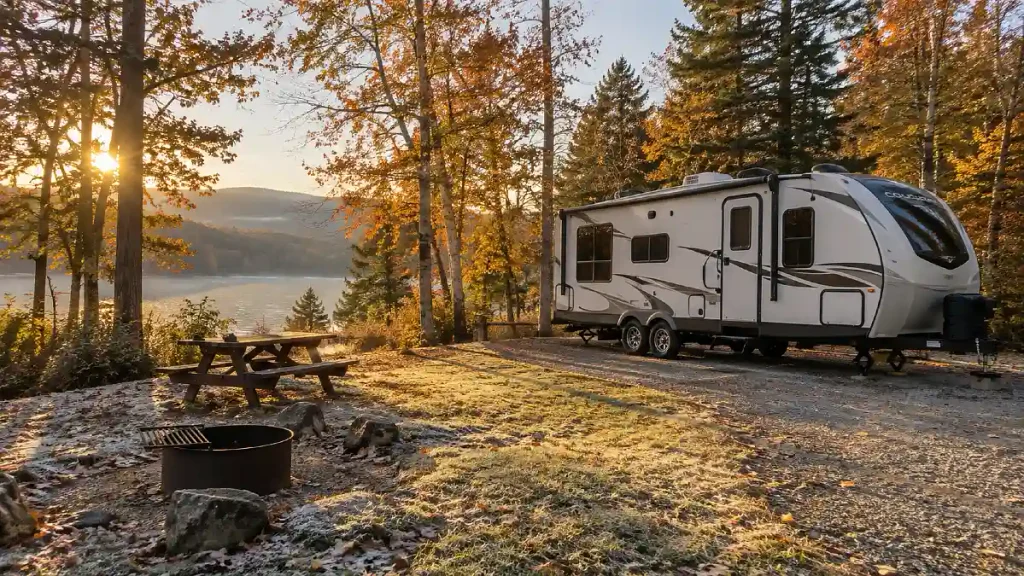
Full shade sounds wonderful during a hot July trip.
October can be different.
A campsite that gets some morning sun can make getting dressed, making coffee, packing gear, and sitting outside more comfortable after a cold night.
Sun may also help damp chairs, tents, towels, and other gear dry faster when weather conditions allow.
Recreation.gov often lists shade as a campsite feature, so use that information along with photos rather than automatically choosing the darkest site.
This does not mean sunny is always better.
In warmer southern campgrounds, shade may still be valuable during the day. Your ideal choice depends on the local forecast.
For cooler fall trips, look at where the trees sit around the pad.
A site with morning sun and afternoon shade can be a very useful compromise.
11. Read Generator Rules Before Choosing Your Loop
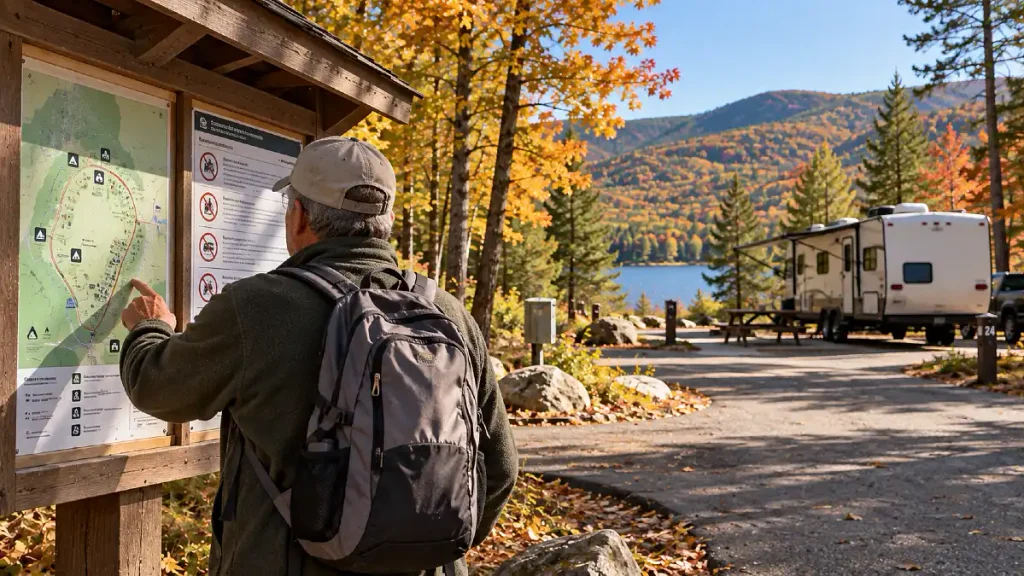
A quiet forest campsite beside a generator loop may feel very different from the booking photo.
Generator rules vary widely between campgrounds.
Bryce Canyon National Park allows generators only in certain loops and during set periods.
Great Smoky Mountains National Park prohibits generator use from 8 p.m. until 8 a.m. and also has generator free areas.
Joshua Tree uses several specific generator periods during the day.
This matters whether you use a generator or avoid them.
If you depend on one, choose a site where your equipment is permitted.
If you value a very quiet campsite, check whether the loop is generator free before chasing its best viewpoint.
Also read the campground’s quiet hour rules.
Sometimes the less scenic loop is the one where you will actually hear the leaves moving at night.
12. Choose a Fire Ring, Then Check Whether Fires Are Allowed
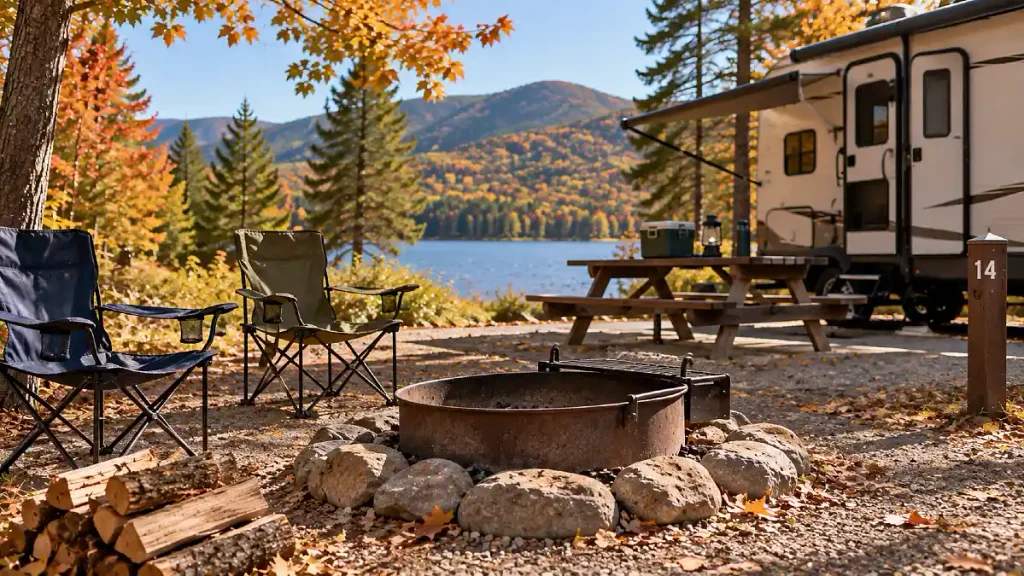
Seeing a metal fire ring beside your picnic table does not mean you can automatically light a fire.
Restrictions can change with fire conditions.
Great Sand Dunes National Park, for example, announced Stage 1 fire restrictions on August 19, 2026. Fires remained permitted in specified steel rings in developed campsites and certain other approved places, while other fire uses were restricted.
That shows why both pieces matter.
First, check whether your campsite has an approved fire ring.
Then check current restrictions shortly before your trip.
Also remember that a campground listing showing campfire allowed may reflect the site’s normal facilities, while a later fire restriction can change what is permitted during your stay.
If sitting around a fire is a major part of your fall camping plan, verify it instead of assuming.
And keep a legal cooking backup available when local conditions call for one.
13. Favor Easy Access and a Good Weather Backup Plan
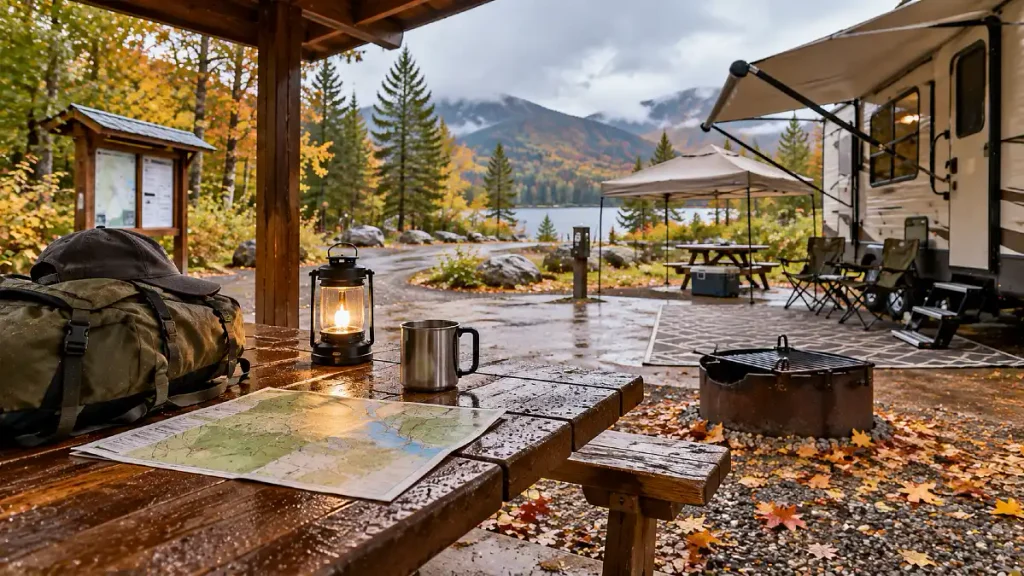
The remote campsite at the far end of a mountain road may have an incredible view.
Ask one more question before booking it.
What happens if the weather changes?
Denali National Park’s September 2026 fall notice warns that visitors may encounter snow, ice, and mud, and that road access can change as conditions develop.
Your campground does not need to be in Alaska for fall weather to complicate an arrival or departure.
Look at:
- Road surface
- Steep grades
- Tight turns
- Distance from the main road
- Campground gate hours
- Nearby staff or host location
- Your method for receiving weather alerts
The National Weather Service recommends checking the forecast before outdoor trips and staying able to receive weather warnings.
Some beautiful campgrounds have little or no cell reception. Glacier, for example, lists no cell reception at several campgrounds.
That does not make the campsite a poor choice.
It means you should know the limitation before you arrive and have another way to get the information you may need.
The Best Fall Campsite May Be the One You Almost Skipped
Fall camping can reward you with cool mornings, quieter campgrounds, changing leaves, and evenings that make you want to stay outside a little longer.
But the prettiest campsite on the reservation map is not automatically the best one.
Check fall campsite features first. Look at drainage, slope, size, trees, wind, water, restrooms, food storage, electricity, sun exposure, generator rules, fire restrictions, and road access.
Then compare the views.