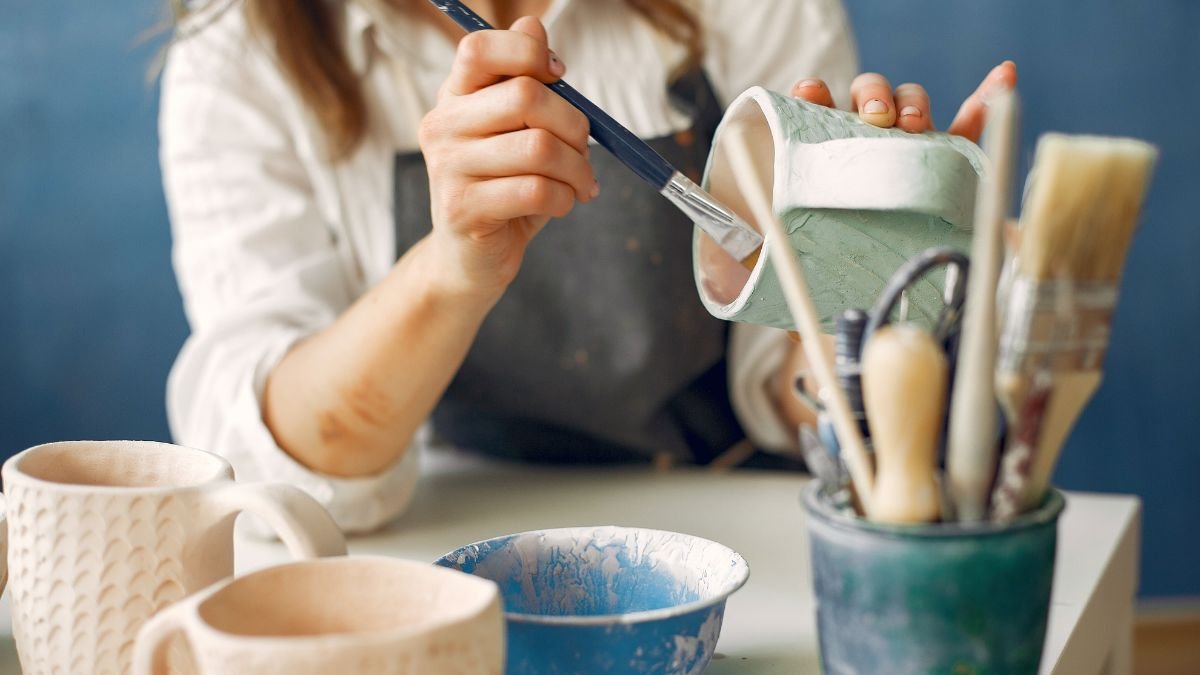
If you are tired of boring, plain flower pots ruining your home’s vibe, even after buying those gorgeous plants and arranging them just right, only to realize that those dull, lifeless containers drag everything down: chipped paint, faded colors, or that ugly orange terracotta that never matches your style.
You could transform them in under an hour with these colorful ways to paint pots. No skills needed; just a brush, some paint, and a little creativity. Stop settling for dull planters. Grab your supplies listed below, and let’s turn those forgotten pots into statement pieces that make your plants and your home shine.
- Acrylic paints (or outdoor-grade paint for weather-resistant finishes)
- Primer (for better paint adhesion)
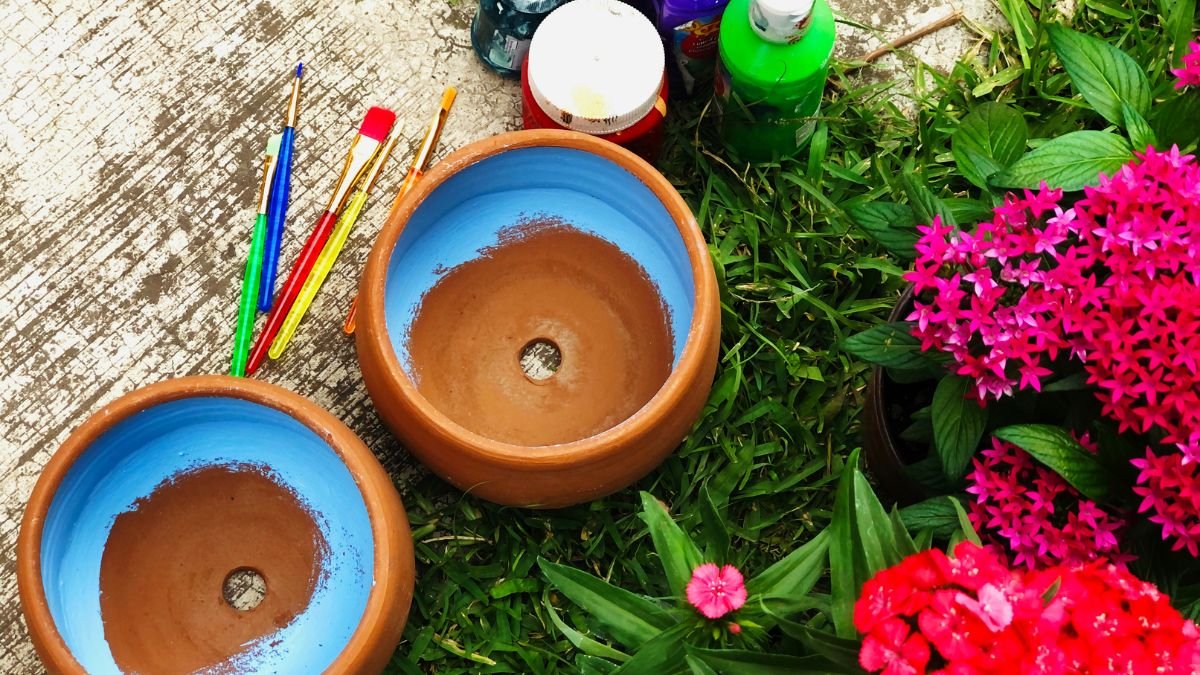
- Assorted brushes (flat, round, and detail brushes for different effects)
- Sandpaper (medium and fine grit for surface prep)
- Sealant (matte or glossy finish to protect your design)
- Rubbing alcohol or vinegar (for cleaning pots)
- Painter’s tape (for crisp lines and patterns)
- Sponges/old cloth (for texture and blending)
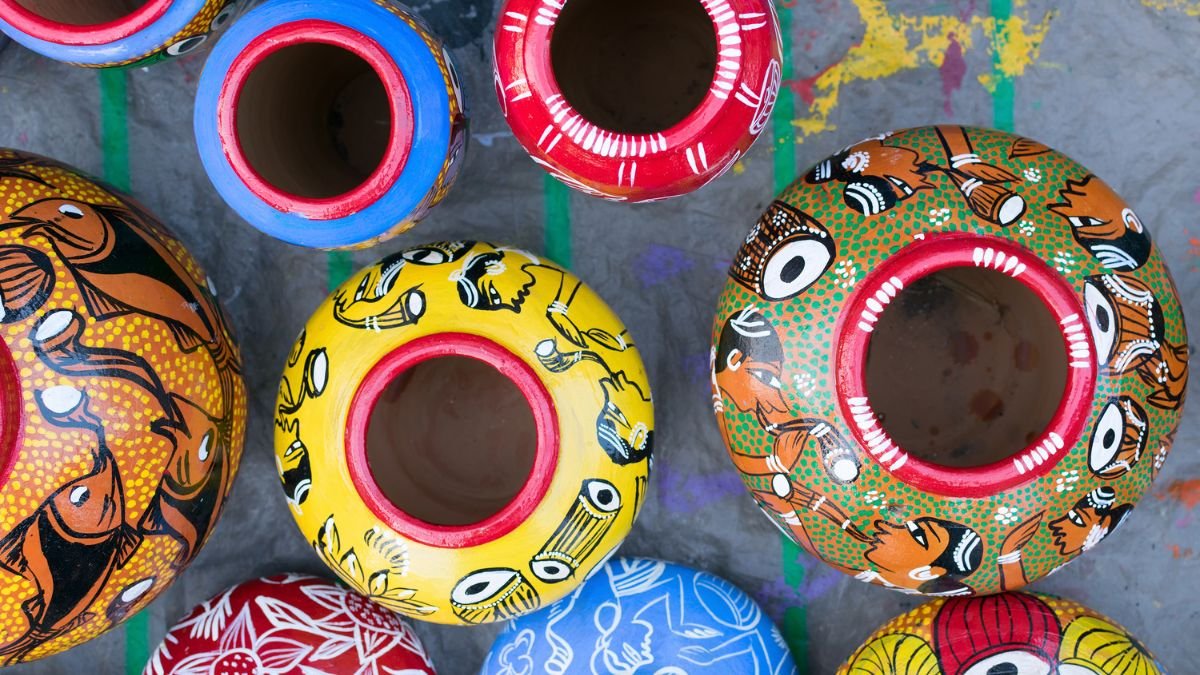
10 Colorful Ways to Paint Pots for Home and Garden

1. The Secret to Choosing the Right Pot Material for Painting
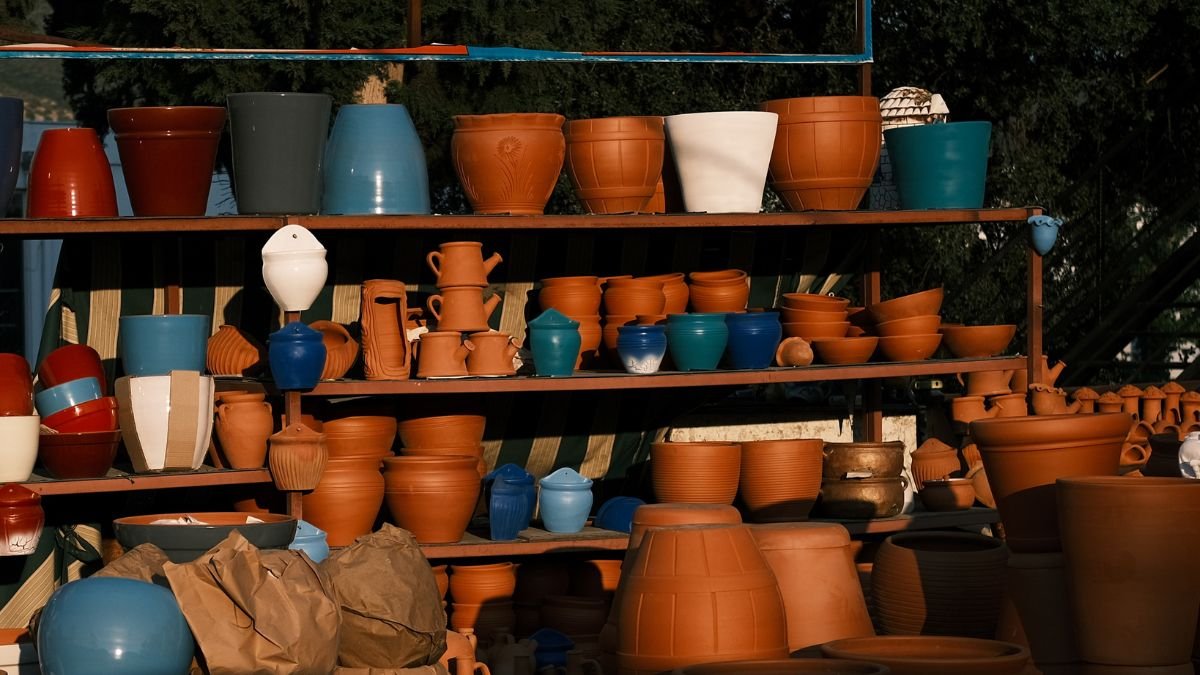
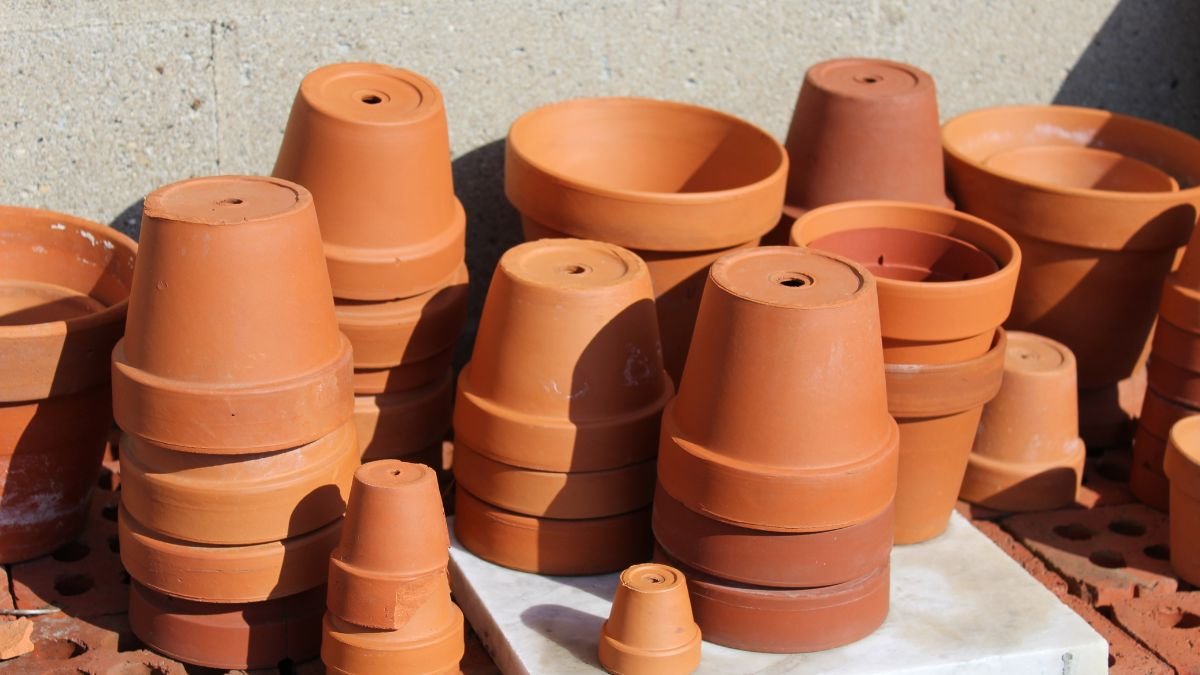
Not all pots take paint the same way. Terracotta soaks up moisture, so thicker acrylics or chalk paint work best. Ceramic pots often have a slick glaze, meaning paint slides off unless lightly sanded first. Plastic pots need special adhesion-promoting primers; otherwise, the paint peels in weeks.
Texture matters as much. Rough, unglazed surfaces grip paint well, but glossy finishes resist it. Lightly scuffing smooth pots improves paint bonding, too. For stubborn surfaces like glazed ceramic, a fine-grit sandpaper (around 220) creates tiny grooves for paint to cling to.
2. Deep-Cleaning Pots for Flawless Paint
You can use soap and water to remove dirt, but sometimes invisible residues linger. Old mineral deposits, algae, or even oily fingerprints can make paint bubble or flake. Make a mix of white vinegar and water (1:1). It breaks down hard water stains. Use rubbing alcohol to strip away grease.
Mold is another silent saboteur. Black or green spores might hide in crevices if a pot sat outside. Scrub with a bleach solution (1 part bleach to 10 parts water). It kills mold without harming the pot. Skipping this step risks paint peeling prematurely, no matter how good the primer.
3. Sanding Pots Like a Pro (Even If They’re Glazed)
Sanding isn’t just for rough pots. Even glossy ceramics benefit from a quick scuff. For terra cotta, medium-grit sandpaper (120-150) smooths bumps without shredding the surface. Glazed pots need a finer touch; 400 grit or higher avoids visible scratches.
Curved edges are tricky. A sanding sponge bends to the shape, reaching grooves that brushes can’t. Press lightly and move in circles to avoid uneven spots. Wipe dust off with a damp cloth before priming. Leftover grit creates a bumpy finish.
4. When to Skip or Double Down on The Primer
A primer isn’t always necessary. Raw terracotta absorbs paint well, but sealing it first prevents uneven blotches. Primer is non-negotiable for glazed or plastic pots. A bonding primer sticks where paint won’t.
Outdoor pots face rain and sun. A 100% acrylic primer resists weathering better than standard options. Indoors, a basic gesso works fine. Some artists skip primer on textured clay, but tests show paint lasts twice as long with it.
5. Paint Types
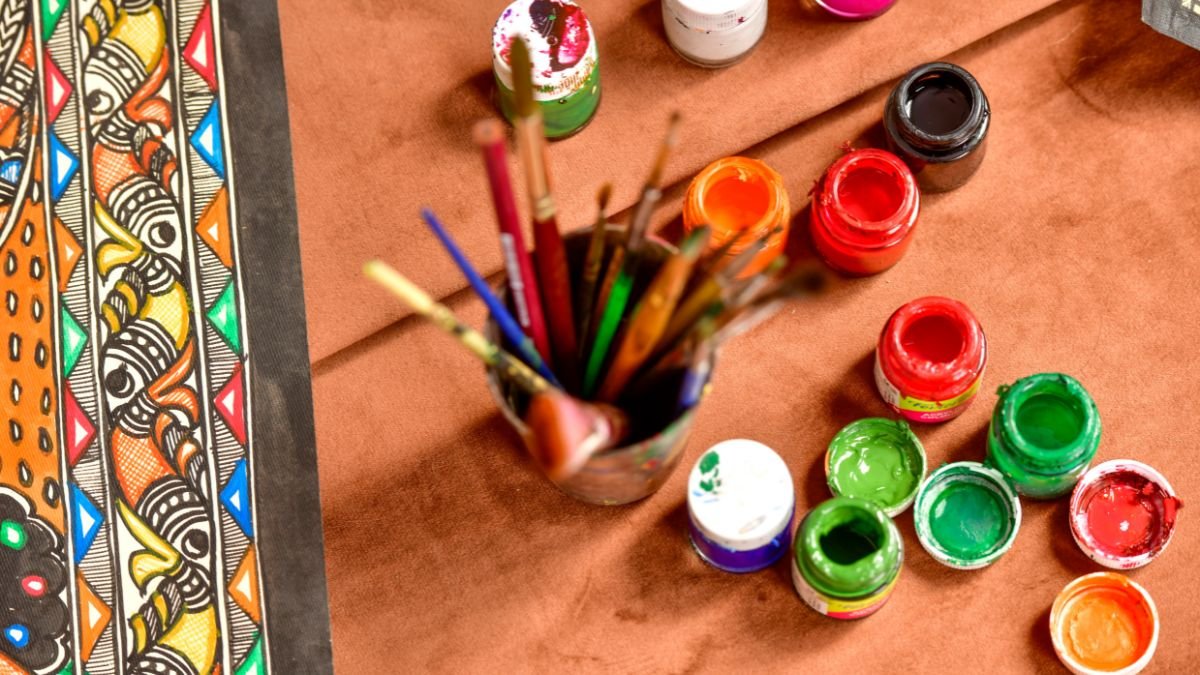
Milk paint sounds delicate, but it outlasts acrylic on porous surfaces. Its thin layers soak into terracotta, creating a worn, vintage look. Acrylics offer bold colors and work on almost anything, though they may crack on flexible plastic.
Spray paint covers fast and smooth, great for intricate designs. Brushes leave streaks on large pots but give control for details. Epoxy is the toughest; ideal for outdoor pots, though it’s harder to apply. Always match the paint to the pot’s purpose, not just its look.
Each of these points avoids generic advice and dives into lesser-known tips that truly elevate a reader’s project. Let me know if you’d like to refine or expand any section
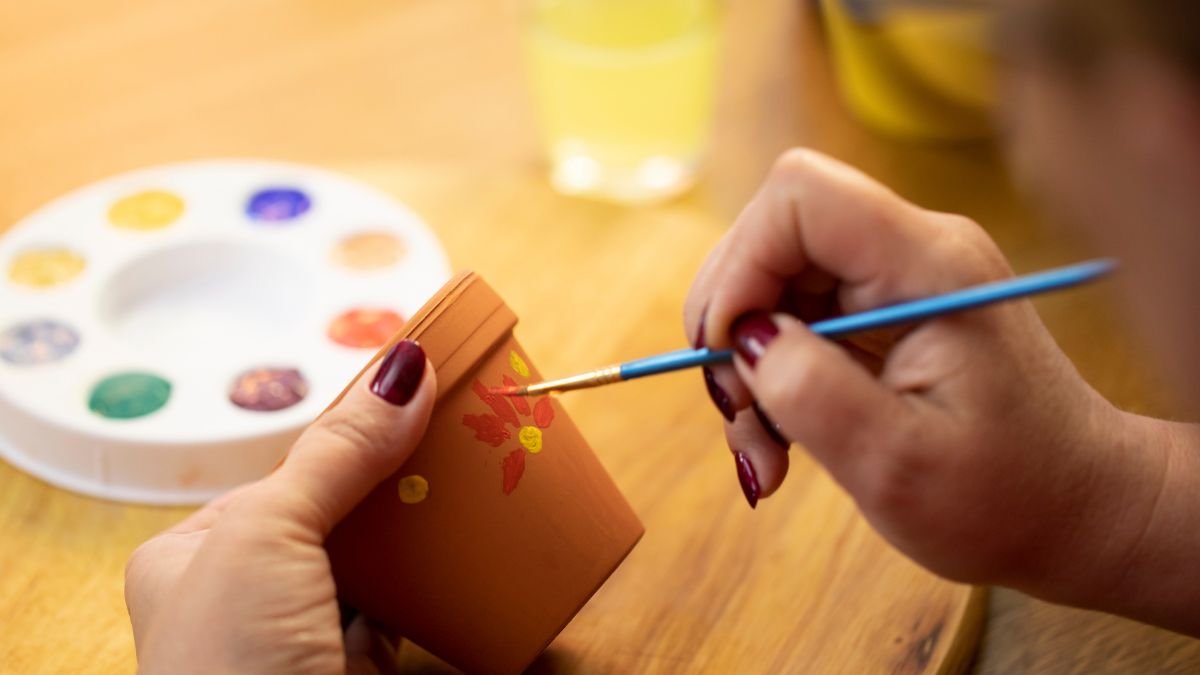
6. Brushes vs. Sponges vs. Fingers
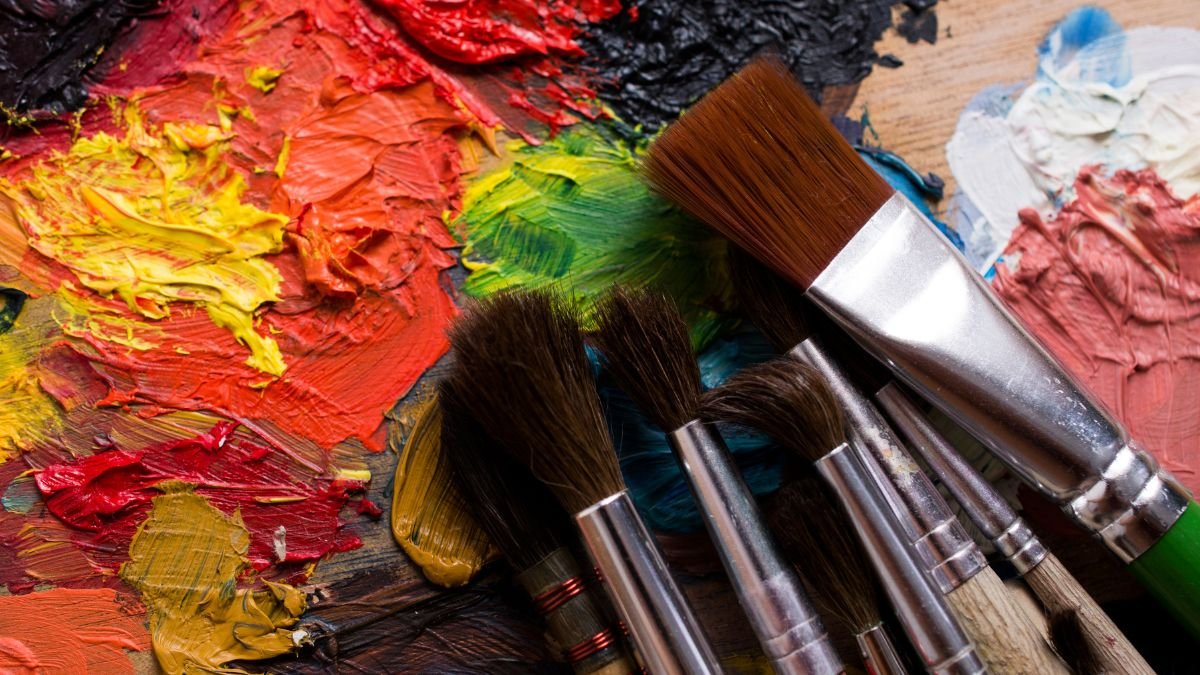
Sometimes the best tools aren’t tools at all. A stiff-bristle brush gives clean lines, but for soft, organic textures, a sponge works wonders. Dab it lightly for a stippled effect or drag it for subtle streaks. For something truly unique, try pressing lace or crumpled foil into wet paint; it leaves intricate patterns with zero artistic skill required.
Fingers are surprisingly useful, especially for blending or smudging colors. The natural warmth softens edges better than a brush, making gradients smoother. Dry brushing, dipping just the tips of bristles in paint, creates a weathered, rustic look. Experiment with different pressures and strokes to see what works best for the style you want.
7. Layering Paints Without Muddy Colors
Layering too soon is a common mistake. Wet paint mixes with the layer beneath, turning vibrant colors into a murky mess. Try the dry layer technique; wait until the base coat is completely dry before adding another. Patience keeps colors crisp and distinct.
A hair dryer set on low speeds things up. Hold it a few inches away to avoid bubbling, and move it constantly to prevent overheating one spot. Thin coats dry fastest, so resist the urge to glob on thick layers. If colors still blend unintentionally, let each dry overnight before continuing.
8. Sealants
Outdoor pots take a beating, so a single sealant often isn’t enough. Start with a clear acrylic sealer for UV protection, then add a waterproof topcoat. The combo prevents fading and peeling, even in harsh weather. Indoors, a single coat of matte varnish usually does the trick.
Sticky sealant is a nightmare. If it doesn’t dry properly, dust and dirt cling to the surface. Fix it by wiping off excess with mineral spirits, then reapplying in thinner layers. Always test sealant on a small area first; some turn yellow over time, especially in sunlight.
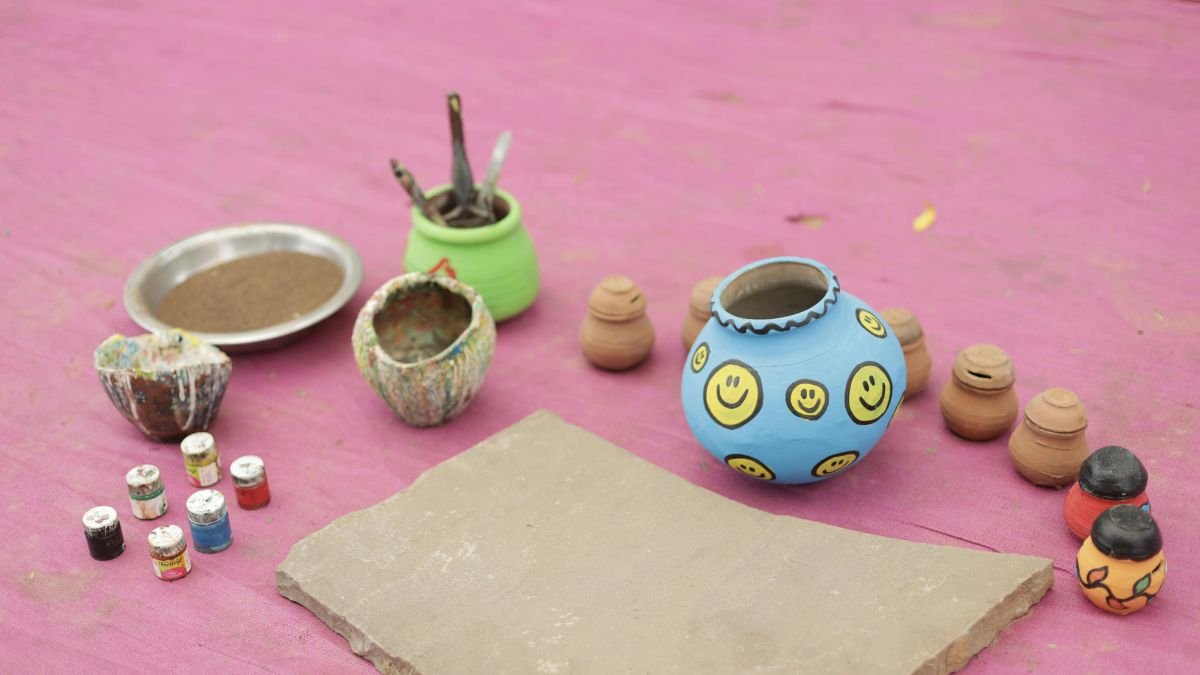
9. Upcycling Broken or Old Pots with Paint
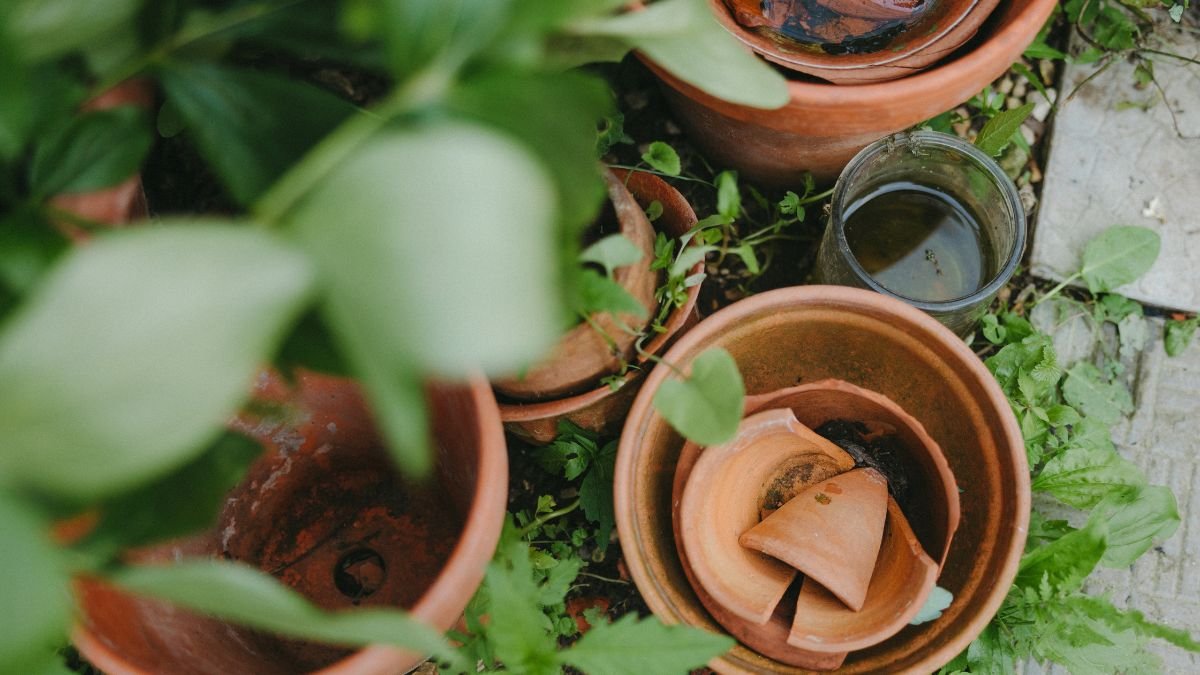
Cracks don’t have to mean the trash. Turn them into design features by painting faux mosaic lines along the breaks. Use metallic or contrasting colors to highlight the “tiles.” For pots with stubborn mineral stains, a dark base coat hides discoloration better than light colors.
Chipped edges can look intentional with the right treatment. Dry brush a lighter shade over them for a weathered, vintage effect. Even if a pot is too damaged to hold soil, painting it transforms it into a decorative piece for shelves or gardens.
10. Painting the Inside Rim
The top inch inside the pot is a high-wear zone. Soil, water, and handling rub against it, causing paint to chip if left unprotected. A quick coat here extends the life of the design.
Waterproof acrylics or enamel hold up best in this hidden area. Matte finishes blend in, while glossier paints make cleanup easier. Don’t skip this step—pots last years longer when fully sealed, inside and out.