
helsea Gonzales learned this lesson the hard way. Her $18,000 engine failure cascade started with a $12 thermostat she didn’t have on hand. Three weeks stranded in Arizona heat. Trip over.
You’re one small part away from the same nightmare. Coach-Net reports tire blowouts cause more RV roadside calls than anything else. Average repair costs run $600-$3,500 per incident. Repair shops have 6-10 week wait times in 2025.
This guide reveals 32 parts that separate prepared RVers from stranded ones. We’ll show you which parts to carry, where to store them, and how much to spend. Don’t let a $7 part ruin your $5,000 vacation.
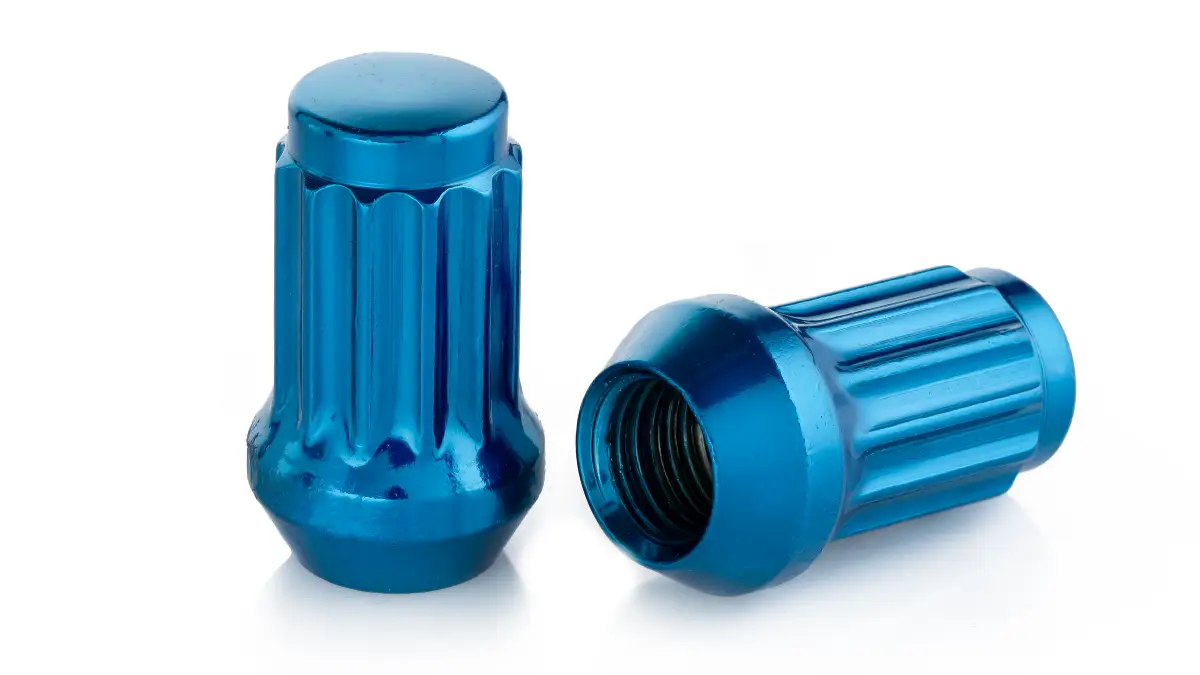
1. Propane Regulator
Your propane regulator controls gas pressure from your tank to every appliance that uses gas. When it fails, you lose your stove, oven, water heater, and furnace all at once.
You’ll know it’s broken when you get no flame, a weak flame, or dangerous over-pressure that could damage your appliances. Picture this: You’re camping in Montana and it’s 20°F outside. Your regulator dies. No heat, no hot water, no way to cook. Your trip is over.
“When a regulator malfunctions, it can be a trip-breaker if you’re dry camping,” warns RV.com. That’s why smart RVers carry a dual-stage automatic regulator as a spare. Store it in a dry compartment and check the rubber diaphragm every year for cracks or wear. This $25-45 part could save your entire vacation.
2. Thermocouple Set
A thermocouple is a safety device that shuts off gas if your pilot light goes out. It stops gas from filling your RV and creating a dangerous situation.
These little parts fail more than almost anything else. “Most common water heater failure point,” according to Camper Smarts. Here’s the crazy part: A $15 thermocouple can prevent a $300-2,000 service call.
Take Chelsea Gonzales’ story. Her thermocouple failed, which led to a cascade of problems that cost $18,000 and left her stranded for weeks. All because of a $15 part she didn’t have on hand.
Buy OEM part numbers for your specific appliances. Generic parts often don’t fit right. Store them in anti-static bags and label each one by appliance. Most RVers can replace a thermocouple in 10-15 minutes with basic tools. Don’t let this cheap part ruin your expensive trip.
3. Automotive Fuse Assortment
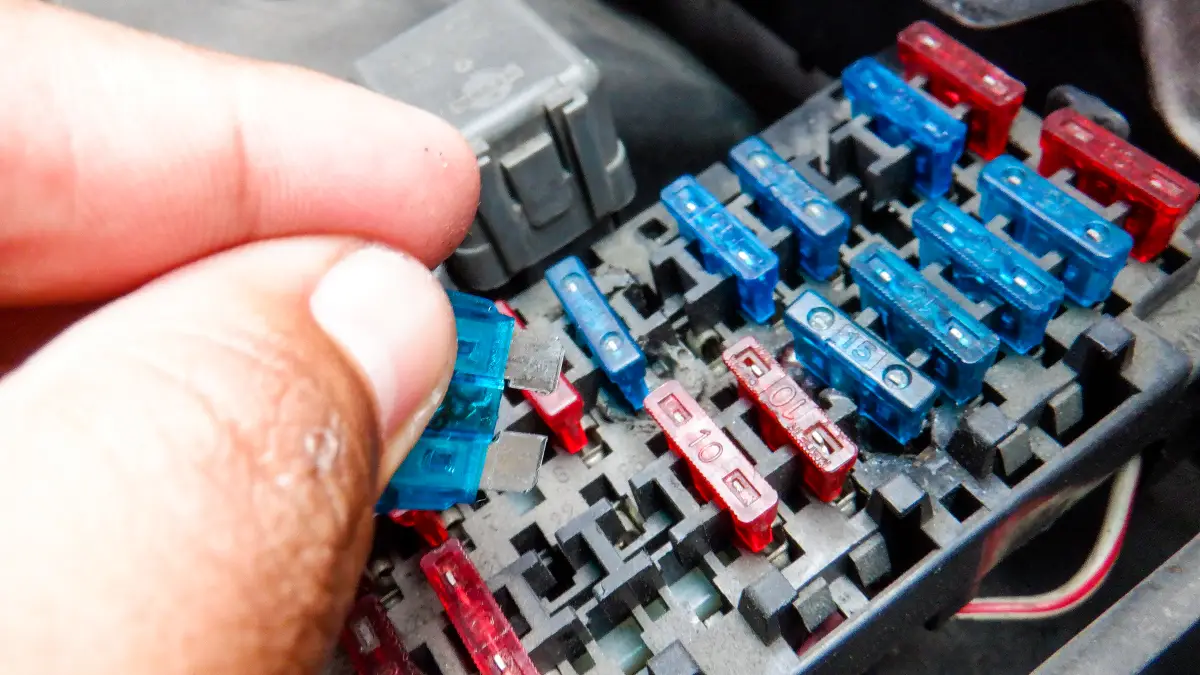
Fuses protect your RV’s electrical system from damage. When they blow, you lose power to critical systems like slide-outs, water pumps, and lights.
You need these sizes: 5A, 10A, 15A, 20A, and 30A mini and maxi fuses. Here’s what happens when you don’t have them: “Lost all 12V power including slide-outs, water pump,” one RVer reported after a roadside failure.
“Carry 2-3 of each size – they blow in clusters during power surges,” advises one RV technician. Lightning strikes can take out 6 fuses at once. Buy automotive-grade fuses, not cheap ones from electronics stores. The cheap ones fail more often.
Store them in a weatherproof fuse block with labeled compartments. Many “electrical problems” are just blown fuses. Check your fuses first before calling for expensive repairs.
4. Battery Terminal Connectors
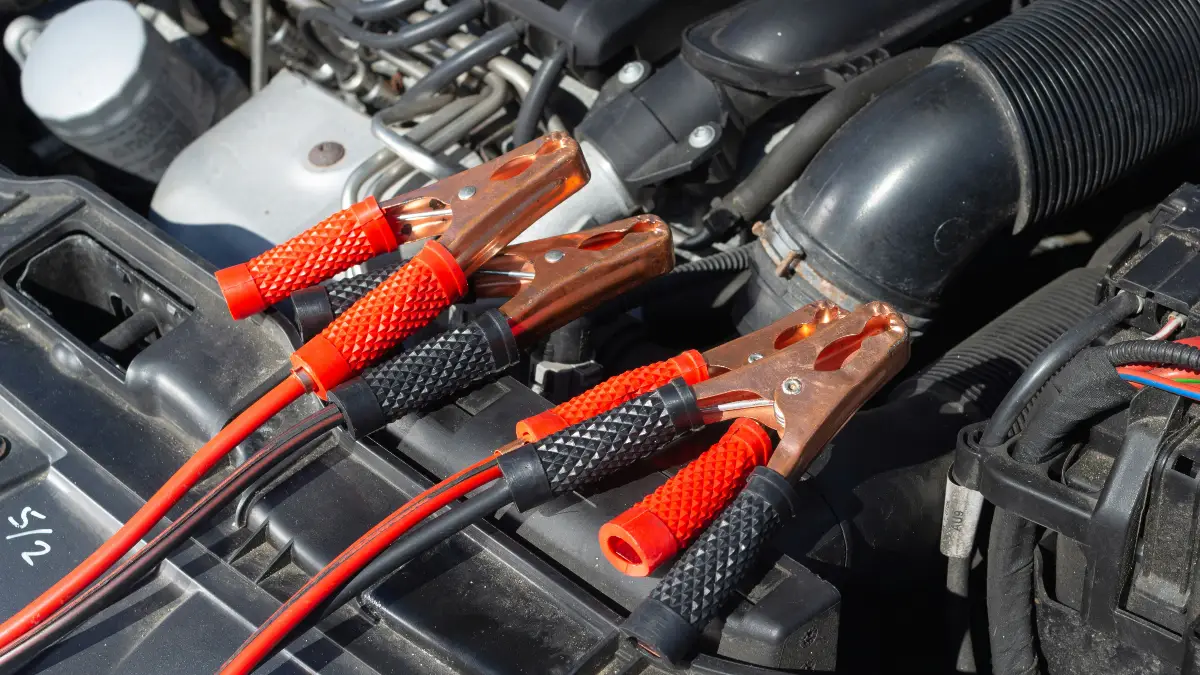
Battery terminal connectors get corroded and loose over time. Bad connections can cut your available power by 30-50%.
“Visible damage within 6 months in salt air,” one expert warns. Corrosion happens fast near oceans or salt roads. When connections go bad, your engine won’t start and your house batteries die overnight. You’re stuck.
You need three types: wing nut, bolt-on, and quick-disconnect varieties. “Carry both battery post and cable-end connectors,” recommends one mobile RV tech. Don’t forget a terminal cleaning brush and protectant spray.
Check your connections monthly, especially if you travel near coastlines. Clean, tight connections prevent bigger electrical problems down the road. This $15-25 investment beats a $300 emergency service call.
5. CO/Propane Detector
Carbon monoxide kills people in their sleep. Many states require working CO detectors in RVs for good reason.
Your detector’s sensors wear out over time. CO sensors last 5-7 years, propane sensors last 3-5 years. When they fail, you’ll hear constant chirping, false alarms, or no response when you test them.
Here’s the scary truth: CO poisoning happens while you sleep. You won’t wake up to save yourself. “Never ignore detector alarms, even if they seem false,” warns one RV safety expert.
Buy dual CO/propane units with battery backup. Keep spare detectors in their original packaging until you need them. Check expiration dates regularly. Your life depends on these working properly. Don’t gamble with a worn-out detector when a new one costs $30-80.
6. Spare Tire + Hardware
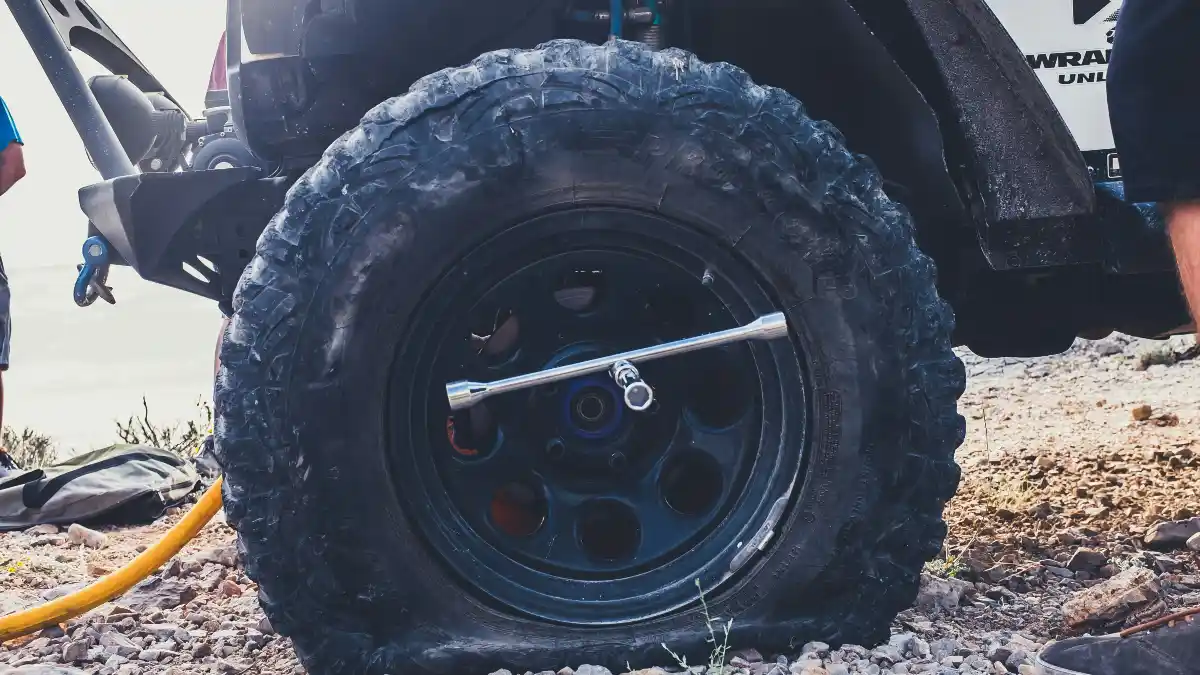
Tire blowouts cause more RV roadside assistance calls than any other problem, according to Coach-Net data. When your tire explodes at highway speed, you’re in serious danger.
One RVer reported: “285/75R22.5 failed at 75 mph, nearly lost control.” A blowout can flip your RV or cause you to hit other vehicles.
You need more than just a spare tire. Get lug nuts, valve stems, and tire pressure sensors if your RV has them. “Tire age matters more than tread – replace after 7 years,” warns one tire expert. Rubber breaks down over time, even if the tread looks good.
A mounted spare adds 100-150 lbs to your RV. For lighter rigs, consider a tire repair kit plus roadside coverage instead. Store your spare away from UV light and check its pressure monthly. A flat spare won’t help when you need it most.
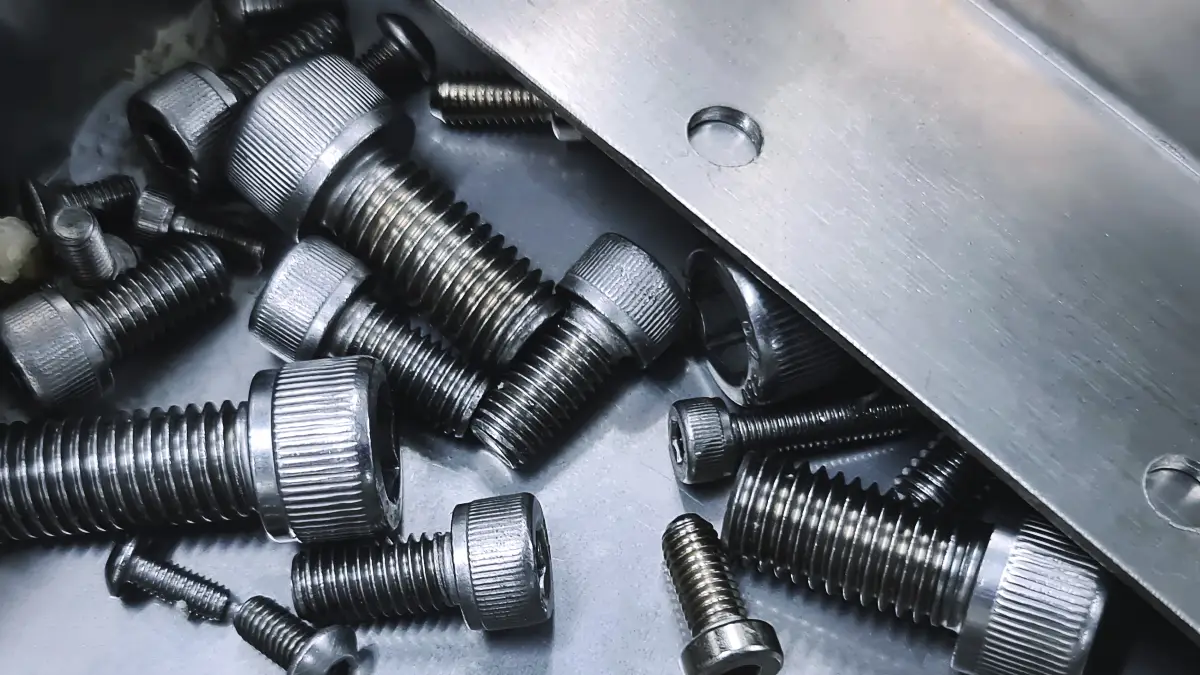
7. Hitch Pin/Safety Chain Hardware
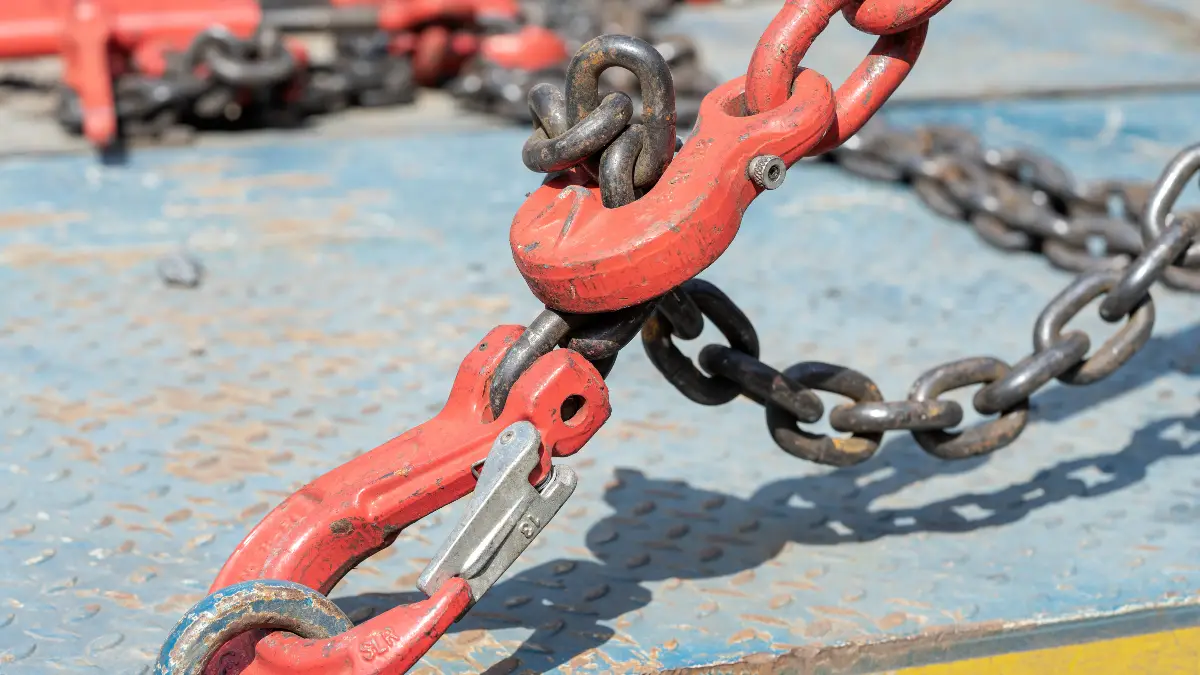
Murphy’s Law hits hard on the road. You’ll lose your hitch pin 500 miles from the nearest parts store, guaranteed.
Safety chains and hitch pins prevent your trailer from separating from your tow vehicle. Most states require them by law. When they fail, your trailer becomes a runaway missile on the highway.
You need receiver pins, coupler pins, cotter pins, and safety chains. “Carry grade 8 hardware – cheap pins bend or break,” advises one RV mechanic. Don’t trust your safety to bargain-bin hardware.
Here’s a real scenario: “Bounced out on rough road, discovered 50 miles later.” The driver was lucky – the safety chains held. Buy stainless steel for corrosion resistance. Store small parts in a magnetic tray so you can find them when you’re stressed and rushing to fix a problem.
8. 7-Pin Trailer Connector
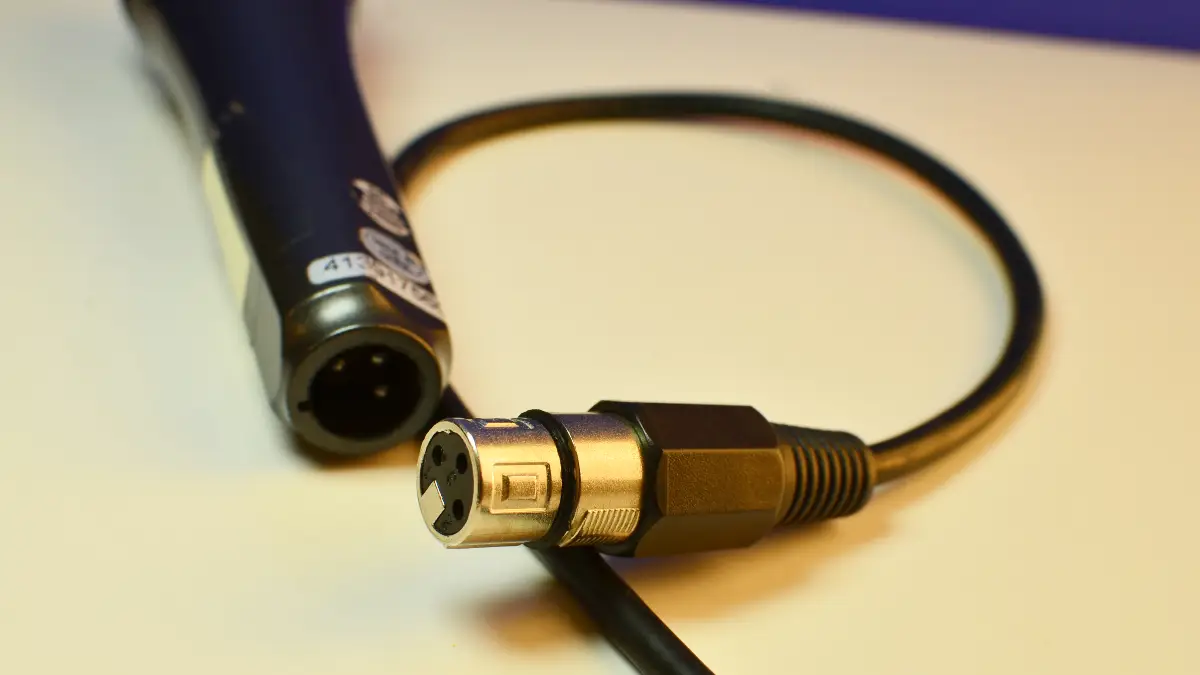
Your 7-pin connector controls critical safety systems: brake controller, turn signals, and running lights. When it fails, other drivers can’t see you and your trailer brakes might not work.
Corrosion, wire breakage, and pin damage kill these connectors fast. Salt spray and road splash make it worse. One user reported: “Lost trailer brakes in mountain descent.” That’s a terrifying situation that could kill you.
You need connectors for both your vehicle and trailer, plus weatherproof covers. “Test all circuits before every trip, not just lights,” warns one RV expert. Brake circuits fail more often than lights, but they’re harder to notice until it’s too late.
Keep splice connectors and weatherproof wire nuts for emergency repairs. When your connector fails 200 miles from home, you’ll need to fix it yourself or get towed.
9. Water Pump Diaphragm Kit
Water pump problems rank in the top 5 RV warranty claims, according to Americas RV Warranty data. When your pump fails, you have no running water anywhere in your RV.
You’ll know it’s broken when you get no water pressure, the pump cycles constantly, or you see leaks under the RV. One RVer said: “No water for 3 days while waiting for parts.”
Here’s the key insight: “Diaphragm replacement takes 30 minutes, pump replacement takes 3 weeks to get parts,” explains one RV technician. The diaphragm is the part that fails most often.
Match the exact model number when buying your kit. Generic kits often don’t seal properly and will fail again quickly. Cold weather makes rubber parts break down faster. Store your spare kit somewhere with stable temperatures, not in an outside compartment that freezes.
10. Slide-Out Motor Fuse/Breaker
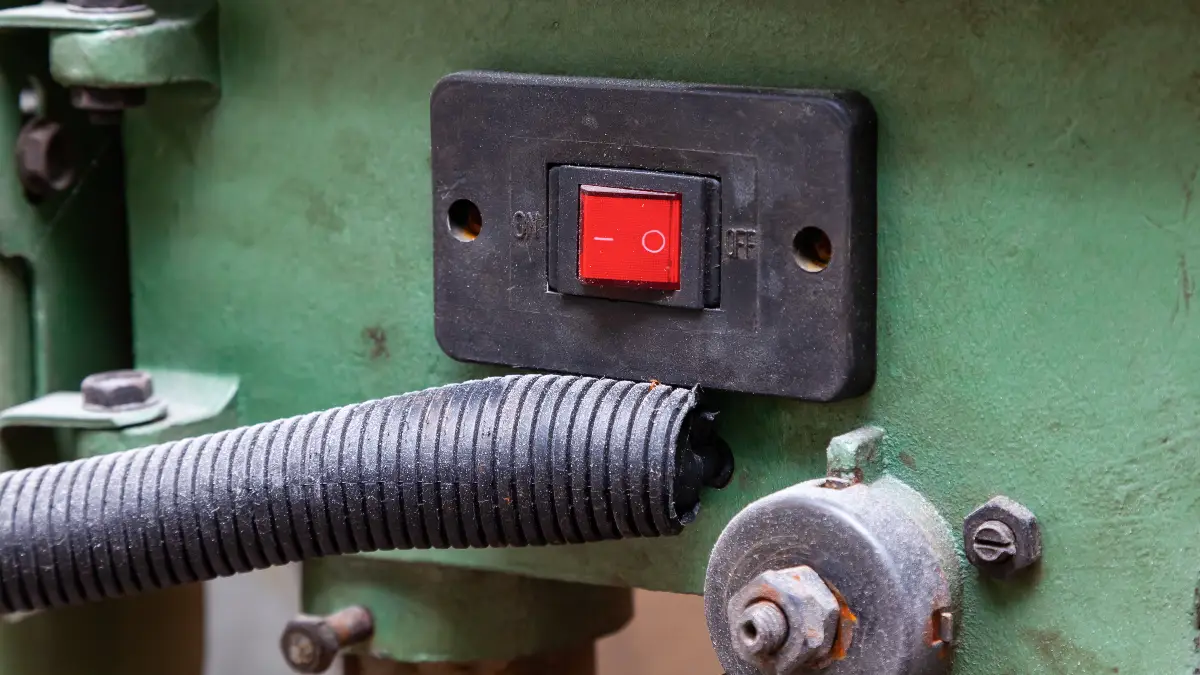
Picture this nightmare: “Slide won’t retract blocking fridge and bathroom access.” You can’t get to your food or use your toilet. Your trip is over.
“Imagine finishing a brutal day only to discover the slide blocking the fridge won’t move,” says one expert. Power fluctuations at RV parks blow slide fuses before anything else. They’re the weak link in your electrical system.
You need both DC fuses and AC breakers, depending on your slide system. Some slides use DC motors, others use AC. Check your manual to see which type you have.
Manual slide override systems need working fuses to function properly. One RVer reported: “Couldn’t break camp for 4 days waiting for service.” Carry 2-3 spare fuses or breakers per slide mechanism. When one blows, others often follow from the same power surge that caused the first failure.
11. Water Pump Strainer/Screen
Your water pump strainer catches debris before it reaches your pump’s moving parts. When it clogs, your pump works harder and breaks faster.
“Debris accumulation visible within 6 months normal use,” reports one RV technician. Clogs cause your diaphragm and motor to fail early. You’ll notice decreased water pressure and your pump running constantly.
Here’s what most RVers don’t know: “90% of water pump ‘failures’ are actually clogged strainers,” explains one expert. People spend hundreds on pump replacements when a $5 screen would fix the problem.
One RVer said: “Replaced $200 pump when $5 screen was the real problem.” Don’t make this expensive mistake.
Clean your strainer every 3-6 months and replace it annually. Buy stainless steel mesh – it lasts longer than plastic. This $3-8 part can save your $200 water pump.
12. Propane Pigtail Hose
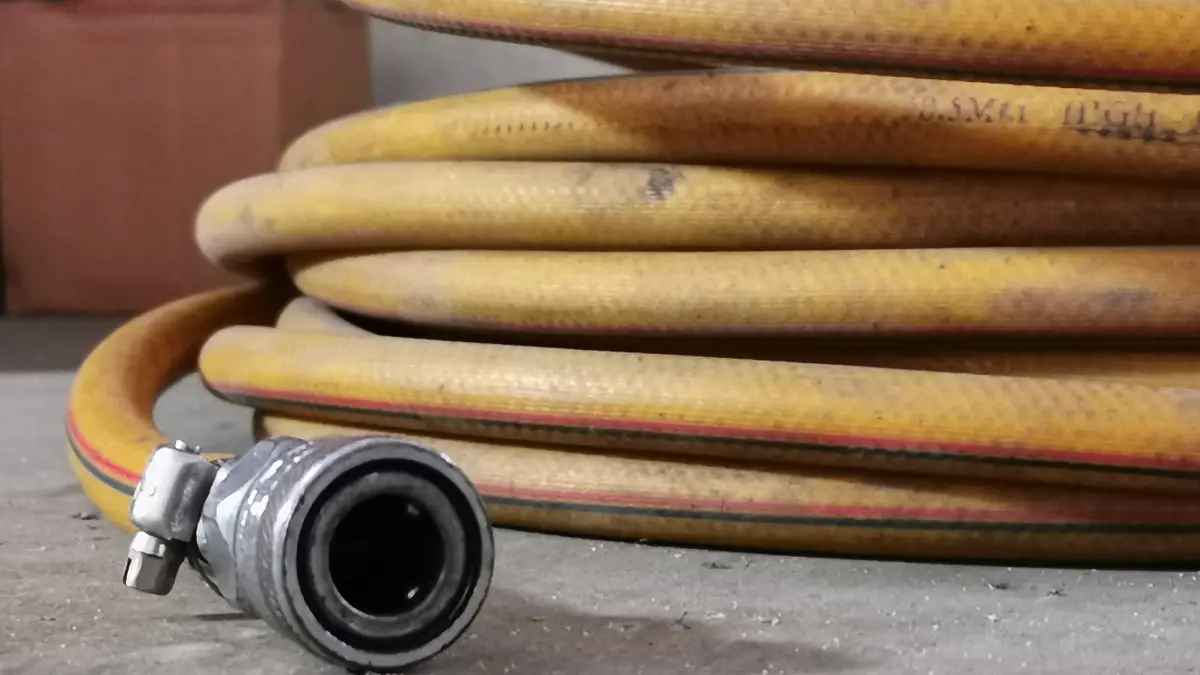
When your propane pigtail hose fails, you lose everything that runs on gas. Your stove, oven, water heater, furnace, and fridge all stop working at once.
The hose fails at three points: regulator connections, tank fittings, and rubber deterioration. Gas leaks create fire and explosion risks. Check monthly for cracks, kinks, and animal damage.
Here’s a real example: “Squirrel chewed through hose, lost all gas appliances.” Animals love to chew rubber hoses, especially in campgrounds.
Only buy DOT-approved hoses in the proper length for your setup. Coil them loosely when storing and protect them from UV light and pests. A damaged hose can kill you or destroy your RV. Don’t gamble with cheap or damaged propane hoses.
13. Valve Stem Caps/Cores
“These must be supernatural – they disappear constantly,” jokes the We’re The Russos RV blog. Valve stem caps seem to vanish into thin air.
These tiny caps prevent dirt and moisture from damaging your expensive tire pressure sensors. Missing valve cores cause slow air leaks that will strand you with flat tires.
Here’s the math: “Tire pressure sensor replacement $300 vs. $2 valve stem cap.” A missing cap can destroy a sensor that costs 150 times more to replace.
Buy metal caps for longevity, plastic ones for quick replacement. Carry 10+ caps and 4+ valve cores minimum. Install them hand-tight only – over-tightening damages the sensors you’re trying to protect. Keep extras in your glove box where you’ll remember them.
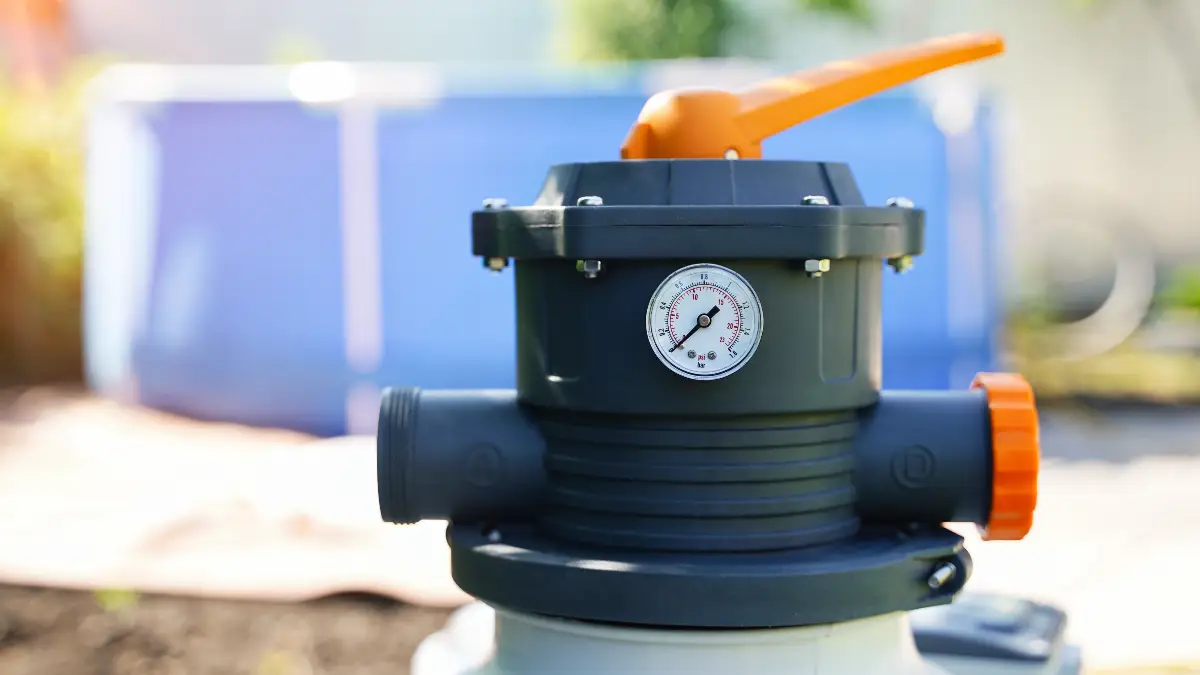
14. Water Pressure Regulator
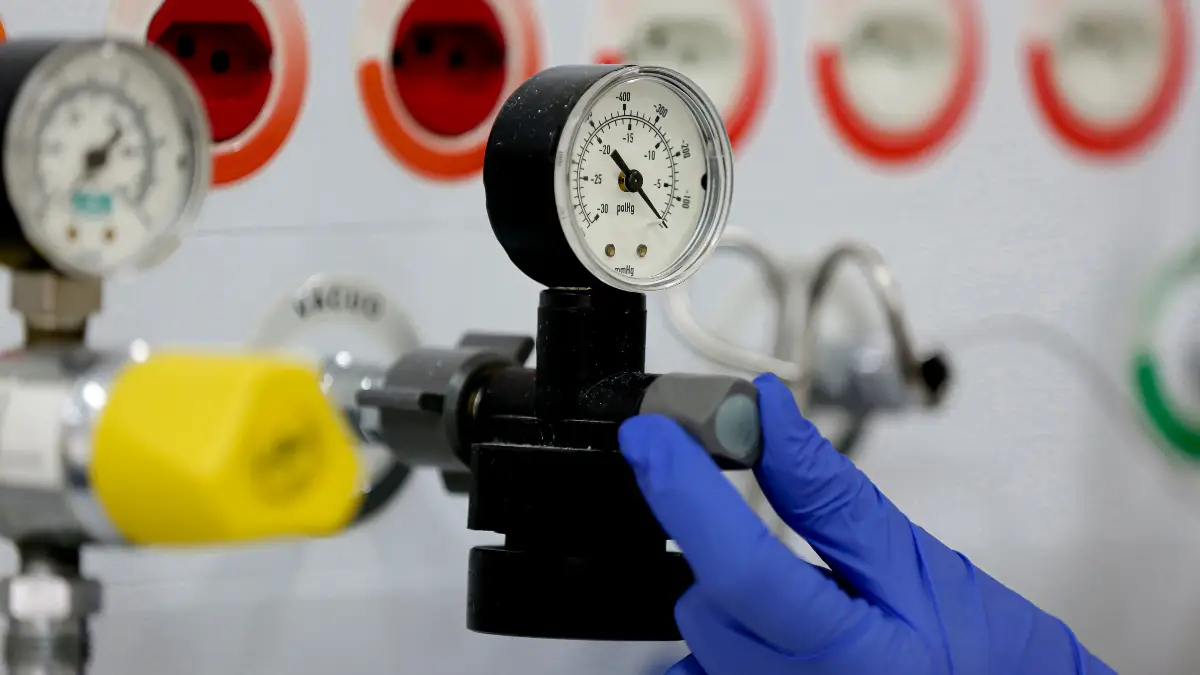
Many RV parks provide 80-100 PSI water pressure. Your RV’s plumbing system is only rated for 40-60 PSI. High pressure destroys your faucets, toilet valves, and hot water heater.
One RVer reported: “Regulator failed, blew out 3 faucets and toilet valve overnight.” That’s hundreds of dollars in damage from one night of high pressure.
“Every RV should have this connected before water hookup,” recommends one expert. It’s cheap insurance for your expensive plumbing.
Buy adjustable regulators over fixed-pressure models. Include a pressure gauge to verify it’s working properly. Replace your regulator annually – they fail without warning. An $11-25 regulator beats a $500 plumbing repair bill.
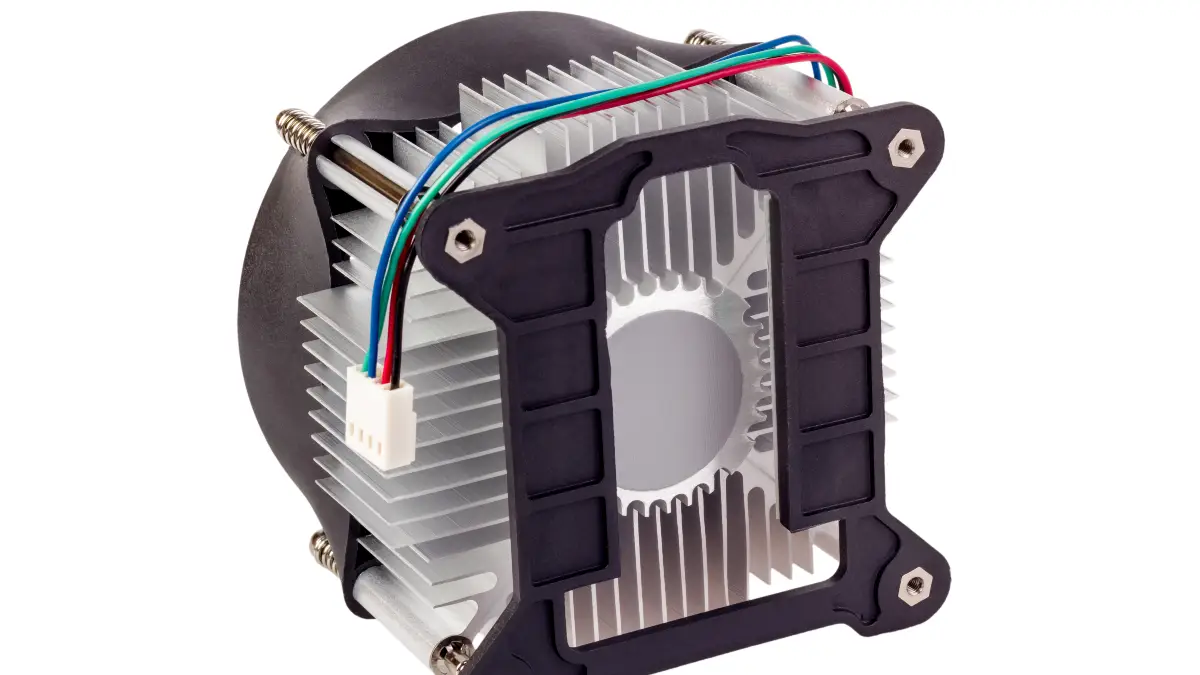
15. Generator Air Filter
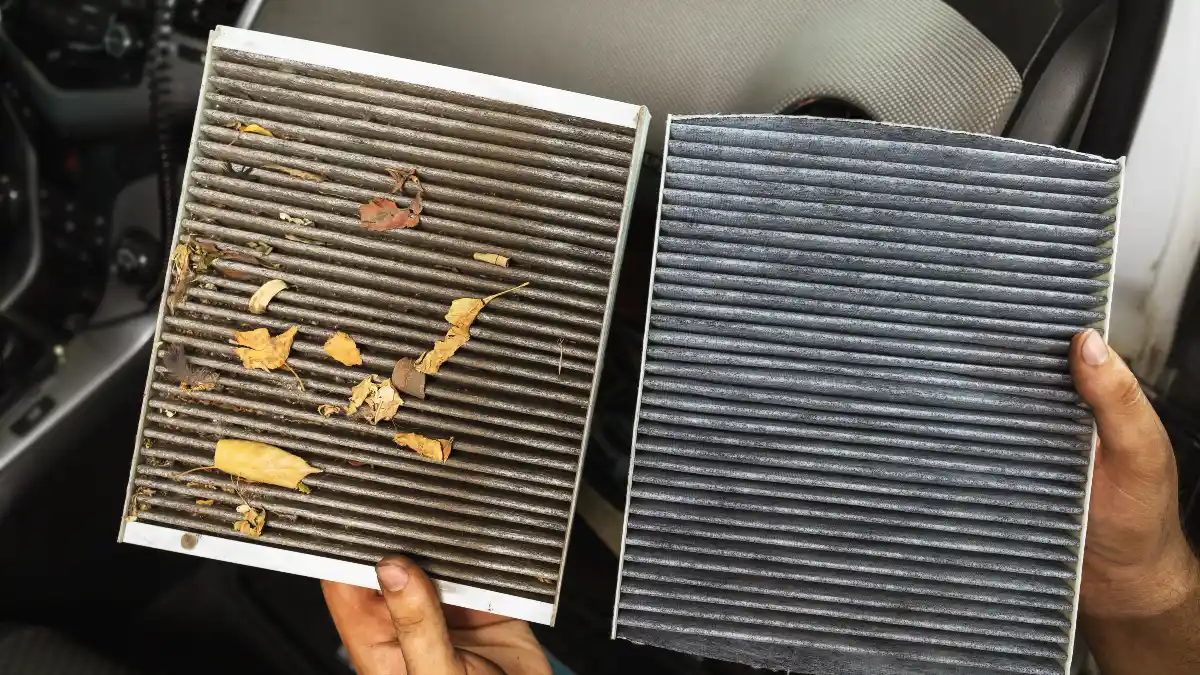
Your generator provides power during boondocking trips. When the air filter clogs, your power dies and your trip ends.
Dusty conditions clog filters in just days. You’ll notice reduced power output, engine surging, or complete failure to start. One RVer said: “Generator died during 100°F desert camping, no AC for 2 days.”
Check your filter after every dusty travel day. Desert camping, dirt roads, and windy conditions kill filters fast.
Buy OEM filters, not cheap aftermarket ones. Quality matters for proper fit and airflow. Store spare filters in sealed bags to prevent contamination before you install them.
Without power, you have no air conditioning, no microwave, no TV, and no way to charge your devices. Don’t let an $8 filter ruin your camping trip.
16. Furnace Sail Switch
High-altitude travel kills furnace sail switches. This safety device prevents your furnace from running without proper airflow, but it’s too sensitive to altitude changes.
Picture this: “No heat at 8,000 feet elevation, 20°F overnight.” Your furnace starts, then immediately shuts off. You’re freezing and don’t know why.
“Sail switches fail more often than any other furnace component,” says one RV heating expert. The thin metal sail inside the switch gets bent or stuck from road vibration and altitude pressure changes.
Match the exact model when buying a replacement – switches are not universal. You can temporarily bypass the switch for diagnosis, but get a professional to install the replacement. When you’re camping in cold weather at high altitude, this $15-35 part keeps you from freezing to death.
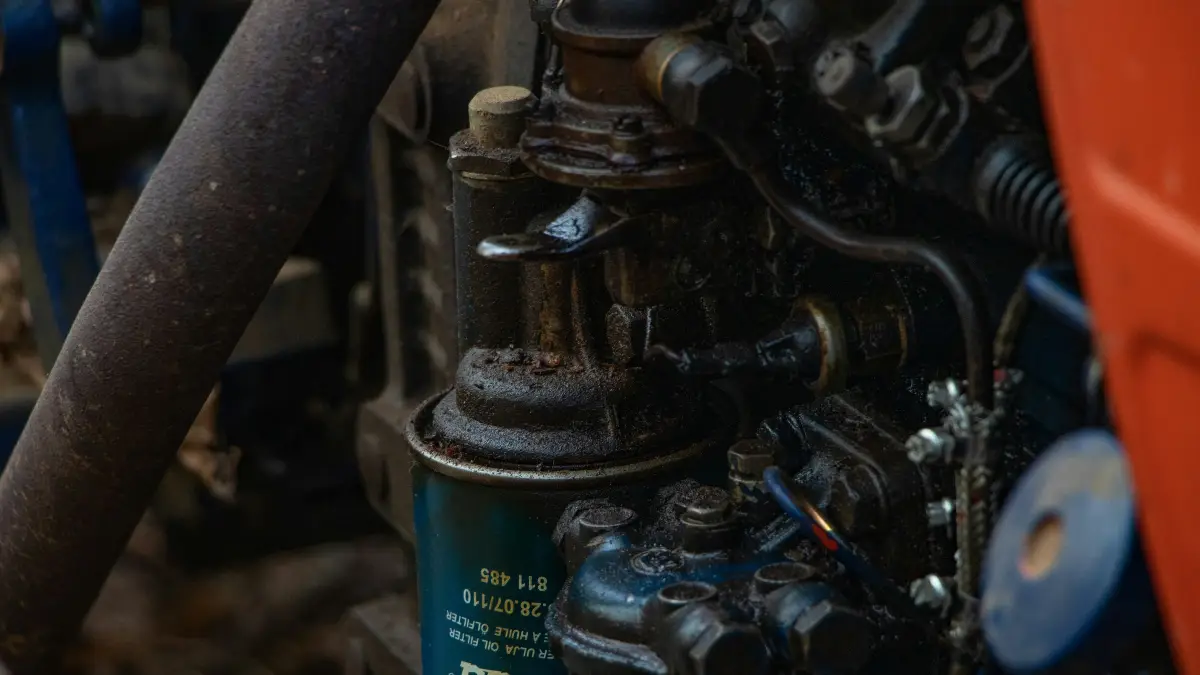
17. Water Heater Anode Rod
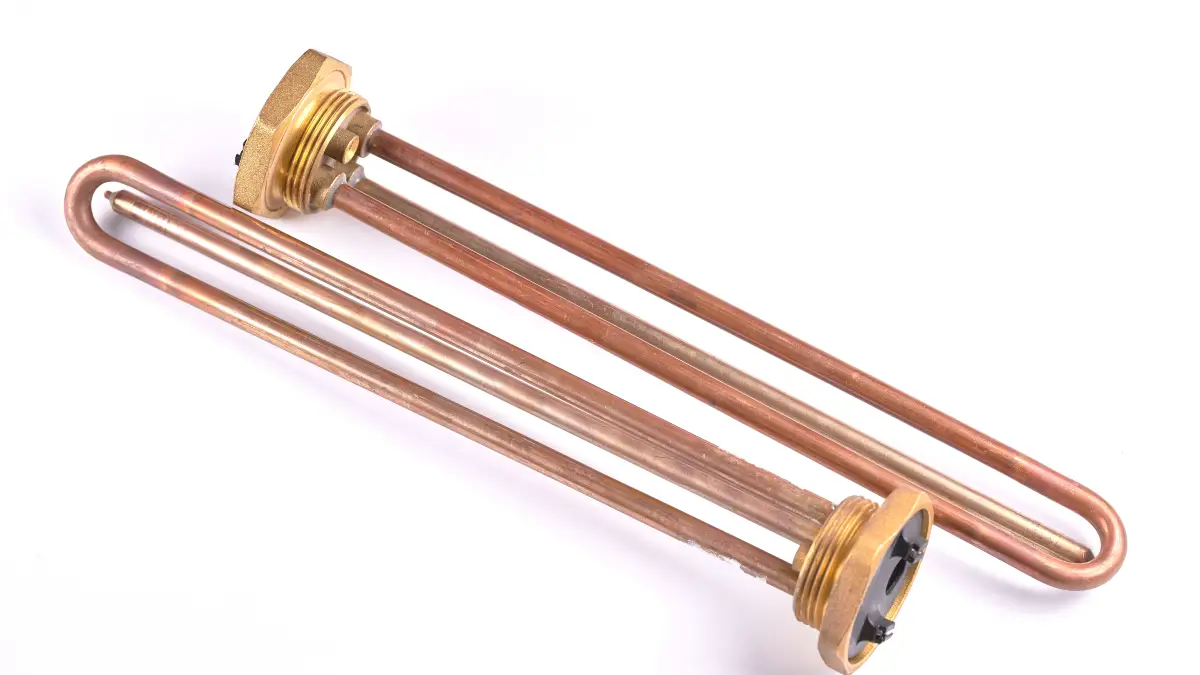
Your anode rod sacrifices itself to save your water heater tank from rust and corrosion. Replace it annually or when 75% of the metal is gone.
Here’s the math: A new water heater costs $500-1,200. An anode rod costs $20. One RVer said: “Ignored anode rod, replaced entire water heater after 2 years.” Don’t make this expensive mistake.
Check your rod visually – you should see solid metal remaining. If it’s mostly white powder or bare wire, replace it immediately.
“Aluminum anodes for hard water, magnesium for soft water,” advises one expert. Most RVers can replace an anode rod in 15 minutes with basic tools. This simple maintenance job can save you over $1,000 in water heater replacement costs.
18. Toilet Seal Kit
“Is it critical? Depends. Taco Tuesday? It’s as critical as water,” jokes CamperSmarts. When your toilet seals fail, your bathroom becomes unusable.
You need three types: blade seal, ball seal, and flush valve seal. When they fail, water won’t hold in the bowl or the toilet won’t flush completely. One RVer reported: “Toilet unusable, had to find campgrounds with bathhouses.”
Heat and UV light kill rubber seals fast. They crack and warp in hot weather, especially if your RV sits in the sun.
Buy a complete kit instead of individual seals – it’s better value. Installation takes 30-45 minutes with basic tools. Most RVers can handle this job themselves. Don’t let bad seals force you to use dirty campground bathrooms.
19. Vent Fan Motor
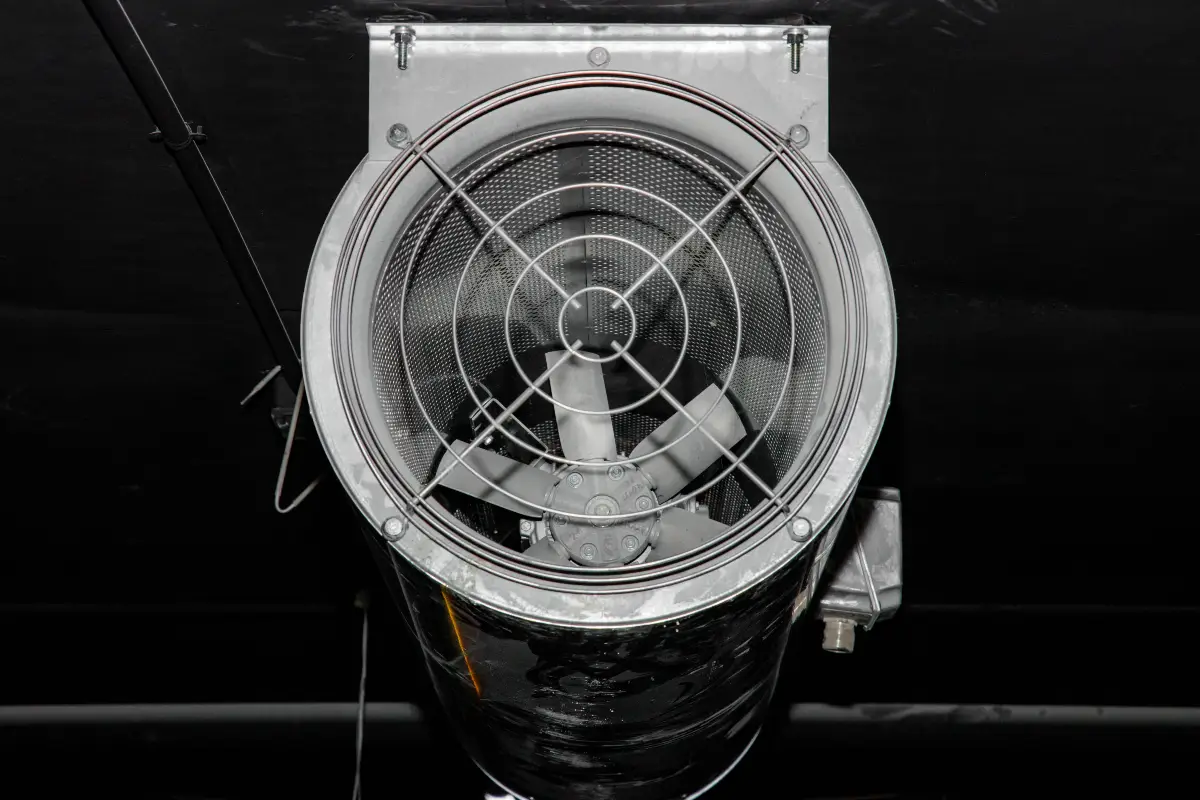
Your vent fan controls moisture inside your RV. When it fails, condensation builds up and creates mold problems.
Fan motors last 3-5 years with regular use. You’ll know yours is dying when it gets noisy, moves less air, or won’t start at all. One RVer said: “Condensation damage required $3,000 interior renovation.”
Match the exact CFM rating and housing size when buying a replacement. “Upgrade to quieter motors when replacing,” suggests one expert. You’ll appreciate the reduced noise during overnight camping.
Installation requires roof access and proper sealant application. If you’re not comfortable on your roof, hire a professional. Water leaks from bad installation cost more than the motor itself. Don’t let a failed fan motor destroy your RV’s interior.
20. Cabinet Latch Hardware
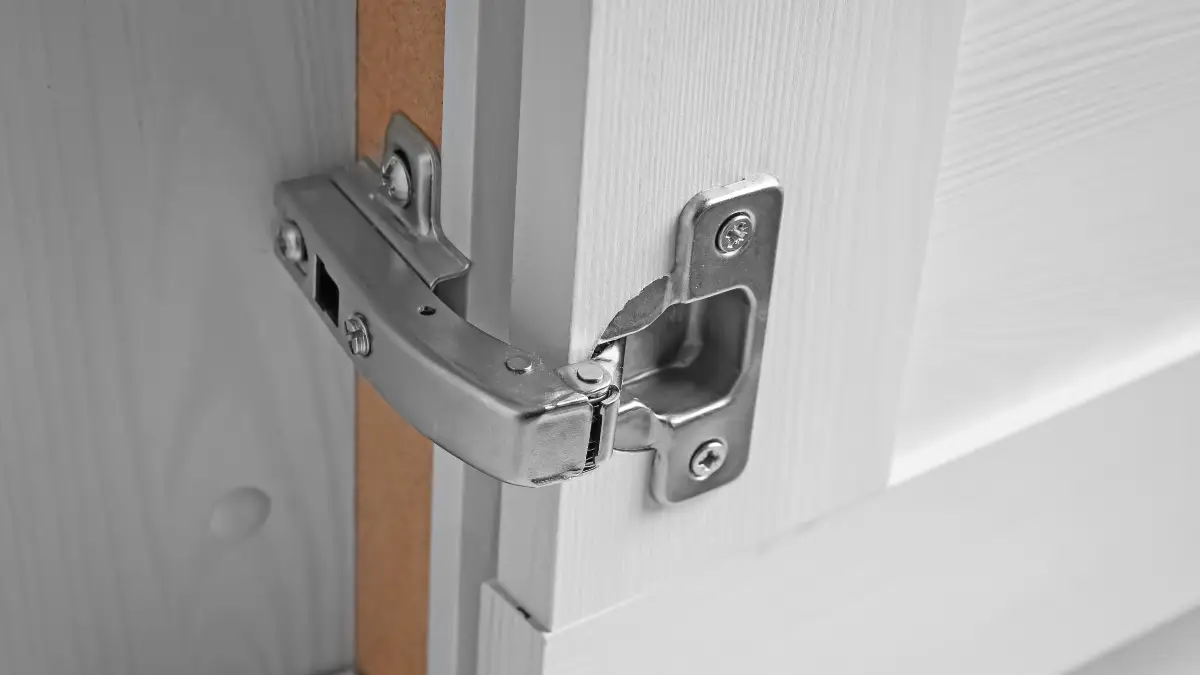
Road vibration breaks cabinet latches constantly. Bouncing down the highway puts stress on every moving part in your RV.
Open cabinet doors create injury hazards while driving. Loose doors also warp from repeated impact against their frames. One RVer reported: “All upper cabinet doors came open during mountain drive.”
You need magnetic, spring-loaded, and push-button varieties. Different cabinets use different latch types. Carry 4-6 spare latches minimum – they tend to break in groups.
Most latches are direct replacements that need only basic screwdrivers. Fix them as soon as they break. A loose door that flies open while driving can hit someone in the head and cause serious injury. These cheap parts prevent expensive accidents.
21. Awning Hardware Kit
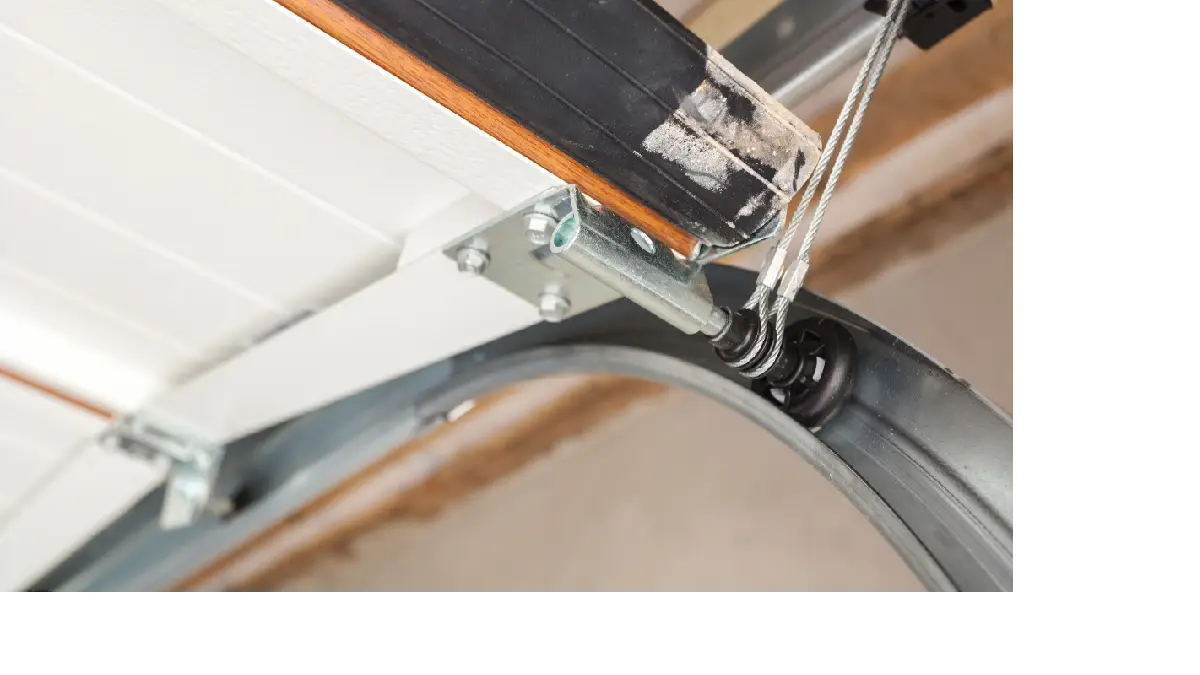
Awning arms have pivot pins, springs, and adjustment mechanisms that break from weather and road vibration. “Bending and rust from travel risks collapse,” warns one expert.
Wind damage destroys awnings fast. Sudden storms can rip apart improperly secured awnings. One RVer said: “Arm failure dropped awning on neighbor’s car – $2,500 damage.”
Buy stainless steel hardware for longevity. Remove and store small hardware during winter to prevent rust and loss.
Awning repairs need two people minimum – one person can’t safely handle the weight and spring tension. When hardware fails, your awning becomes dangerous. It can collapse and hurt people or damage property. Don’t let cheap hardware cause expensive accidents.
22. LED Bulb Assortment
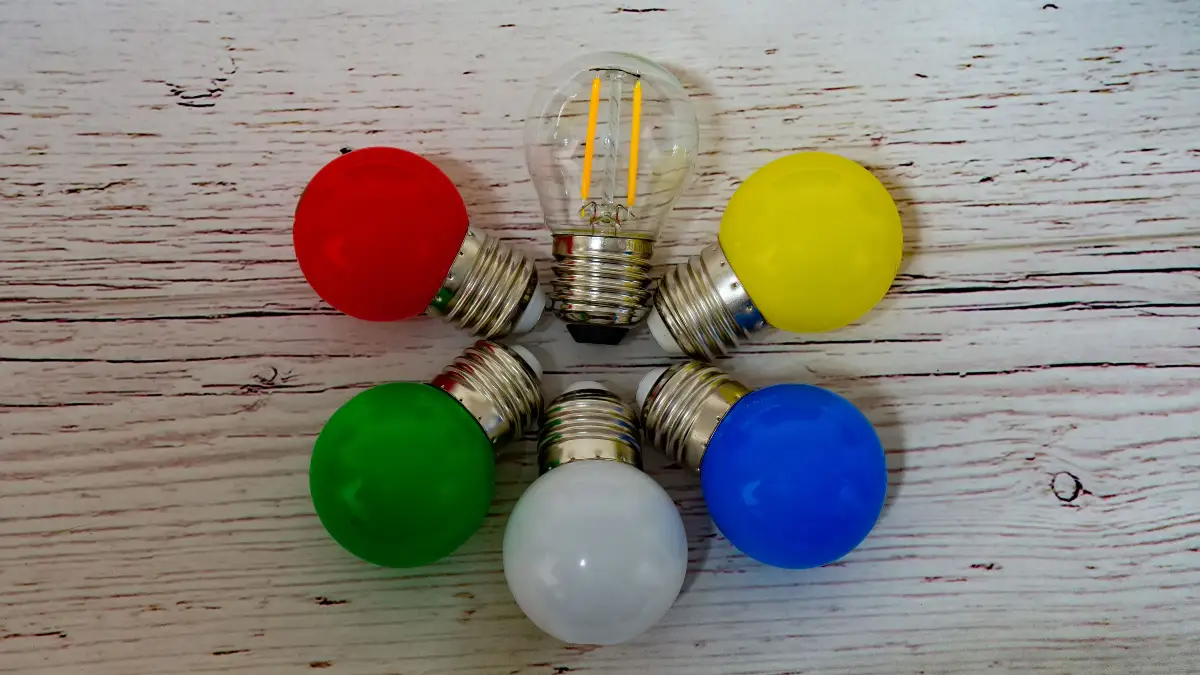
Standard household LEDs won’t work in your RV. You need 12V-specific bulbs for your electrical system.
Stock interior dome lights, exterior marker lights, and reading lights. Road vibration kills LED driver circuits faster than the bulbs themselves. When they fail, you get lighting dead zones.
One RVer said: “Lost all interior lighting during week-long boondocking trip.” Without lights, you can’t cook safely, read, or find things after dark.
Color temperature matters. 3000K gives warm light like incandescent bulbs. 5000K provides bright white light for detailed work. Carry 2-3 of each type your RV uses. When you’re boondocking miles from stores, having spare bulbs keeps your RV livable after sunset.
23. Door Lock/Latch Assembly

When your main door lock fails, your RV security is gone. Thieves can walk right in while you’re away exploring.
Storage bay latches break from constant road vibration. Springs, actuators, and strike plates wear out faster than you think. One RVer said: “Locked out of RV with keys inside, locksmith $300 service call.”
Moisture and debris cause mechanisms to bind and jam. You can’t get into your own RV when the lock sticks.
Match the exact manufacturer and model for proper fit. Generic locks often don’t align correctly with your door frame. Learn override procedures for electronic locks before you need them. When you’re camping in remote areas, a broken lock can strand you outside your own home. Don’t trust your security and access to worn-out hardware.
24. AC Capacitor
Capacitor failure means no air conditioning. In summer heat, this ends your trip immediately.
Your AC won’t start, makes humming noises, or blows warm air only. High temperatures kill capacitors faster than any other AC part. One RVer reported: “Lost AC in Arizona summer, had to evacuate RV for hotel.”
“Capacitors fail without warning – carry spares in hot climates,” warns one AC technician. You can’t predict when they’ll die.
Important safety warning: Capacitors hold electrical charges that can shock you. Get professional installation unless you’re experienced with electrical work. Match the exact microfarad rating and voltage when buying replacements. Wrong capacitors damage your AC compressor. In desert heat, a failed capacitor can make your RV dangerously hot within hours.
25. Exhaust Manifold Studs/Bolts
Ram truck owners know this problem well. Mountain and desert travel breaks exhaust manifold bolts regularly.
Mark and Emily learned this the hard way. Their triple failure cost $6,000 and left them stranded for 3 weeks. High-temperature stress from expansion and contraction cycles snaps bolts without warning.
“Carry both stainless studs and Grade 8 bolts,” advises one mechanic. Different situations need different hardware. Get the exact thread pitch for proper fit – wrong threads strip your manifold. When you’re pulling a heavy RV through mountains, exhaust system failures can strand you far from help.
26. Slide-Out Gear Assembly
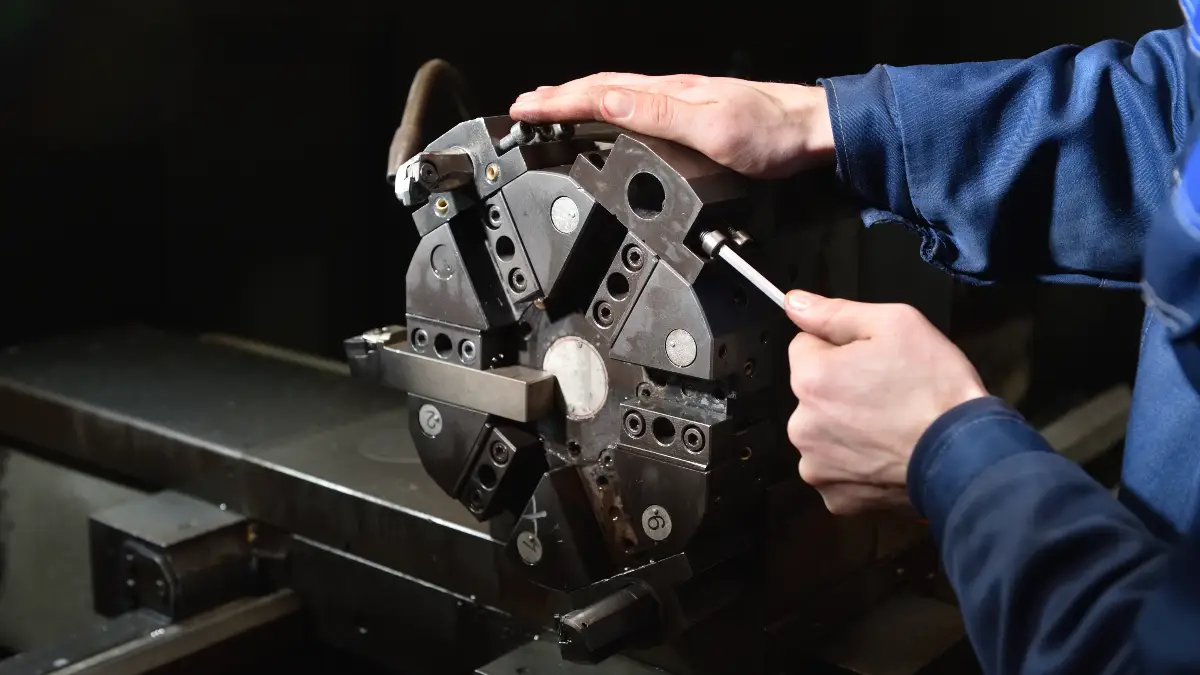
Love Your RV learned this lesson: A $25 gear fix beats a $400+ motor replacement. Plastic gears strip under load, especially on heavy slides.
Your slide moves intermittently or makes grinding noises when gears start failing. Metal gears last much longer than plastic ones.
“Upgrade to metal gears when replacing,” recommends one slide expert. You can still use manual override with intact gears. When gears completely strip, manual operation becomes impossible. Don’t let cheap plastic gears trap you with extended slides that won’t retract.
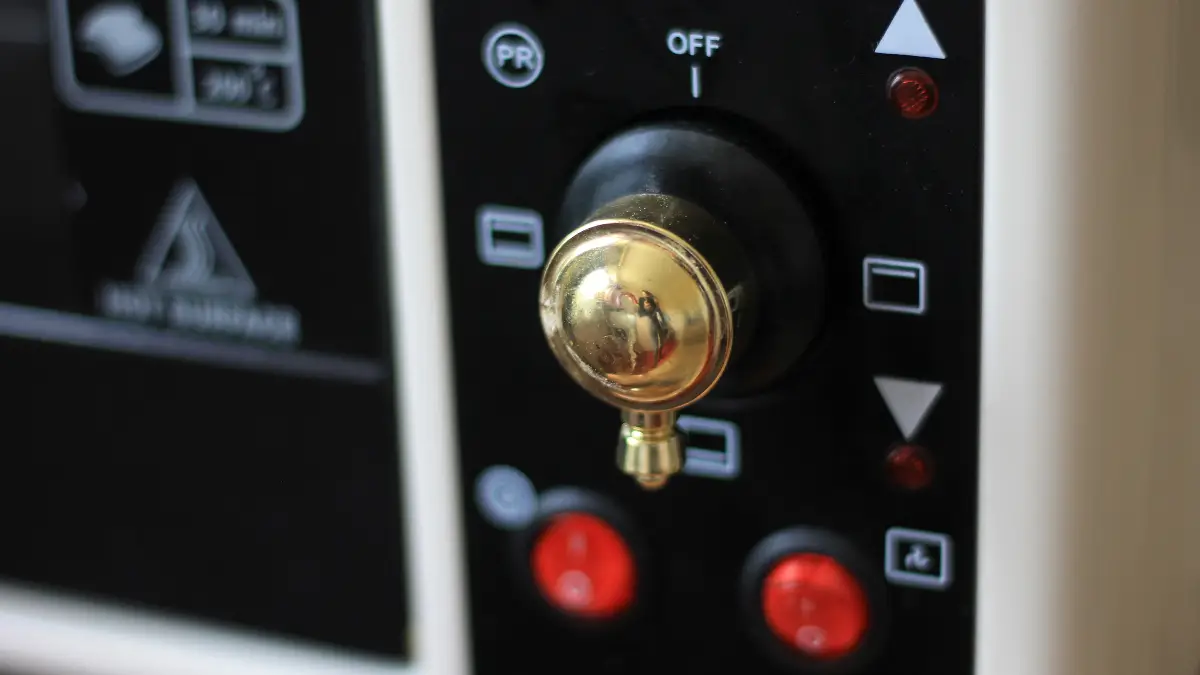
27. Generator Spark Plugs
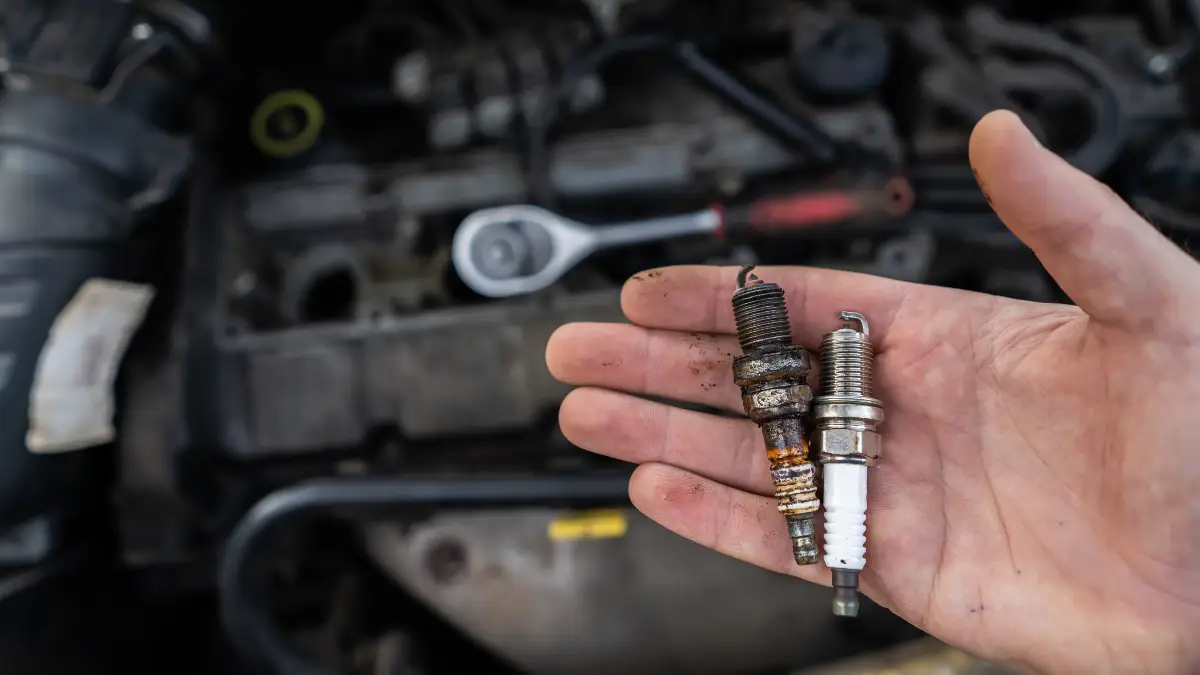
High elevation reduces spark plug life dramatically. Poor gas quality fouls plugs even faster.
Your generator will start hard, run rough, or produce reduced power when plugs go bad. Check and replace plugs every 100 hours of operation.
Match the exact heat range for your generator model. Wrong heat ranges cause engine damage or poor performance. When you’re boondocking without shore power, a dead generator leaves you without electricity for lights, refrigeration, or air conditioning.
28. Brake Magnet Assembly
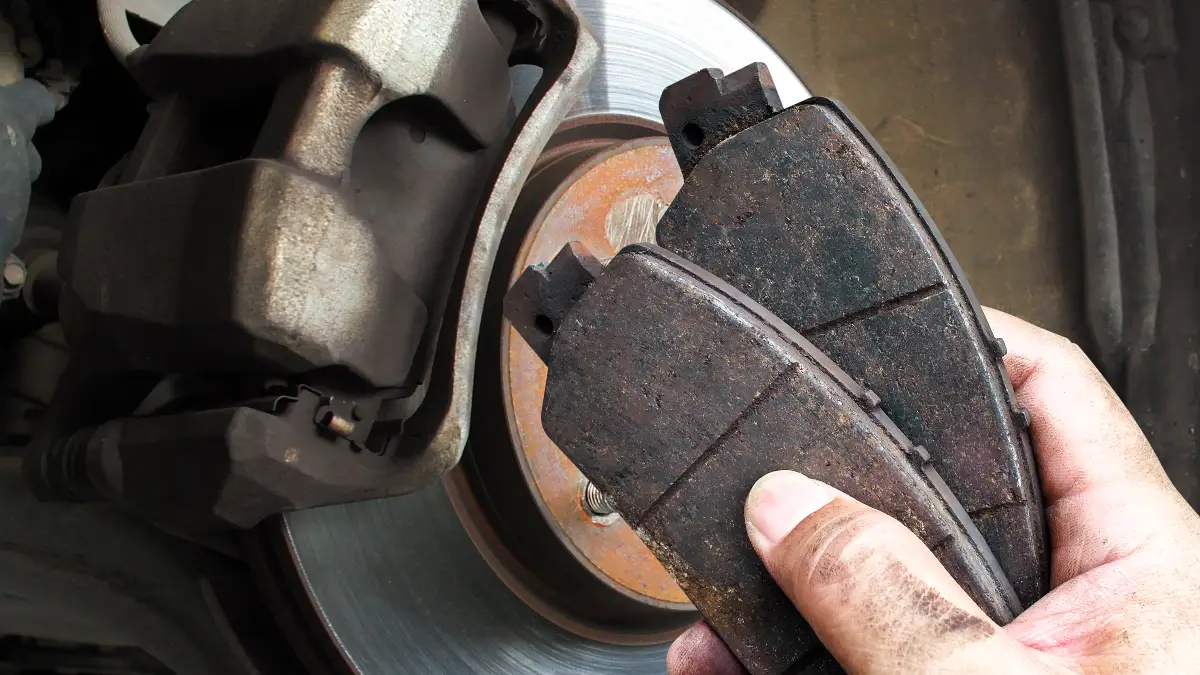
Electric trailer brakes need working magnets for safe stopping. When magnets wear out, your stopping distance increases dangerously.
Magnets wear unevenly, causing brake fade on one side. You’ll notice longer stopping distances and brake controller error messages.
“Replace magnets in pairs for balanced braking,” suggests one brake specialist. Installation requires removing brake drums – not a roadside repair. When your trailer brakes fail on mountain descents, you risk losing control and causing accidents.
29. Electrical Repair Kit
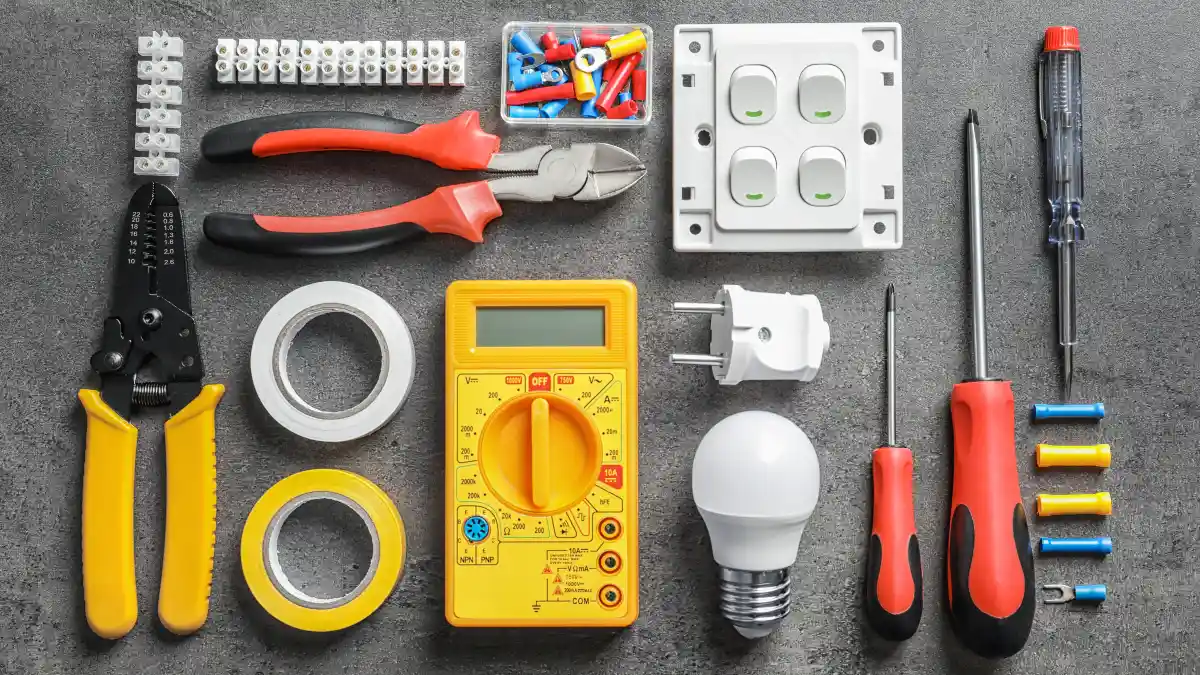
Emergency electrical repairs need the right components: wire nuts, crimp connectors, heat shrink, and electrical tape.
Common repairs include lighting circuits, water pump connections, and slide motor wiring. Use 10, 12, and 14 AWG wire – the most common sizes in RVs.
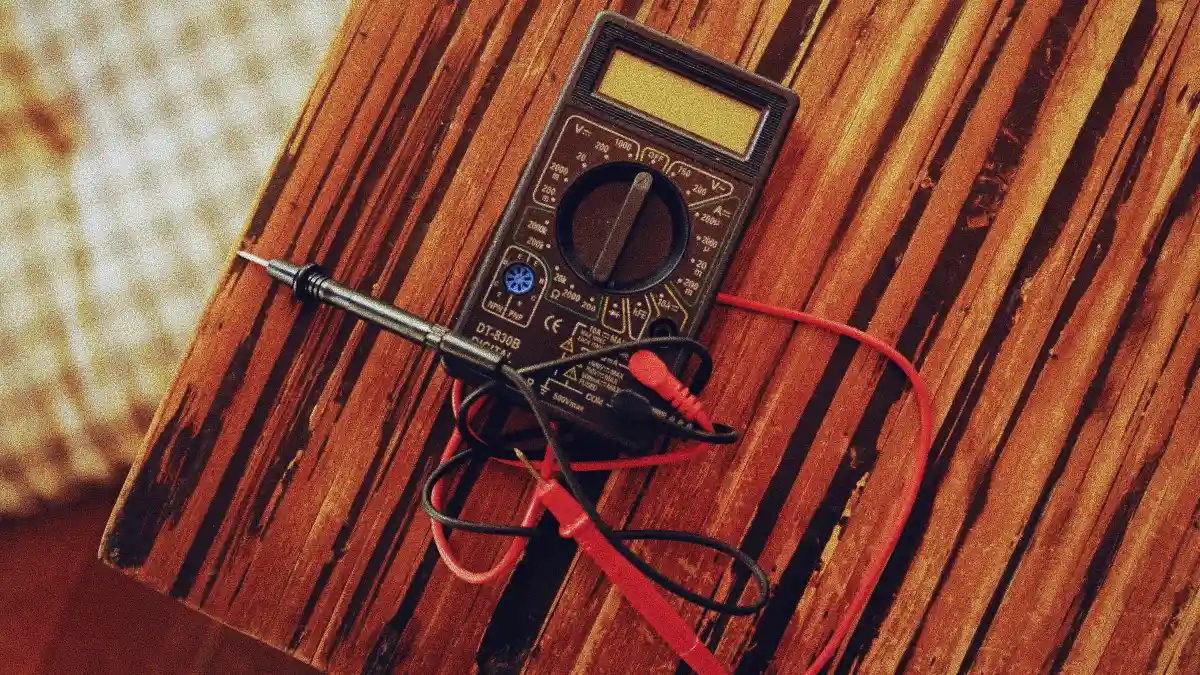
Include wire strippers, crimping tools, and a multimeter for diagnosis. “Proper connections prevent electrical fires,” warns one electrician. Bad electrical repairs can burn down your RV.
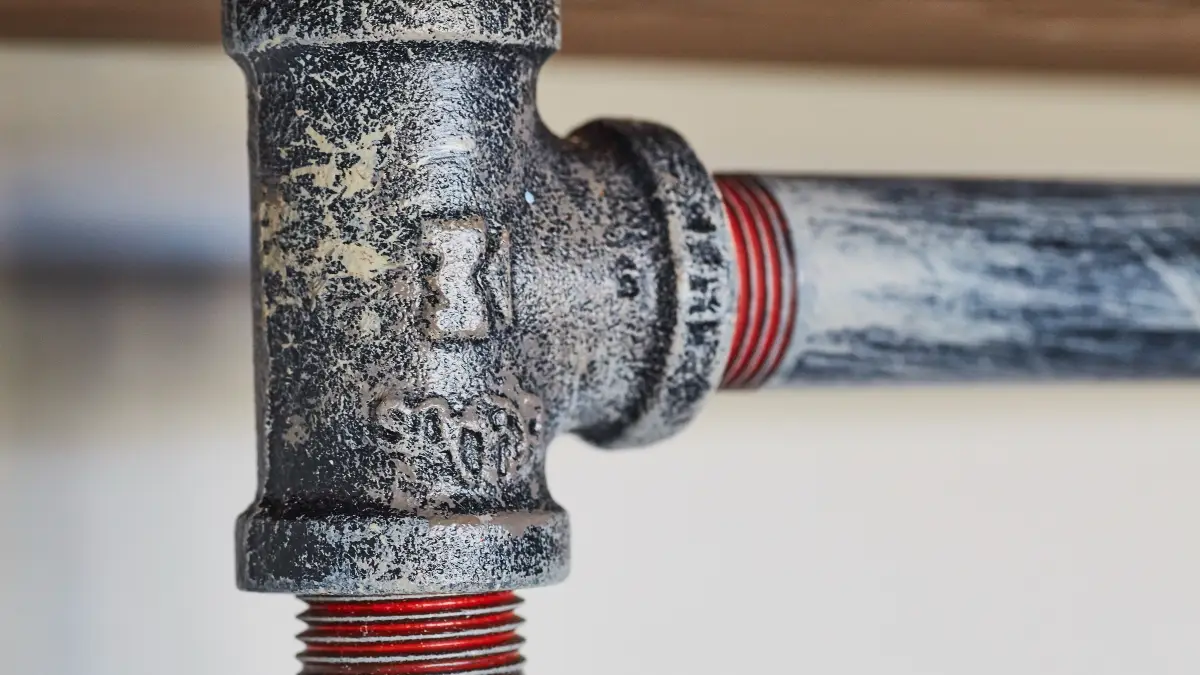
30. PEX Fitting Assortment ($2-5 each)
Freeze damage and connection failures create plumbing emergencies. You need straight, elbow, tee, and coupling fittings in 1/2″ and 3/4″ sizes.
Installation requires a PEX crimping tool. One RVer said: “Burst pipe flooded RV interior, $8,000 damage.” Water damage destroys everything inside your RV.
Keep an assortment of fittings for emergency repairs. When pipes burst in remote locations, you can’t wait for professional help.
31. Sewer Connection Hardware
“Good to have extra drain cap if you forget to secure it,” advises one expert. Lost drain caps, damaged bayonet fittings, and worn sealing rings create sanitation problems.
Threading damage prevents proper connections. Seal deterioration causes leaks and contamination. One RVer reported: “Lost drain cap, couldn’t dump tanks for 3 days.”
Proper sealing prevents contamination of campgrounds and water supplies. Don’t let cheap hardware create expensive and embarrassing waste problems.
32. Emergency Sealants
Roof leaks need immediate temporary fixes. Keep Flex Seal, butyl tape, and roofing cement for emergencies.
One RVer said: “Emergency roof repair saved $15,000 interior replacement.” Water damage destroys everything inside your RV fast.
These are temporary fixes until you can get permanent repairs. “Emergency sealants are temporary – get professional repair ASAP,” warns one expert.
Check expiration dates and replace sealants annually. When your roof starts leaking during a storm, emergency sealants buy you time to get professional help.