
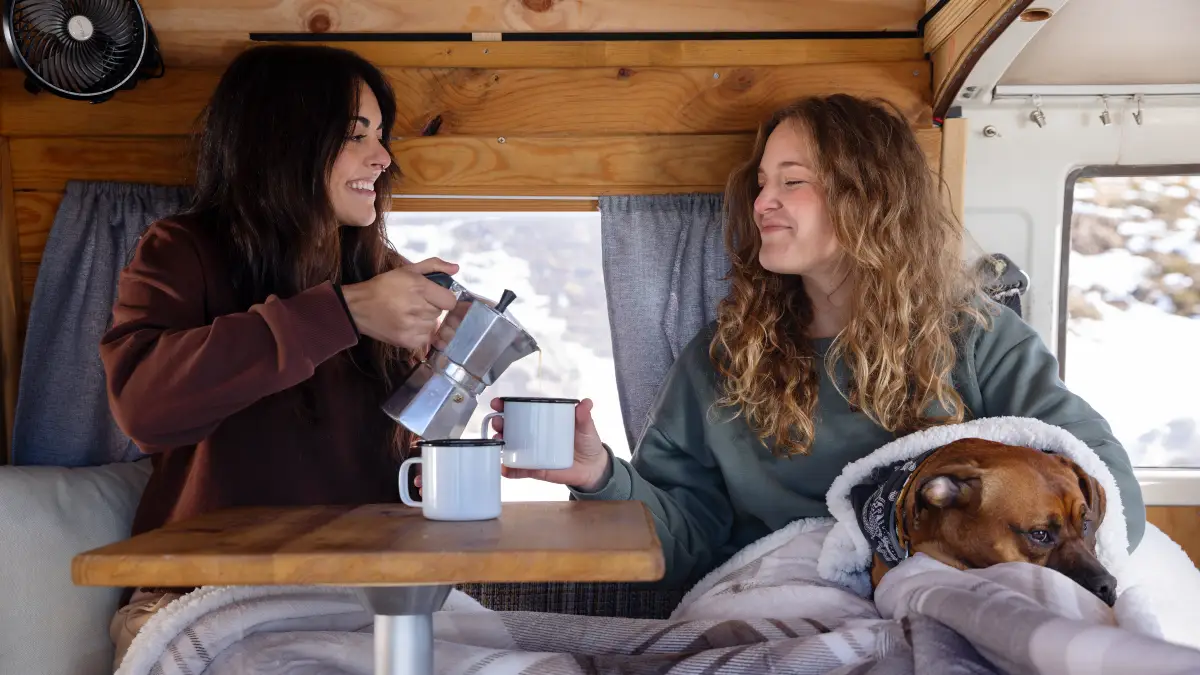
Last winter, 21 million Americans hit the road in their RVs during the coldest months—but nearly 40% encountered expensive problems that could have been avoided.
From frozen pipes causing $5,000 in damage to propane bills hitting $40 per day, winter RV travel can quickly transform from dream vacation to financial nightmare.
Yet thousands of savvy RVers are thriving in sub-zero temperatures, enjoying empty campgrounds and stunning winter landscapes while others sit home.
The difference? They know nine specific tricks that turn winter’s biggest challenges into minor inconveniences. Here’s what separates costly disasters from incredible winter adventures.
1. The Dual-Heating System That Cuts Costs by 40%
Your RV furnace is eating you alive financially. Here’s the truth: that 30-pound propane tank that normally lasts a week? In extreme cold, it’s gone in 2-3 days. You’re burning through $15-40 worth of propane every single day just to stay warm.
But experienced winter RVers know a secret. They use a dual-heating system that cuts their winter heating costs nearly in half.
Here’s how it works. When you’re plugged into shore power, run a 1500W ceramic heater instead of your propane furnace. These space heater RV setups pull 12.5 amps each—most RV sites give you 30 amps total, so you can run one heater plus your other essentials. The electric cost? About $3-5 per day compared to that $15-40 propane bill.
The real magic happens when you add zone heating. Put a small 200W personal heater near where you’re sitting. Keep your main living area warm with the ceramic heater. Let the bedrooms stay cooler until bedtime. This targeted approach means you’re not wasting energy heating empty spaces.
Electric vs propane heating math is simple. Propane costs about $3.50 per gallon right now. Your furnace burns 0.5-1 gallon per hour in freezing weather. Electric rates average $0.12 per kilowatt-hour. A 1500W heater uses 1.5 kilowatts per hour—that’s 18 cents. Even running constantly, you’re looking at $4.32 for 24 hours of electric heat versus $42 for propane.
Smart RVers run extension cords from their main electrical panel through slide-out gaps. Use heavy-duty 12-gauge cords rated for the amperage. Position heaters away from curtains and bedding. Never daisy-chain multiple heaters on one circuit.
The setup isn’t perfect. You need shore power for this to work. In extreme cold below 10°F, you’ll still need some propane furnace time to keep your basement and tanks warm. But combining both systems gives you the best RV heating solutions for your wallet.
One couple from the forums reported their monthly heating dropped from $450 to $270 after switching to this hybrid system. That’s $180 saved every month—enough to pay for those ceramic heaters in just two weeks.
2. Professional Skirting Systems for 20-Degree Protection
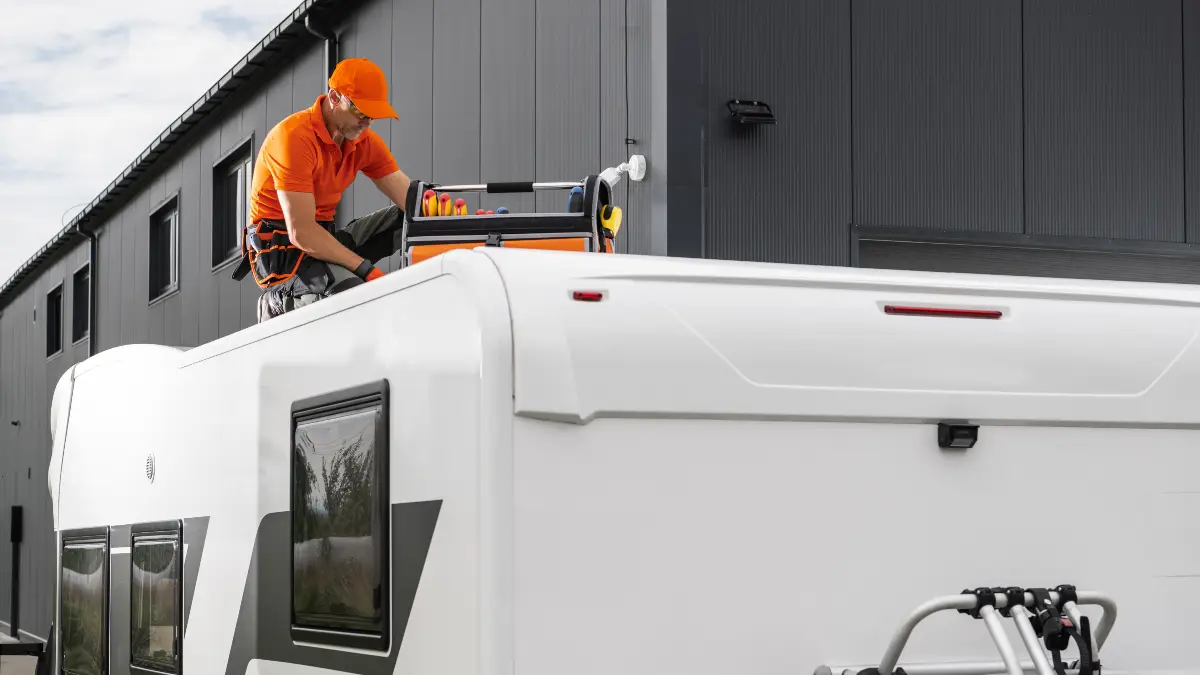
Your RV’s belly is bleeding heat like crazy. All that warm air you’re paying to create? It’s escaping straight through the floor into the frozen ground below. This is why RV skirting changes everything for cold weather RV setup.
“The EZ Snap RV Skirt kept our Travel Trailer roughly 20 degrees warmer than the outside temperature most of the time and it only took 11 minutes to snap and setup.”
Twenty degrees. Think about that. When it’s 20°F outside, your RV floor stays at 40°F. That’s the difference between pipes freezing and everything working normally.
The science is simple. Your RV sits on wheels with tons of air space underneath. Cold wind whips through that space, pulling heat from your tanks, pipes, and floor. Winter RV insulation through skirting creates a dead air barrier—like putting a coat on your RV’s bottom half.
You’ve got three main options for 2025:
EZ Snap Diamond-Weave Skirting runs $800-$1,500. It uses military-grade fabric with 3M adhesive fasteners. No drilling required. The whole system installs in under 15 minutes once you know the process.
The Skirting Co. R-Skirt costs $1,200-$2,500 but includes R-7 insulation value. That’s like adding a layer of house insulation around your RV’s base. These use a track system for a cleaner look.
AirSkirts Inflatable System prices at $1,000-$2,000. You literally inflate these like pool toys. Setup takes 15 minutes, and they pack down small for storage.
Compare that to DIY foam board skirting at $200-$400. Sure, it’s cheaper. But it takes hours to cut and fit, blows away in strong winds, and looks terrible. One windstorm that destroys your DIY setup costs you more in materials and time than buying the professional system once.
The real savings come from prevented damage. Frozen pipes cost $3,000-$5,000 to repair. Skirting pays for itself by preventing just one freeze incident. Plus, you’re saving 20-30% on heating costs because your furnace doesn’t run constantly.
Professional skirting also increases your RV’s resale value. Buyers know you’ve protected the undercarriage from freeze damage. That’s worth $2,000-$3,000 on a typical RV sale.
3. Heated Lithium Batteries That Don’t Fail in Cold
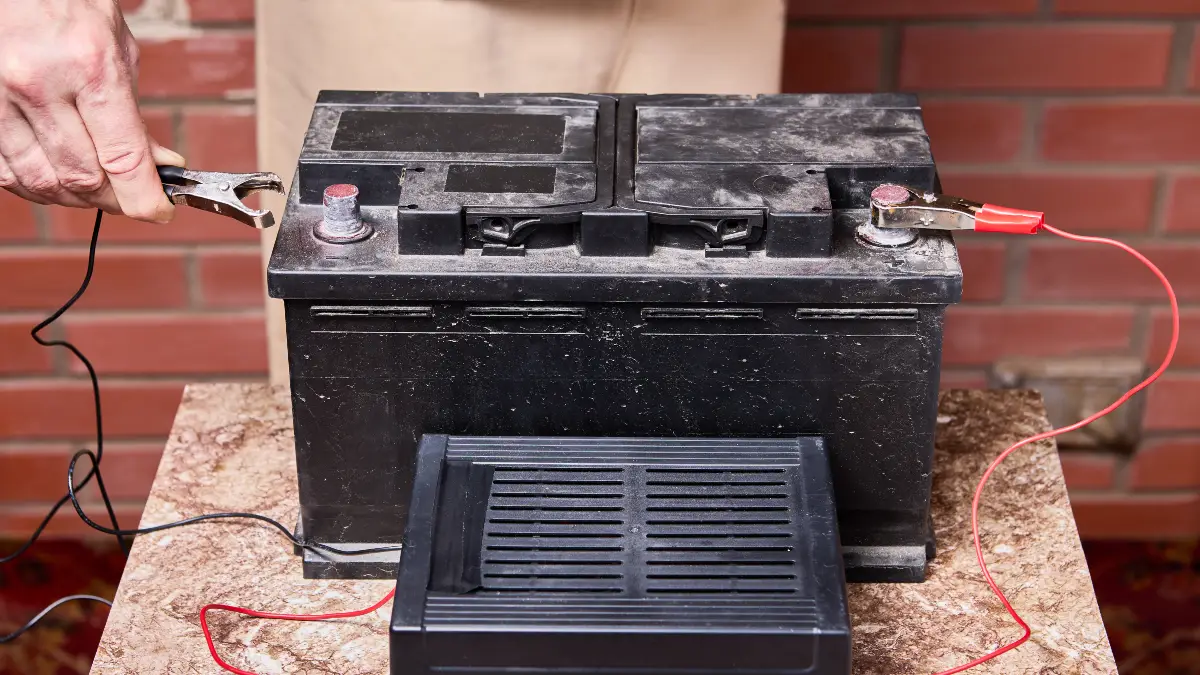
Your batteries are lying to you about their capacity. At 0°F, standard RV batteries cold weather performance drops by 50%. That 100Ah battery? It’s really giving you 50Ah. Your lights dim, your furnace fan struggles, and your water pump barely works.
Lithium batteries face an even scarier problem. They literally cannot charge below 32°F without permanent damage. The lithium plates inside develop metal deposits that destroy the battery from the inside out. One frozen charging session can ruin a $900 battery.
Enter heated lithium batteries—the game-changer for winter RV power.
The RELiON RB100-LT Cold Weather Series ($899-$1,099) has built-in heating that kicks on automatically at 35°F. It maintains 95-98% capacity even at freezing temperatures. The internal heater only uses 5 amps while warming up, then shuts off once the battery reaches safe charging temperature.
Battle Born Heated LiFePO4 batteries ($950-$1,200) take it further with Bluetooth monitoring. You can check battery temperature, state of charge, and heater status from your phone. These maintain full capacity down to -4°F and can charge safely in any weather.
Real-world performance beats the specs. One full-timer in Montana reported their heated Battle Born system powered their RV for five days straight at 15°F—running furnace, lights, water pump, and electronics. Try that with regular batteries.
Installation needs planning. Heated batteries require a dedicated charge source that won’t force charging when cold. Most solar controllers now have lithium cold-weather cutoffs. Your converter might need updating to lithium-compatible settings.
The heater draws from the battery itself, using about 2-3% of capacity per day in freezing weather. That’s nothing compared to losing 50% capacity from cold or destroying the battery entirely.
These batteries last 10+ years compared to 3-5 years for regular deep-cycle batteries. At $900 for a heated lithium versus $150 for lead-acid replaced three times, you’re actually saving money long-term. Plus, lithium weighs 60% less—important when every pound counts for safe towing.
4. The Complete Water System Protection Strategy
Water expands 9% when it freezes. That’s enough force to split brass fittings, crack plastic tanks, and destroy $3,000 water pumps. Your RV water system winter survival depends on protecting every component from that expansion.
External hoses first, then exposed pipes, followed by pump connections, and finally tank valves. Knowing this hierarchy lets you protect the right parts.
Start with a heated water hose. The Camco 25-Foot Heated Drinking Water Hose ($120-180) has a built-in thermostat that activates at 40°F. It stays flexible down to -20°F and keeps water flowing when regular hoses turn into ice sculptures. The power draw? Just 180 watts—less than two light bulbs.
But here’s what nobody tells you: heated hoses fail at the connections. The heating element doesn’t reach the last 6 inches. Wrap those ends with heat tape and insulation, or you’ll wake up to frozen fittings anyway.
Your tanks need protection too. Stick 12V heating pads ($20-60 each) directly onto your fresh, gray, and black tanks. These draw 2-3 amps each and prevent the disaster of frozen waste—trust me, you don’t want to deal with that mess.
Thermocube outlets ($15-25) are genius. They automatically turn power on at 35°F and off at 45°F. No more wasting electricity heating things that don’t need it. Plug your heat tape and tank heaters into these for set-and-forget protection.
If temperatures drop below your system’s protection (usually around -10°F), you must act fast. Open all faucets to a trickle—moving water freezes slower. Dump a gallon of RV antifreeze into each drain trap. Disconnect and drain your fresh water hose every night.
Some RVers add a cup of salt to their black and gray tanks. It lowers the freezing point like ocean water. Just remember to flush thoroughly in spring, or you’ll corrode your valve seals.
The total investment for complete water protection? About $400. The cost of replacing one frozen water pump? $800-$1,200 plus labor. You do the math on whether it’s worth it to prevent frozen pipes.
5. Humidity Control That Prevents Thousand-Dollar Damage

Here’s what’s happening inside your RV right now. You’re breathing out moisture. Cooking releases steam. Showering creates clouds of humidity. In summer, this escapes through open windows. In winter? It turns into destruction.
When your RV interior sits at 68°F and outside drops to 30°F, you’ve hit the danger zone. That warm, moist air hits cold windows and walls. It condenses into water droplets. Those droplets create mold, rot wood, rust metal, and cause thousands in winter moisture damage.
The target for RV condensation winter control? Keep humidity below 30%. That’s desert-dry, but it’s the only way to prevent damage when temperature differences exceed 20 degrees.
Forget those tiny countertop dehumidifiers. You need a 70-pint compressor-based unit for humidity control RV systems that actually work. These pull 6-8 pints of water from the air daily. One couple in Michigan filled a 5-gallon bucket every three days from their dehumidifier. That’s water that would’ve been destroying their RV.
Desiccant dehumidifiers seem cheaper but can’t handle RV moisture loads. They work by absorbing moisture into crystals—fine for a closet, useless for a living space where two people generate 3 gallons of water vapor daily just by breathing and daily activities.
Strategic ventilation matters too. Crack a window while cooking—even just an inch. Run your bathroom fan during and 20 minutes after showers. Open opposite windows for 5 minutes each morning to exchange stale, moist air for fresh, dry air. Yes, you’ll lose some heat. But you’ll save your RV.
Never dry clothes inside during winter. One load of laundry releases 5 pounds of water into your air. That’s asking for mold problems. Use laundromats or covered outdoor spaces instead.
Watch for condensation on windows as your early warning system. If you see fogging, your humidity is too high. Single-pane RV windows fog first, giving you time to act before moisture attacks hidden spaces.
The repair costs for ignoring humidity? Subfloor replacement runs $2,000-$4,000. Wall repairs from rot cost $3,000-$6,000. Mold remediation can hit $10,000 if it spreads through ventilation systems.
6. The Temperature Threshold Rules for Safe Travel

Every RV has a breaking point. Most hit their RV temperature limits around 0°F, and you need to know exactly when to fight versus when to run.
Above 0°F, proper preparation keeps you comfortable. Your heating systems work efficiently, your batteries maintain charge, and your water flows normally. This is normal cold weather camping safety territory.
Below 0°F? You’re entering the danger zone for winter RV thresholds. Propane regulators freeze up. Furnaces can’t keep up with heat loss. Batteries struggle to accept charge. Even heated water hoses start failing.
When forecasts show sub-zero temperatures lasting more than two days, make your move. Either head south immediately or find heated storage. Trying to tough it out leads to cascade failures—one frozen component leads to another, then another.
Your equipment has specific breaking points. Propane stops vaporizing efficiently at -20°F. Standard RV antifreeze only protects to -50°F. Diesel fuel gels at 15°F without additives. Even your tires lose 2 PSI for every 10-degree drop.
Create temperature trigger points for action. At 10°F, add skirting and supplemental heat. At 0°F, run faucets at a trickle overnight. At -10°F, consider winterizing and leaving. At -20°F, you should already be gone.
Emergency exit planning isn’t giving up—it’s smart. Map heated storage facilities within 100 miles of your winter spots. Know which RV parks stay open year-round with heated facilities. Keep your tank additives and winterizing supplies ready.
Some RVers push these limits. Full-timers in Alaska survive -40°F with extreme modifications. But they’re using Arctic packages, redundant heating systems, and constant monitoring. For recreational RVers, the risk isn’t worth the reward below zero.
Weather windows matter too. A single night at -5°F surrounded by 20°F days? Manageable. A week of sub-zero? That’s evacuation time. Your RV can handle short extreme exposures but not sustained arctic conditions.
7. Booking Strategies for Snowbird Destinations

By the time you think about booking, it’s already too late. Popular winter RV campgrounds fill up faster than Taylor Swift concerts.
Florida leads the insanity. Torrey Trails RV & Golf Resort in Bowling Green has 368 sites. Every single one sold out within 15 days of opening reservations in January—for the following winter. That’s 11 months in advance.
Mark your calendar for exactly 11 months before your arrival date. Set multiple alarms. Be online when reservations open—usually 8 AM Eastern. Have backup dates ready. The best sites disappear in minutes, not hours.
Wait lists work if you work them right. Don’t just add your name and forget. Call weekly. Be flexible with dates. Offer to take any cancellation, even last-minute. Persistence pays—about 30% of reservations change hands through cancellations.
Shoulder seasons hide opportunities. October and March in Florida cost 40% less than January-February. Arizona in November beats January prices by 50%. Texas remains affordable because fewer snowbirds know about it.
Location comparison breaks down like this:
Florida: Most expensive ($75-$120/night), books earliest, best beaches, worst humidity. The social scene rocks, but you’re paying premium prices for that sunshine.
Arizona: Moderate pricing ($40-$80/night), extreme temperature swings, incredible boondocking. Quartzsite alone swells from 3,000 to 250,000 people each winter.
Texas Rio Grande Valley: Budget-friendly ($30-$60/night), hidden gem status, amazing Mexican food. Weather stays at 80°F all winter, but occasional cold snaps surprise everyone.
Private membership parks offer secret advantages. Thousand Trails, Encore, and ROD members book their parks before the public. Annual memberships cost $500-$2,000 but include free or discounted stays. Do the math—30 nights of camping pays for most memberships.
The reservation game has new rules post-2020. More people RV now. Remote work enables longer stays. Snowbirds book multiple spots then cancel extras later. You’re competing against professional reservation grabbers who resell sites.
Beat the system by going where others don’t. Coastal Georgia, New Mexico’s desert, and inland Southern California offer warm weather without the crowds.
8. Weather Routing Technology That Prevents Disasters

Winter driving kills RVs through stupidity, not bad luck. RV weather apps and smart winter driving safety planning prevent you from becoming another statistic in that 24% increase in winter accidents.
Your RV isn’t a car. It’s a sailing ship on wheels. Wind that barely moves cars can flip RVs. Ice that sedans handle fine sends RVs sliding into ditches. Visibility that works for regular vehicles leaves RV drivers blind to hazards.
Drive Weather App ($14.99/year) revolutionized RV route planning by showing weather conditions when you’ll actually be there. Not current weather—future weather at each point of your trip. Leaving at 8 AM means you’ll hit that mountain pass at 2 PM. The app shows you exactly what conditions you’ll face at 2 PM, not now.
RV LIFE Trip Wizard ($49.99/year) goes further. It knows your RV’s height, weight, and length. It routes you around low bridges, steep grades, and propane-restricted tunnels. The weather overlay shows wind speeds, precipitation, and temperature along your entire route.
Professional services like RV Weather Enterprises provide meteorologist-written forecasts specifically for RVers. They consider wind impact on high-profile vehicles, freezing precipitation timing, and mountain pass conditions. It’s like having a weather expert riding shotgun.
Your go/no-go framework needs hard rules. Wind over 30 mph? Stop driving. Freezing rain forecast? Don’t leave. Snow actively falling? Find a safe spot and wait. Visibility under a quarter-mile? You’re parking immediately.
Real-time monitoring means checking conditions every 2 hours while traveling. Weather changes fast in winter. That clear forecast can turn into a blizzard warning while you’re driving. Set weather alerts on your phone for your route, not just your location.
The worst mistake? Pushing through because you have reservations. No campsite is worth wrecking your RV. Most parks understand weather delays and work with you on late arrivals. Call ahead, explain the situation, and arrive alive.
Mountain passes need special attention. They create their own weather. Check pass-specific forecasts, not just general area weather. Many states have pass cameras showing real-time conditions. Use them.
Create bail-out points every 50 miles. Know where you can safely stop if conditions deteriorate. Walmart parking lots, truck stops, and rest areas become lifesavers when weather turns nasty.
9. The Real Budget Numbers You Need to Plan

Let’s kill the fantasy right now. Winter RV costs run triple what summer camping costs. If you’re not ready for these cold weather camping expenses, you’ll end up broke in February wondering what happened.
Here’s your realistic RV travel budget breakdown for winter:
Heating costs hit $100+ weekly in sustained cold. That’s $400-$500 monthly just to stay warm. Compare that to $50 monthly in summer for occasional air conditioning. Your propane dealer becomes your new best friend.
Equipment investment ranges from $500 for bare basics to $6,000 for complete comfort. Budget setups get you through mild winters. Professional setups handle anything nature throws at you. Most RVers land around $2,000-$3,000 for good protection without going crazy.
Campground rates jump 20-50% in warm destinations during winter. That $45/night summer spot in Florida costs $75 in January. Monthly rates help—$900/month beats $2,250 at daily rates. But you’re still paying premium prices for sunshine.
Your emergency fund needs $1,500 minimum. Furnaces fail. Pipes freeze. Generators break. Having cash ready prevents credit card disasters when something inevitably breaks in the middle of nowhere.
The math on boondocking versus campgrounds surprises people. Free camping saves $30-$75 daily on site fees. But you burn $15-$25 in generator fuel daily for power. Add propane, water hauling, and dump fees—you’re only saving $10-$20 daily while working much harder.
Insurance shifts in winter too. Full-timer policies cost more but cover you like homeowner’s insurance. Good Sam reports average savings of 34% versus standard RV policies. That’s $400-$600 annually for better coverage. Don’t skip this—one freeze claim without proper coverage destroys your finances.
ROI on equipment makes sense when you calculate prevented damage. Skirting ($1,500) prevents one frozen pipe incident ($3,000). Heated hoses ($150) prevent tank damage ($2,000). Dehumidifiers ($300) prevent mold remediation ($5,000). Every dollar spent on prevention saves three on repairs.
Compare this to traditional winter escapes. A month in a Florida hotel runs $3,000-$5,000. A winter home rental costs $2,500-$4,000 monthly. RV winter travel at $2,000 monthly (including everything) actually saves money while giving you freedom to move.
The couples who succeed at winter RVing budget $3,000-$4,000 monthly all-in. That covers camping, fuel, propane, food, and activities. It sounds like a lot until you realize you’re living your dream instead of watching winter through your house windows.