Hypothermia hits at 50°F—not freezing temps. Bears smell your granola bar from a mile away. Clear streams hide parasites that make you violently ill for weeks. Your phone dies. Your GPS fails. You’re alone.
Every year, over 100,000 search and rescue operations pull people from the wilderness. Most didn’t expect trouble. They just wanted a weekend camping trip.
Here’s the truth: nature doesn’t care about your plans. But preparation beats panic every time. These 15 tips cover what actually keeps you alive—from shelter systems that prevent hypothermia to navigation skills when technology fails.
Let’s fix your camping nightmares before they happen.
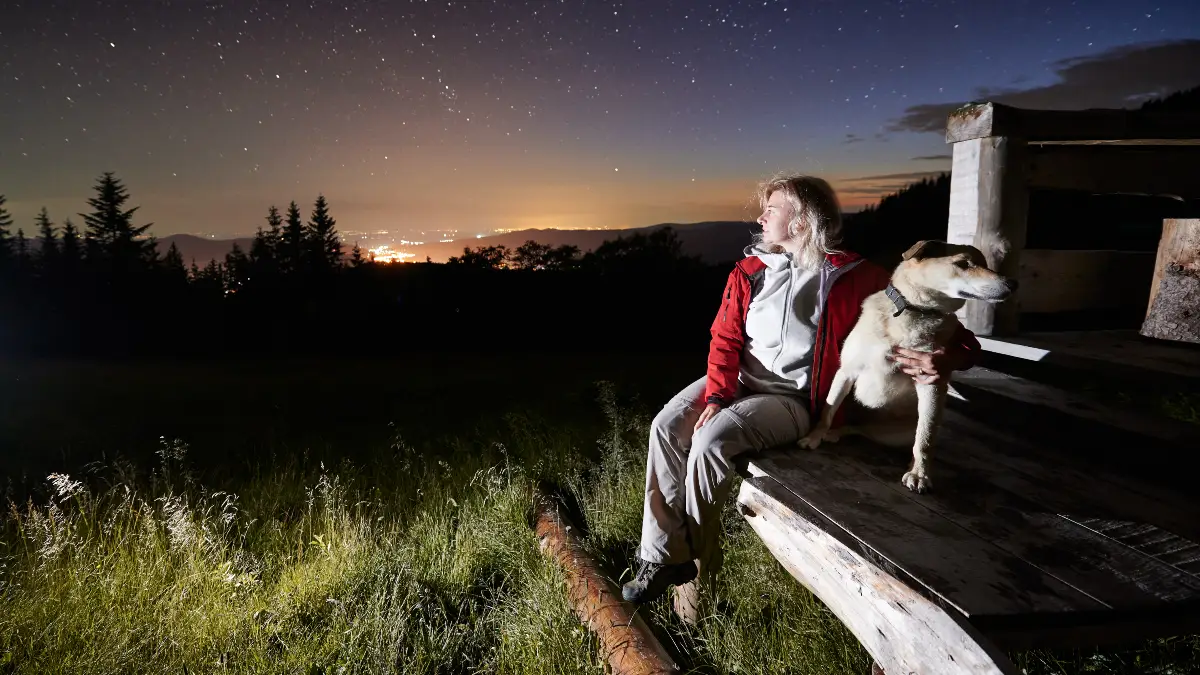
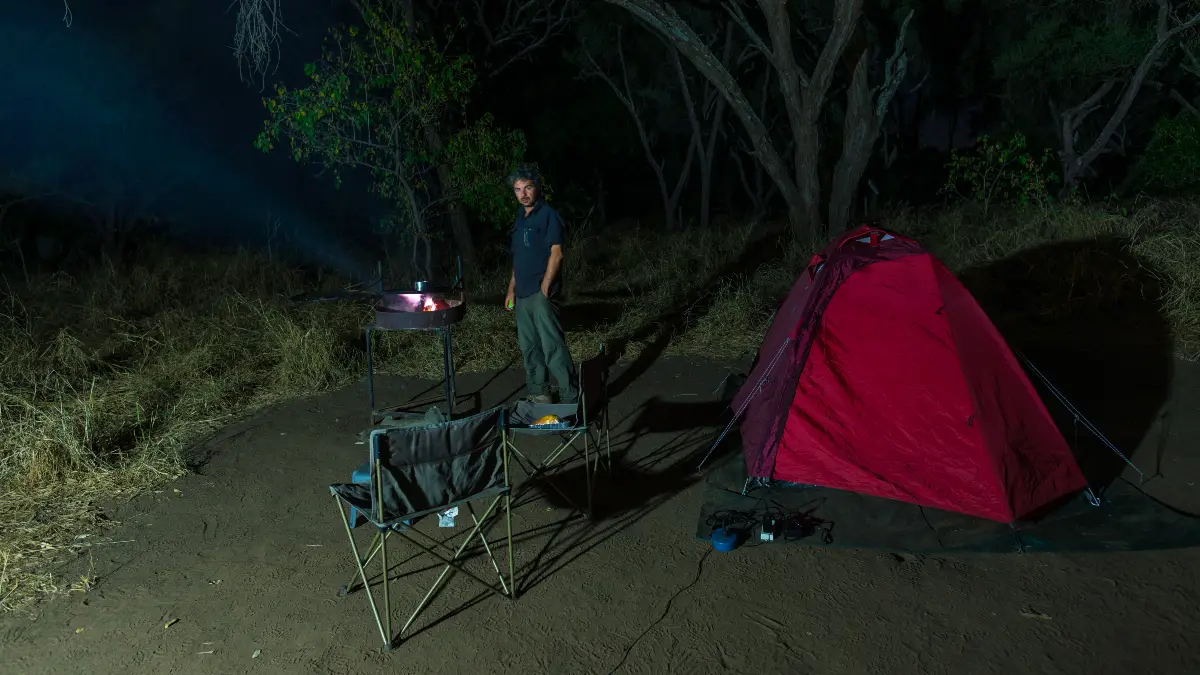
1. Master Your Shelter and Sleep System
Your tent isn’t just shelter—it’s your survival bubble.
Here’s what most people don’t know: hypothermia can hit you at 30-50°F. Not freezing temps. Just cold nights. That’s why your sleeping system matters more than almost anything else.
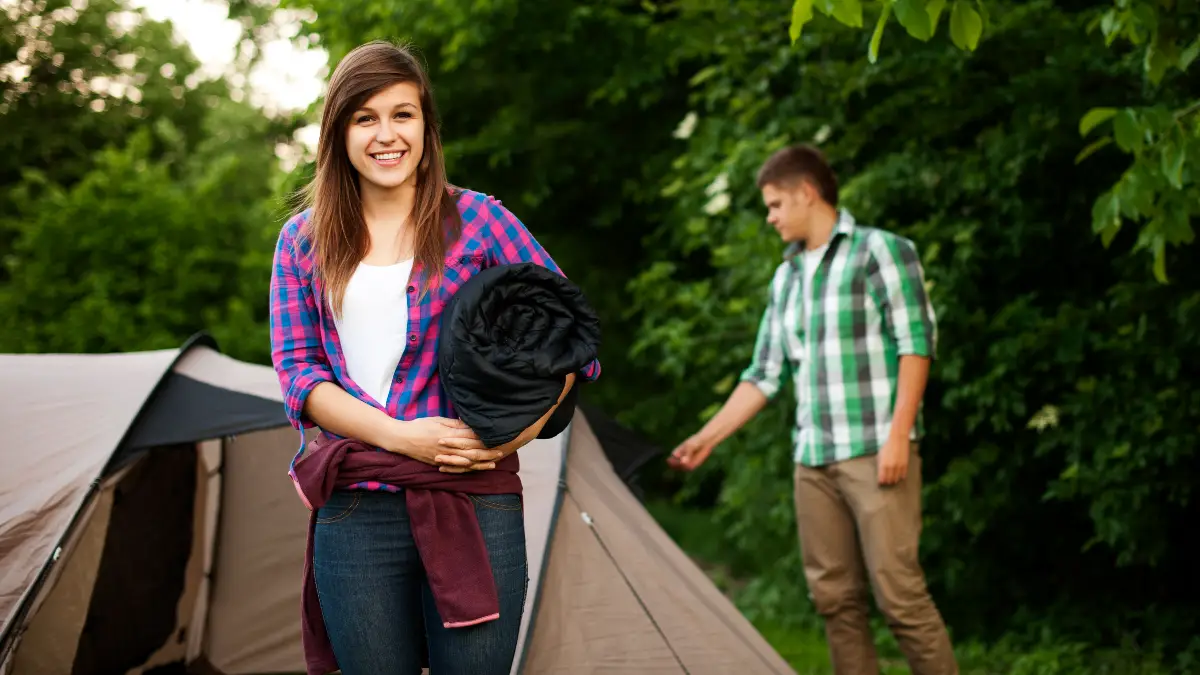
Your sleep system needs three parts:
- A tent big enough to actually be comfortable
- A sleeping bag rated colder than you think you’ll need
- Insulation under you (your body weight crushes sleeping bags, making them useless without a pad)
Dave Canterbury teaches the 5 Cs survival principle. The “Cover” element creates a micro-climate that can save your life. He’s right. Your tent is your first line of defense against the cold.
REI experts say buy a tent 1-2 persons larger than you need. A 4-person tent for 2 people gives you room for gear. It also gives you space to move without touching cold tent walls.
Pick your sleeping bag carefully. Get one rated 10°F lower than expected temps. Going camping in 30°F weather? Get a 20°F bag. Your body loses heat at night. The extra buffer keeps you alive.
For your sleeping pad, check the R-value. You need 4.0 or higher for cold weather. In winter, use TWO pads—foam plus self-inflating. Seriously. The ground sucks heat from your body faster than air does.
2025 Gear That Works:
- Tent: REI Co-op Wonderland 6 (83.3 sq ft, $300-400)
- Sleeping Bag: REI Co-op HunkerDown 20 (600-fill down)
- Sleeping Pad: Stack a foam pad with a self-inflating one
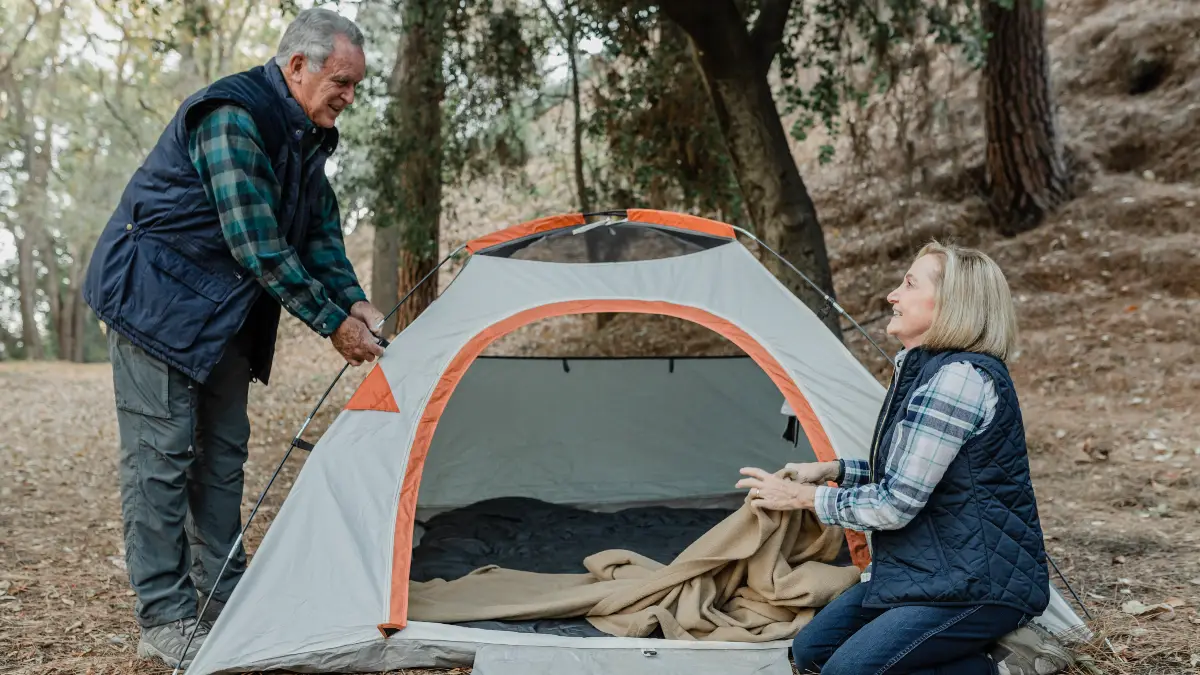
Set Up Your Tent Right:
- Practice at home BEFORE your trip
- Pick elevated ground, never low spots where cold air pools
- Use a footprint that fits your tent
- Test everything before you leave civilization
The biggest mistake? Not testing gear before you’re in the woods. Equipment fails. Zippers break. Stakes bend. Find out at home, not at your campsite in the dark.
“Practice makes permanent. Test your shelter system in your backyard first.” This isn’t just advice. It’s a wilderness survival principle that keeps people alive.
2. Layer Like Your Life Depends On It
Cotton kills. These three words could save your life.
At -30°F, hypothermia symptoms start in 10 minutes. Ten minutes. You won’t feel fine, then suddenly cold. You’ll feel fine, then confused, then in serious trouble.
Here’s a scary stat: 20-30% of burn injuries at camps happen because people sleep too close to fires trying to stay warm. They know they’re cold. They don’t know they’re making a deadly choice.
The REI Three-Layer System works:
Midweight polyester or wool long underwear. NEVER cotton. Cotton holds sweat against your skin. Sweat makes you cold. Cold kills you.
A puffy down or synthetic insulated jacket. This traps warm air close to your body.
Fully waterproof and breathable shell. Keeps wind and rain out while letting sweat escape.
Stay warm, don’t GET warm. That sounds weird, but it’s critical. Dress to maintain your temperature. Don’t wait until you’re cold to add layers. Don’t stay bundled until you sweat.
Remove layers BEFORE you sweat. Sweat in cold weather is deadly. It robs heat from your body. If you start feeling warm while hiking, stop and take off a layer. Yes, even if you’re in the middle of nowhere. It takes 30 seconds and could save your life.
Fill a Nalgene with hot water before bed. Put it in your sleeping bag. It works like a personal heater.
Eat before bed. Your body generates heat digesting food. A small snack before sleep actually keeps you warmer.
2025 Gear You Need:
- Multiple pairs of wool or synthetic socks
- Insulated waterproof gloves PLUS a backup pair
- A beanie that covers your ears
A 42-year-old man on Mt. Washington spent 12+ hours in 10°F weather with bad layers. He developed ataxia (couldn’t walk straight) and confusion. That’s hypothermia. That’s what happens when layering fails.
The mistake everyone makes? Waiting until they’re too cold to add layers. By then, your hands don’t work well. Your brain isn’t thinking clearly. You’re already in trouble.
3. Treat Bear Country Like Enemy Territory
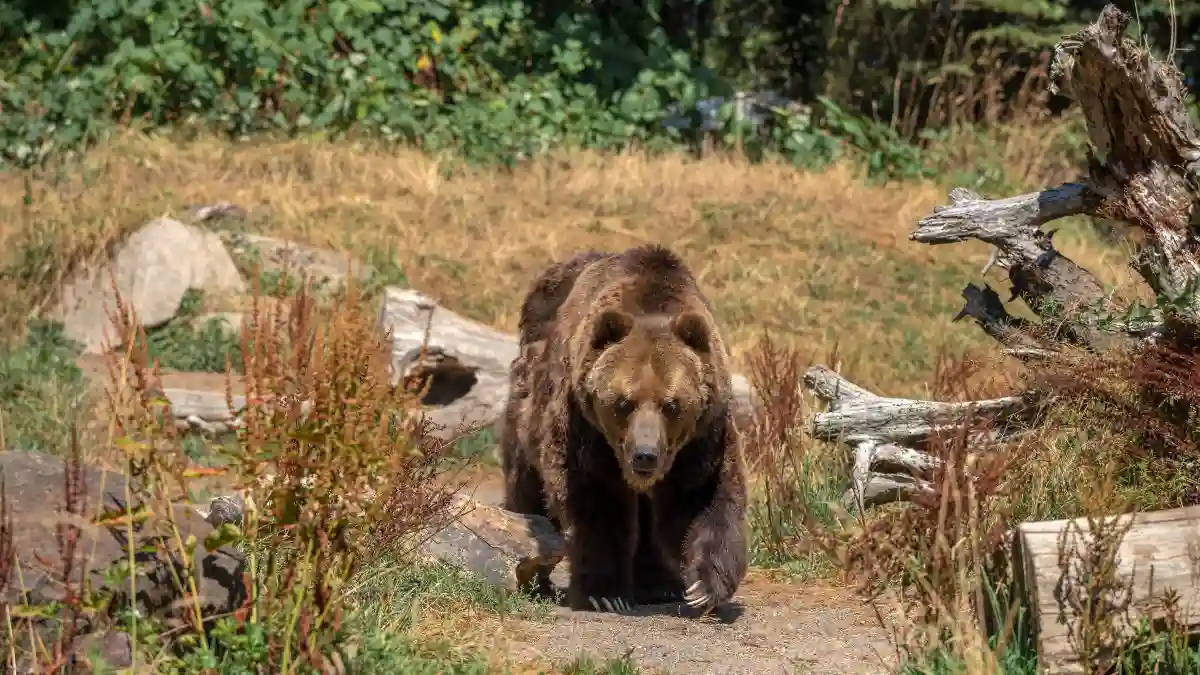
Bears can smell food from over 1 mile away. Your granola bar is a dinner bell.
Let’s talk numbers. About 40 bear attacks happen annually in the U.S. Your odds of being attacked are 1 in 12 million. Sounds safe, right?
But here’s the thing: 48% of attacks are food-related. That means almost half of all bear attacks are preventable. You left food near your tent. A bear came looking. Someone got hurt.
Bear spray is 98% effective when you use it right. But you know what’s 100% effective? Proper food storage.
National Park Service rules are simple:
ALL food goes in bear canisters 100+ feet from your tent. Not most food. ALL food. That includes toiletries, trash, cosmetics, sunscreen, bug spray, and anything with a smell.
NEVER store food in your tent. Some parks also ban food storage in cars overnight because bears learn to break into vehicles.
2025 Approved Canisters:
- Bear Vault BV500 (standard size, parks often rent these)
- UDAP No-Fed-Bear (lighter option if you’re backpacking)
If You Encounter a Bear:
DO NOT run. Bears can sprint 30+ mph. You can’t outrun them. Running triggers their chase instinct.
Stand your ground. Make yourself look big. Speak in a calm, firm voice. Slowly back away while facing the bear.
If a bear attacks you, fight back. Use rocks, sticks, your fists, anything. Go for the eyes and nose.
Deploy bear spray when the bear gets to 12-30 feet away. Not sooner—you’ll waste it. Not later—the bear is too close.
“Proper food storage isn’t optional—it’s survival. One mistake attracts bears to the entire campground.” You’re not just risking your safety. You’re risking everyone’s.
Multiple reports exist of bears crushing GPS units left outside tents. Bears have bitten gear, packs, and camp chairs. If it’s outside your tent and has a smell, a bear might investigate.
The mistake that gets people hurt? Leaving their canister unlocked “just for a minute.” That minute is all it takes.
4. Build Fire Safely or Don’t Build It At All

Campfires cause over 90% of U.S. wildfires annually.
Read that again. Over 90%. Humans caused 96% of wildfires in 2022. Most of those started with a campfire someone thought they had under control.
Campfires are also the leading cause of children’s camping injuries. Burns, smoke inhalation, accidents from running near open flames. And remember that stat from Tip 2? 20-30% of burn injuries come from sleeping near open fires.
The REI Ten Essentials include a fire system:
- Waterproof matches OR a butane lighter
- Firestarter (tinder, candles, heat nuggets)
- A camp stove as your backup heat source
2025 Fire Gear:
- UCO Stormproof matches (they burn in wind and rain)
- WetFire tinder cubes
- Ferro rods with strikers
How to Build a Safe Fire:
- Check local fire restrictions FIRST. Many areas ban campfires during dry seasons. If there’s a ban, don’t build a fire. Full stop.
- Build on mineral soil only. Never on vegetation, pine needles, or anything that can catch fire.
- Keep your fire small and manageable. Big fires are harder to control and illegal in many places.
- Create a heat reflector with rocks. This directs warmth toward you and contains the fire.
- Extinguish completely when done. Drown it with water. Stir the ashes. Repeat until everything is cool to the touch. “Cool enough” means you can hold your hand in the ashes.
Emergency Warmth WITHOUT Fire:
You don’t always need a fire to stay warm. Sometimes it’s too dangerous or banned. Here’s what works:
- Emergency space blanket (weighs 2-3 oz, packs tiny)
- Hot water bottle in your sleeping bag
- Do jumping jacks before bed to warm up
- Put cold fingers in your armpits
85 people died. 18,000+ structures destroyed. Most destruction happened in the first 4 hours. It started from a spark. That’s how fast things go wrong.
The mistake people make? Not checking fire restrictions before their trip. You drive hours to your campsite, find out fires are banned, but you “just want a small one.” Don’t.
5. Purify Every Drop of Water
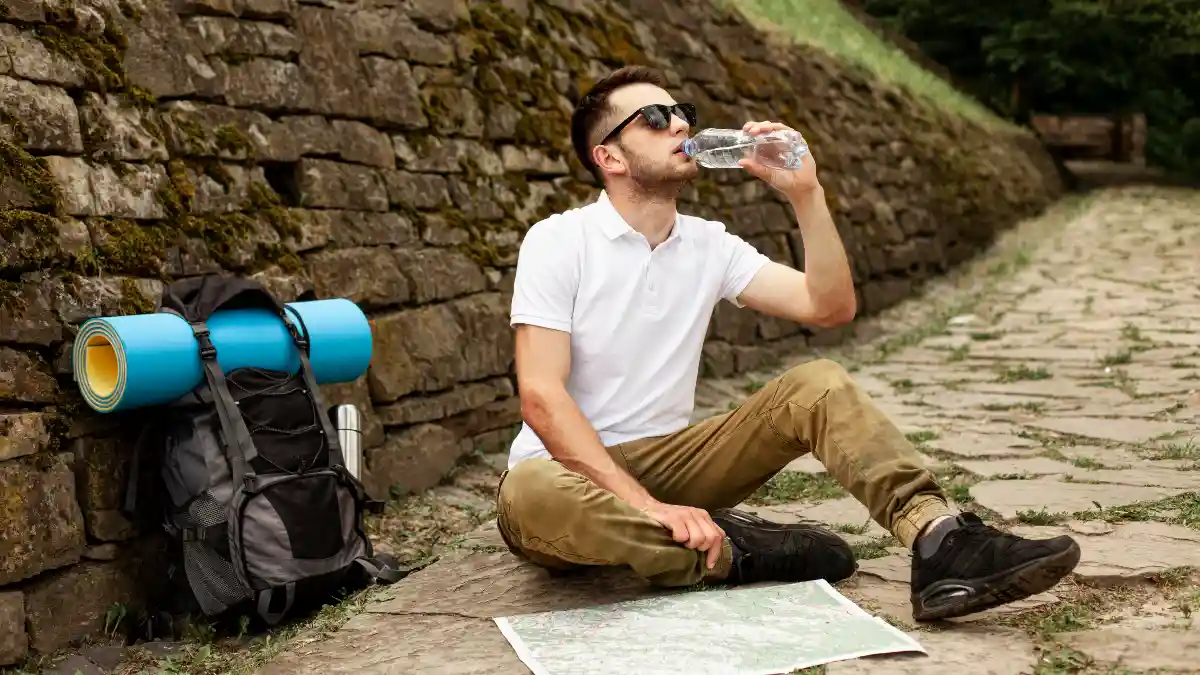
Clear mountain streams hide invisible threats.
You can’t see Giardia. You can’t see Cryptosporidium. You can’t see the bacteria that will make you violently ill. But they’re there.
Studies found Giardia in 66.2% of river water samples. Cryptosporidium showed up in 47.1% of samples. These aren’t rare. They’re common.
The 1993 Milwaukee outbreak infected over 400,000 people. More than 100 died. The cause? Cryptosporidium in the water supply. Symptoms appeared 1-2 weeks after exposure. By then, the damage was done.
CDC-Approved Methods (From Most to Least Effective):
1. BOILING:
This is the gold standard. Boiling kills ALL germs—viruses, bacteria, parasites. Everything dies in boiling water.
- Boil for 1 minute at sea level
- Boil for 3 minutes above 6,500 feet (water boils at lower temps at altitude)
2. FILTRATION:
Use filters with ≤1 micron for Giardia and Cryptosporidium. Use ≤0.3 microns for bacteria.
2025 Top Filters (Tested by Outdoor Gear Lab):
- Sawyer Squeeze: 0.1 micron filter, 100,000 gallon lifespan, weighs 3 oz, $40-50
- Platypus GravityWorks 4L: Best for groups, gravity-fed system, $140-160
- Katadyn BeFree: Fast flow rate, 0.1 micron, $45-60
- MSR Guardian: Removes viruses too (important for international travel), $600-700
3. CHEMICAL PURIFICATION:
- Aquamira Water Treatment: Uses chlorine dioxide, wait 15-30 minutes
- Katadyn Micropur tablets: Kills viruses, good backup option
4. UV PURIFICATION:
- Katadyn Steripen Ultra: 90 seconds to purify 1 liter
Smart Hydration Strategy:
Carry 0.5 liters per hour during moderate activity. Adjust for heat and exertion. Always carry a backup purification method. Your filter can break. Your UV device batteries can die. Have a plan B.
Choose flowing water over stagnant when possible. Moving water has less chance of contamination (but still purify it).
The mistake everyone makes? Assuming clear streams are safe. Crystal clear water can be full of pathogens. The second mistake? Relying on a single purification method with no backup.
6. Navigate Like Technology Doesn’t Exist
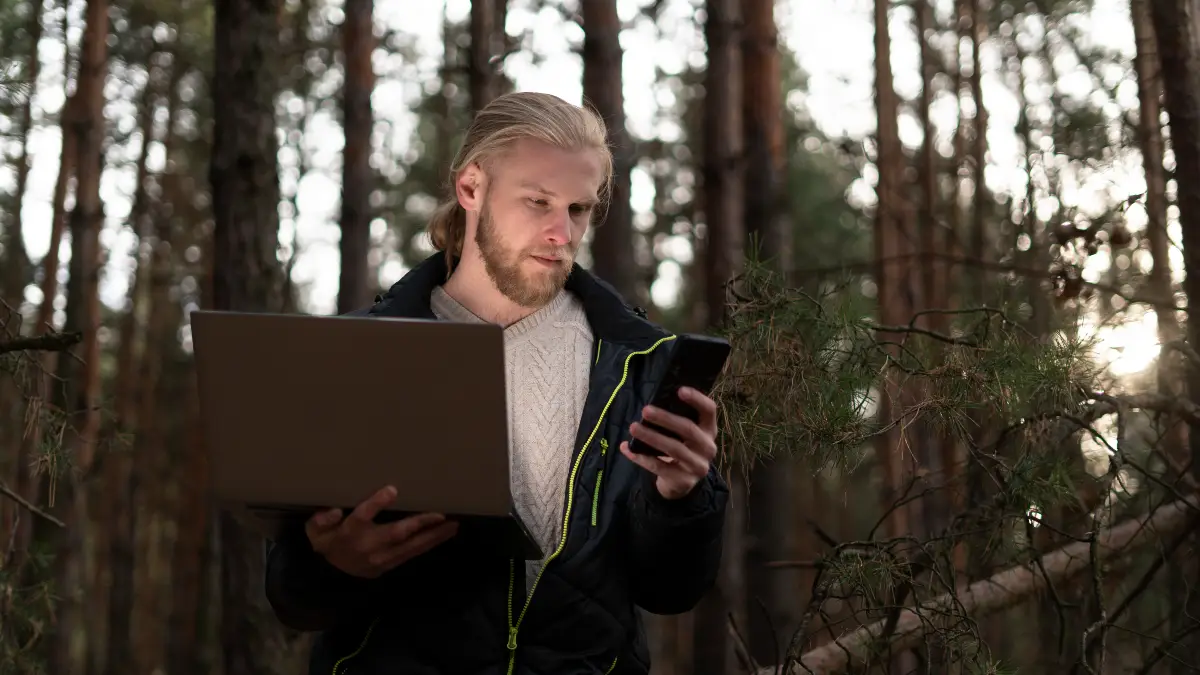
Your phone will die. Your GPS will fail. Then what?
Over 100,000 search and rescue operations happen annually in the U.S. In 2024, 411 people were rescued using SARSAT beacons. These aren’t careless idiots. These are regular people who got lost.
Lost Person Behavior methodology reduces search times by 50%. You know how? By teaching people what to do when lost. Because everyone thinks it won’t happen to them. Until it does.
REI Ten Essentials – Navigation:
- Topographic map of your area
- Baseplate compass (not just your phone app)
- Both tools together
You need the map AND the compass. A map without a compass doesn’t tell you which way to go. A compass without a map doesn’t show you where you are.
2025 GPS Devices (Tested and Proven):
- Garmin GPSMAP 67i: Quad-helix antenna, 180-hour battery, satellite messaging, $600-700 (Outdoor Gear Lab’s top pick)
- Garmin eTrex SE: Budget option, 1-week battery life, $200-250
- Garmin inReach Mini 2: Weighs 3.5 oz, 14-30 day battery, two-way SOS capability, $350-400
2025 Navigation Apps:
- Gaia GPS: Offline maps, $39.99/year (Popular Mechanics recommendation)
- onX Backcountry: Full offline capability, $30 first year
- AllTrails: Best for trail discovery
Download maps before you leave cell service. That’s critical. Apps work great offline IF you downloaded the maps first.
S.T.O.P. Protocol When You Realize You’re Lost:
- Stop walking – Don’t keep going, you’ll just get more lost
- Think clearly – When was your last known position?
- Observe your surroundings – Look at terrain features, check your map and compass
- Plan your next move – Make a smart decision, not an emotional one
Eloise Lindsay, 22, got lost in Table Rock State Park for 2 weeks. When rescue helicopters came, she fled from them. Why? Panic-induced paranoia. She wasn’t thinking clearly. Fear took over.
“Knowledge is the key to survival, the real beauty of that is that it doesn’t weigh anything.”
Over-relying on phone GPS. Continuing to walk when lost (stop moving!). Not downloading offline maps before the trip.
7. Monitor Weather Like a Meteorologist
Lightning doesn’t wait for your weather app to update.
20 camping-related lightning deaths occurred from 2006-2019. Camping was the 3rd highest cause of leisure-related lightning deaths. 70% of lightning deaths happen June-August.
In 2024, the U.S. had 168 heat-related fatalities. Weather kills people every year. You can’t control weather. But you can prepare for it.
2025 Weather Apps (Expert Tested):
- American Red Cross Emergency App: 50+ NOAA alerts, works offline
- FEMA App: Real-time alerts, shelter locator
- Weather Underground: Hyperlocal updates for your exact location
- MyRadar: Interactive radar, minute-by-minute precipitation
Physical Weather Radios (No Cell Service or Internet Needed):
- Midland ER310: Hand-crank, solar, and USB charging, SOS beacon feature, $60-80
- Midland WR120: Desktop SAME radio, 90 dB siren for severe weather
These radios work when your phone doesn’t. They receive NOAA weather alerts directly. In remote areas, they’re your only warning system.
Lightning Safety Rules:
Check forecasts. Avoid exposed areas like ridgetops and open fields.
Assume the “lightning position”—crouch on the balls of your feet, minimize your contact with the ground.
NEVER seek shelter under trees. Lightning hits trees. NEVER stay in your tent during lightning. Tents offer zero protection.
Stay 50+ meters away from tall objects, metal, and water.
Tents provide NO protection from lightning. Injuries can occur 15-30 meters from the strike point. Stay put for 30 minutes after you hear the last thunder.
Camping in low ground prone to flash flooding. Ignoring weather warnings because “the sky looks fine.” Thinking their tent will protect them from lightning (it won’t).
8. Respect All Wildlife, Not Just Bears

More people are bitten by snakes than attacked by bears.
7,000-8,000 venomous snake bites happen annually in the U.S. About 5 people die per year from snakes. Compare that to fewer than 10 annual bear fatalities. Snakes are a bigger threat than bears.
10-44% of rattlesnake bite victims suffer permanent injuries. Not just “it hurt for a while.” Permanent nerve damage, tissue damage, lost fingers.
Then there are ticks. The CDC estimates 300,000+ Lyme disease cases annually. Black-legged ticks must attach for 24-36 hours to transmit Lyme. That gives you a window to find and remove them.
If a Snake Bites You:
DONT DO:
- Cut the wound
- Apply a tourniquet
- Use suction devices (those snake bite kits don’t work)
- Apply ice
DO:
- Walk backwards slowly to safety
- Remove jewelry immediately (swelling will make this impossible later)
- Circle the bite with a pen, mark swelling progression every 30 minutes
- Keep the bitten area still and below heart level
- Seek emergency care immediately (treatment costs $50,000+)
Tick Prevention:
Check your entire body every 2-3 hours when outdoors. Ticks are tiny. You won’t feel them crawling on you.
Use DEET or picaridin repellents. Wear light-colored clothing so you can spot ticks. Tuck your pants into your socks (yes, it looks dorky—do it anyway).
Remove ticks within 36 hours to minimize Lyme disease infection risk.
If You See a Mountain Lion:
Make yourself look large. Maintain eye contact. DO NOT run (same as bears—running triggers chase instinct).
If it attacks, fight back. Go for the face and eyes.
Wildlife Deterrents (2025):
- Bear spray (required in bear country)
- Air horns (loud and effective)
- Whistles (3 blasts = distress signal)
The mistake people make: Approaching wildlife for photos. Social media isn’t worth your life. Also, leaving food where animals can reach it, and running from predators.
9. Pack a Real First Aid Kit
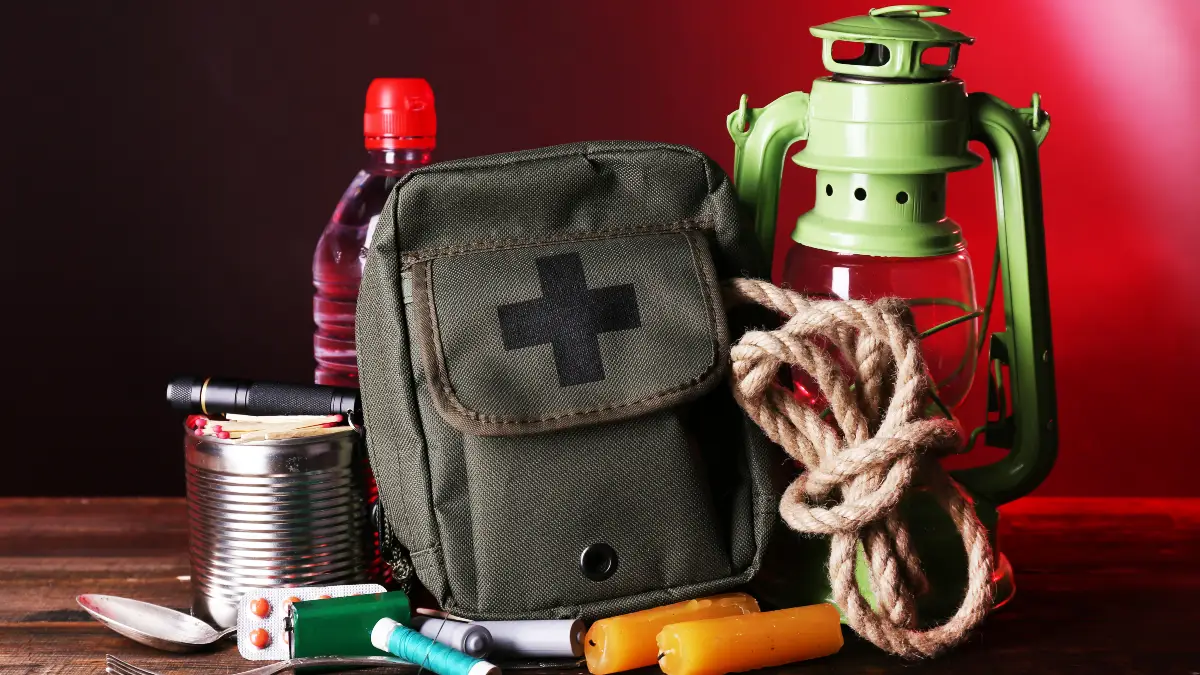
Band-aids won’t stop bleeding in the backcountry.
Sprains and strains cause 35-50% of all wilderness injuries. Gastrointestinal issues account for 26.4% of wilderness illnesses. 30% of organized camp injuries come from trips, slips, and falls.
NOLS data shows an evacuation rate of 1.5 per 1,000 person-days. That might sound low. But it means in a group of 10 people on a 7-day trip, there’s a 10% chance someone needs evacuation.
2025 Expert-Recommended Kits: MyMedic MyFAK Pro
- 115+ life-saving supplies
- Ballistics-grade nylon construction
- Includes trauma shears, pressure bandages, irrigation tubes
- FREE training course included
- $330 (Pro version), $170 (Standard)
Best for Backpacking: Adventure Medical Kits Ultralight/Watertight .7
- Weighs only 6.4 oz
- Waterproof, bright yellow (easy to find)
- Includes moleskin for blisters
- $35
Best Overall Alternative: Surviveware Small
- Hospital-grade trauma shears
- Tourniquet included
- Organized pouches, waterproof
- Around $50-70
What Your Kit Must Include (REI/Red Cross Standards):
- 3+ pairs of nitrile gloves
- 40+ wound closures (bandages of various sizes)
- Gauze pads and wraps
- Medical adhesive tape (10 yards minimum)
- Antiseptic wipes (BZK-based, not alcohol)
- Blister treatment (moleskin, Second Skin)
- Trauma shears
- Fine-point tweezers (for tick removal)
- SAM splint
- Tourniquet
- Over-the-counter pain medication
- Antihistamines
- Emergency blanket
- CPR mask
Wilderness First Aid is Different in 4 Ways:
- Time: Help is hours or days away, not minutes
- Environment: Extreme weather adds complications
- Resources: You only have what’s in your pack
- Communication: You might be your patient’s only option
Take a WFA (Wilderness First Aid) or WFR (Wilderness First Responder) course. REI, NOLS, and Wilderness Medicine Associates all offer them. Having a kit is useless if you don’t know what to do.
The biggest mistake? Not knowing how to use items in your kit. The second biggest? Having insufficient training for real emergencies.
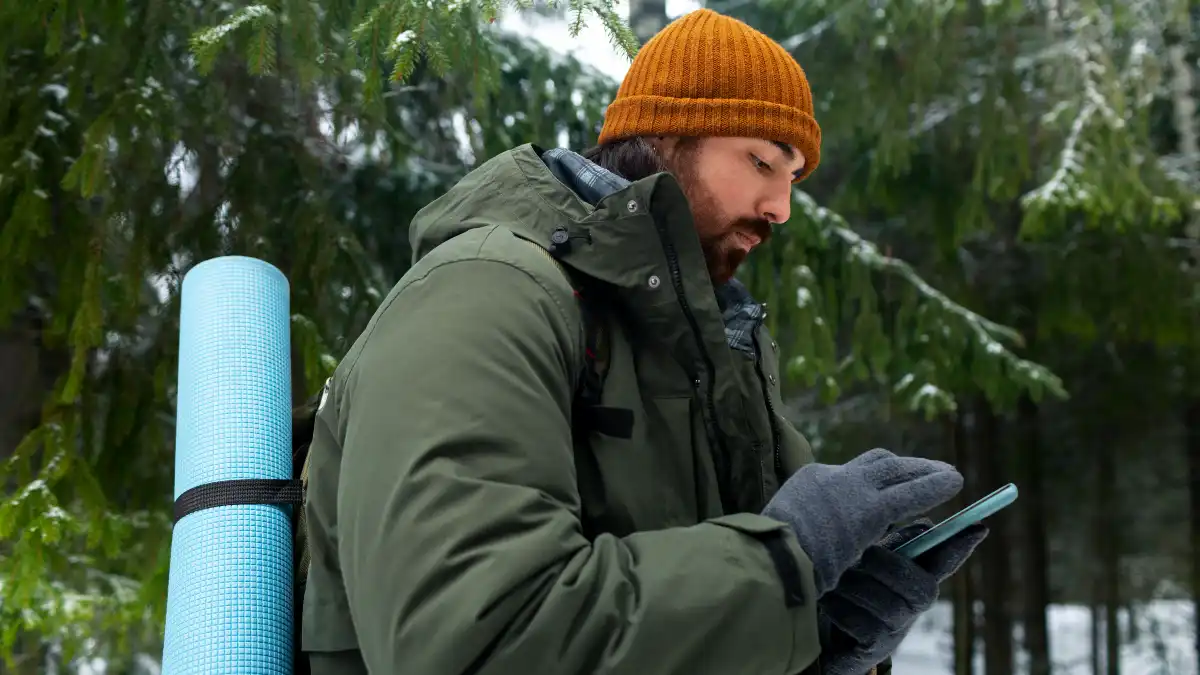
10. Carry Multiple Ways to Call for Help
One SOS device isn’t redundancy—it’s necessity.
406 MHz emergency beacons have saved 40,000+ lives globally. In 2024 alone, 52 people were rescued in 29 terrestrial incidents using SARSAT technology.
Cell service fails in most wilderness areas. Your phone is not a rescue device in the backcountry. You need real emergency communication.
Modern Technology (2025):
Satellite Messengers:
Garmin inReach Mini 2: Two-way messaging, SOS button directly to emergency services, works anywhere on Earth, weighs 3.5 oz, $350-400. This is the gold standard.
SPOT X: Similar functionality, cheaper subscription plans.
Personal Locator Beacons (PLBs):
These send a one-way emergency signal to search and rescue. No subscription required. They work via government satellites. Cost around $300-400.
Cell Phone Strategies:
Keep it in airplane mode to save battery. Store it in a waterproof case. Bring a backup battery or solar charger.
Keep your phone warm—in your sleeping bag at night. Cold kills batteries. Lithium batteries perform better than alkaline in cold weather, but they still drain faster.
Traditional Signals (REI Ten Essentials):
Whistle: 3 blasts = distress signal. Carries farther than your voice and uses less energy than shouting.
Signal mirror: Flash sunlight to aircraft. Visible for miles.
3 fires in a triangle = distress signal.
Make a large X or SOS with rocks, logs, or bright materials.
SOS pattern is 3 short, 3 long, 3 short flashes (morse code).
Emergency Protocol:
- Activate your PLB or satellite messenger
- Stay put (you’re easier to find if you’re not moving)
- Make your camp visible from the air
- Signal regularly (every hour if possible)
- Conserve your phone battery for real emergencies
- Use your whistle instead of shouting (saves energy)
The mistakes people make: Not testing devices before the trip. Moving around when lost (stay put!). Not telling anyone their trip plans before leaving.
11. Plan Meals Like a Nutritionist
Running out of food 10 miles from the trailhead isn’t a diet—it’s danger.
The average camper spends $156 per day on camping trips. Part of that is food. But it’s not just about money. Your body needs significantly more calories in cold weather and at high altitude.
Gastrointestinal illness accounts for 60% of illnesses in the wilderness. Bad food or bad water makes you sick. And being sick in the wilderness is dangerous.
Expert Meal Selection (REI Guidelines):
For Car Camping:
- Bring fresh food in a cooler
- Freeze items beforehand (they act as ice blocks)
- Use a two-burner propane stove
- Bring enough for your entire trip PLUS one extra day
For Backpacking:
- Freeze-dried meals (Mountain House, Peak Refuel)
- Energy bars, nuts, dried fruits, jerky
- Instant coffee or tea
- Focus on high-calorie, low-odor foods (less bear attraction)
2025 Cooking Gear:
- Camp Stoves: Coleman two-burner for car camping; MSR PocketRocket for backpacking
- Cookware: Titanium for ultralight; GSI Outdoors for budget options
- Jetboil MiniMo: 1-2 minute boil time, can actually simmer, $125-150
Food Safety Rules:
Cook to safe temperatures. Use biodegradable soap 200+ feet from water sources. Pack out ALL food waste—don’t bury it. Never wash dishes directly in streams or lakes. Store everything in bear canisters (see Tip 3).
Meal Planning Tips:
Pre-portion ingredients into bags before you leave. Remove excess packaging at home. Label everything. Calculate your increased caloric needs for cold weather activity.
The mistake people make: Bringing insufficient food. Improper waste disposal. Leaving dirty dishes out overnight.
12. Light Management for Safety and Sleep
Dead batteries at midnight turn every sound into a threat.
Your headlamp isn’t just for convenience. It’s a safety device. Can’t see where you’re walking? You’ll trip and get injured. Can’t see to set up your tent? You’ll make mistakes. Can’t see at night? Your imagination turns every noise into a bear.
2025 Headlamp Recommendations:
- Black Diamond Spot 400: Versatile, good battery life, $45-60
- Petzl Actik Core: Rechargeable plus backup AAA batteries, $60-75
- Nitecore NU25: Ultralight for backpacking, weighs 2 oz, $35-45
Camp Lantern:
Hang one from your tent ceiling for ambient light. DIY trick: Put your headlamp inside a clear Nalgene bottle. It diffuses the light and illuminates your whole tent.
Emergency Light Options:
- Flashlight (backup to your headlamp)
- Glow sticks (no batteries needed, they always work)
- Emergency candles
- Phone flashlight (drains battery fast—use sparingly)
Battery Management:
Lithium batteries work better in cold than alkaline. Store spare batteries somewhere warm. In winter, keep them in your sleeping bag at night.
Cold drains batteries 2-3x faster than normal temps. Keep electronics warm when you’re not using them.
Visibility for Safety:
- Reflective gear on clothing and pack
- Bright-colored tent
- Glow stick on tent zipper for night bathroom trips (hang it outside so you can find your way back)
Light Discipline:
Use red light mode to preserve night vision. Be courteous to other campers—don’t shine bright lights at neighboring sites. Use the minimum light necessary for what you’re doing.
The mistakes people make: Not bringing a backup light source. Not packing enough spare batteries. Using their phone flashlight excessively and killing the battery.
13. Choose Your Campsite Like a Survivalist
Your campsite location matters more than your tent quality.
20 camping-related lightning deaths occurred from 2006-2019. Campers on ridgetops and under trees faced the highest risk. Flash floods can turn peaceful creeks into torrents within minutes. Most camping accidents happen because someone picked a bad spot.
Priority Criteria (In Order of Importance):
- Elevation: Pick a hillside or hilltop. NEVER camp in low spots or valleys where cold air pools and water collects.
- Water proximity: Near a water source (within walking distance) but not too close. Aim for 100+ yards away.
- Flat ground: Makes everything easier—sleeping, cooking, moving around.
- Drainage: Avoid any area where water would pool during rain.
- Wind protection: Find a natural windblock, but don’t camp under hazardous trees.
- Sun exposure: Position your tent for morning sun. It warms you up when you wake.
Safety Checks Before Setting Up:
Look up. Any dead or hazardous trees overhead? (“Widowmakers” can fall without warning)
If it’s winter, are you in avalanche terrain?
Are you near game trails? (Animals use the same paths repeatedly)
Are you on a ridgetop? (Lightning risk)
Check the wind direction. Is your tent door facing into the wind?
Leave No Trace Requirements:
Camp 200+ feet from water sources. Camp 200+ feet from trails. Use established campsites when available. Deep snow is a low-impact camping surface. Pack out all waste, always.
Campsite Layout (Distance is Critical):
- Sleeping area: Protected spot, flat, clear of rocks
- Cooking area: 200+ feet from sleeping, downwind
- Food storage: 100+ feet from sleeping (use bear canisters)
- Bathroom area: 200+ feet from water and camp
- Fire area: On mineral soil, appropriate distance from tent
Texas State Parks reported camping-related injuries at 5.20 per 100,000 visits. Many injuries stemmed from poor campsite selection.
The mistakes people make: Camping in low spots where flash floods hit. Camping too close to water. Camping under dead trees. Setting up on vegetation.
14. Know How to Build Emergency Shelter
When your tent rips at 2 AM in a storm, improvisation isn’t optional.
The Rule of Threes shows priorities:
- 3 minutes without air
- 3 hours without shelter (in harsh conditions)
- 3 days without water
- 3 weeks without food
Shelter comes before water. Before fire. Before food. You can survive weeks without eating. You’ll die in hours from exposure.
Expert Shelter Designs (Outdoor Life, Survival Schools):
1. A-FRAME (Best All-Around):
Time to build: 1-2 hours
How to build: Suspend a ridgeline between two trees. Lean branches on both sides creating an A-shape. Cover with vegetation or your tarp. You can build a small fire in front with a reflector wall behind it.
Pros: Better weather protection, versatile Cons: Takes longer than a lean-to
2. DEBRIS HUT (Best for Cold):
Time to build: 2-3 hours
How to build: Create a frame like a low A-frame. Pack a THICK layer of leaves and debris on top—12-18 inches thick. Make it just big enough for your body (small = warmer). Stuff the interior with dry leaves. Plug the entrance with a stuffed bag.
Pros: Excellent heat retention (your body warmth stays trapped) Cons: Time-intensive, dirty, claustrophobic
3. TARP SHELTER (If You Have a Tarp):
Time to build: Under 10 minutes
How to build: Run rope between two trees. Drape tarp over it. Stake down the sides. Use paracord and tent stakes.
Why carry a tarp: An emergency blanket weighs only 2-3 oz (part of REI Ten Essentials).
4. SNOW QUINZHEE (Winter Only):
Time to build: 3-4 hours (including settling time)
How to build: Pile snow 2+ feet thick over your gear pile. Let it settle for an hour. Insert guide sticks through the pile every 12 inches. Hollow out the inside until you reach the guide sticks. CREATE A VENTILATION HOLE (critical—you can suffocate otherwise).
Emergency Shelter Priorities:
Small = easier to heat with body warmth. Your body is the heat source.
Windproof—wind steals heat faster than anything.
Waterproof roof—getting wet in cold weather is deadly.
Insulated floor—use leaves, pine boughs, anything to keep you off frozen ground.
Door faces away from prevailing wind.
“Small shelters retain heat. Your body is the furnace.”
Step-by-Step Debris Hut:
- Find a fallen tree or create an A-frame structure
- Lean branches at a 45° angle along both sides
- Add a perpendicular lattice (cross-hatching holds debris)
- Cover with debris at least an arm’s length thick
- Stuff the interior with dry leaves (insulation and bedding)
- Create a door plug (stuffed bag or debris bundle)
- Test by lying inside—fix any drafts before dark
The mistakes people make: Building too large (can’t heat it). Not enough insulation. Poor location choice. No ground insulation (you’ll freeze from below).
15. Master Your Mind Before Your Skills
Panic kills more people than exposure, wildlife, or getting lost combined.
Sleep deprivation for 24 hours equals a 0.10% blood-alcohol level. That’s legally drunk. Staying awake 17-19 hours impairs your performance like having a 0.05% blood-alcohol level.
Sleep-deprived people make riskier choices. They focus on rewards and ignore consequences. Studies show 53 hours without sleep significantly impairs moral judgment.
And that’s just from not sleeping. Add in cold, hunger, fear, and being lost? Your brain isn’t working right. Bad decisions happen fast.
MAINTAIN A CALM CENTER
Real story: A man died running in circles, panicked and confused. If he had stopped, calmed down, and made a plan, he would have survived. Panic killed him, not the wilderness.
Take 5-10 minutes to calm yourself before acting. Acknowledge your fear. Don’t let it control you.
The S.T.O.P. Protocol:
- Sit down (physically stop moving)
- Think clearly (let panic fade)
- Observe your situation (what resources do you have?)
- Plan your response (smart decision, not emotional reaction)
Rule of 3s (Survival Priority Order):
- 3 minutes without air
- 3 hours without shelter (in harsh conditions)
- 3 days without water
- 3 weeks without food
Priority order: Shelter → Water → Fire → Food
Most people think food comes first. It doesn’t. Shelter keeps you alive. Water keeps you functioning. Fire provides warmth and signal. Food is last because you can survive weeks without it.
Decision-Making Framework:
- Assess immediate threats (weather, injury, darkness approaching)
- Address life-threatening issues first
- Build shelter BEFORE darkness falls
- Make your camp visible for rescue (bright colors, clear ground)
- Stay put unless you’re certain you can improve your situation
- Ration energy, not just supplies (don’t exhaust yourself)
Expert Quotes from Survival Legends:
“My goal is to spread ‘tribal’ or ‘frontier’ knowledge: how folks survive day in and day out in wilderness environments.”
“NATURE’S PRIORITY: Take care of the brain first. Then it will take care of you. Survival is 100% mental because the mind controls the body, its actions and reasoning.”
“Knowledge is the key to survival, the real beauty of that is that it doesn’t weigh anything.”
“Survival is tough, but it’s tougher when you’re stupid!”
Building Confidence:
Practice skills before an emergency hits. Take a wilderness first aid course (WFA or WFR). Test your gear at home. Build skills gradually. Learn from mistakes in a controlled environment.
Knowledge > Gear
Skills matter more than equipment. You might lose your pack. You might break your gear. But knowledge never runs out. It doesn’t break. It doesn’t get lost. It doesn’t need batteries.
Common Mental Mistakes:
- Panicking and rushing decisions
- Denial (“this isn’t really happening to me”)
- Continuing to travel when lost (STOP MOVING)
- Not prioritizing shelter
- Taking unnecessary risks to “get home faster”
Preparedness Planning:
Always tell someone: where you’re going, your route, and expected return time. File a trip plan. Check in when you return. Carry a PLB or satellite messenger. Accept that emergencies can happen to anyone—even experienced people.
The wilderness doesn’t care about your experience level. It doesn’t care if you’re careful. Prepare for the worst. Hope for the best. Stay calm when things go wrong.
Your mind is your most important survival tool. Keep it sharp.