

The expensive part of a camper van build is often not the first purchase. It is buying something twice because the first plan did not work.
That is one of the biggest risks with a DIY van conversion. First-timers often spend money on cabinets, solar panels, flooring, beds, and appliances before they settle bigger questions about the van itself, payload, power use, moisture, water, and repairs.
The problem is that one wrong choice can cause several more expenses. A poor layout can force you to rebuild cabinets, while one power-hungry appliance can push you into a larger battery bank, inverter, wiring system, and charging setup.
There is no solid study showing that every builder loses exactly $10,000 from van build mistakes. Still, the costs can stack fast, and one recent community example described a planned $5,000 conversion growing to about $15,000, including tools. That is one builder’s experience, not an industry average.
Here are 13 mistakes to catch before they eat into your budget.
13 Costly Van Build Mistakes First-Timers Always Regret (Save $10,000)

1. Check the Van Before You Spend Money on the Build

A cheap van can become very expensive if major repairs appear after you buy it. That can wipe out money you planned to spend on insulation, electrical gear, or furniture.
Before you buy, look at the maintenance history and check for rust, leaks, worn tires, brake problems, suspension wear, and signs of engine or transmission trouble. A diagnostic scan and recall check can also reveal problems that are easy to miss during a quick test drive.
Mileage matters too, but it should never be the only thing you judge. A well-cared-for higher-mileage van can sometimes be a better buy than a lower-mileage van with poor service history.
One recent builder described starting with a van that had about 165,000 miles before the project grew far beyond the original budget. That story does not prove high-mileage vans are bad, but it shows why the base vehicle deserves as much attention as the build itself.
The safest move is simple. Pay an independent mechanic for a pre-purchase inspection before you hand over the money.
That inspection may feel like another expense. But finding a serious mechanical problem before purchase is far cheaper than finding it after you have already built the interior.
2. Choose the Van for Your Real Life, Not Your Dream Photos
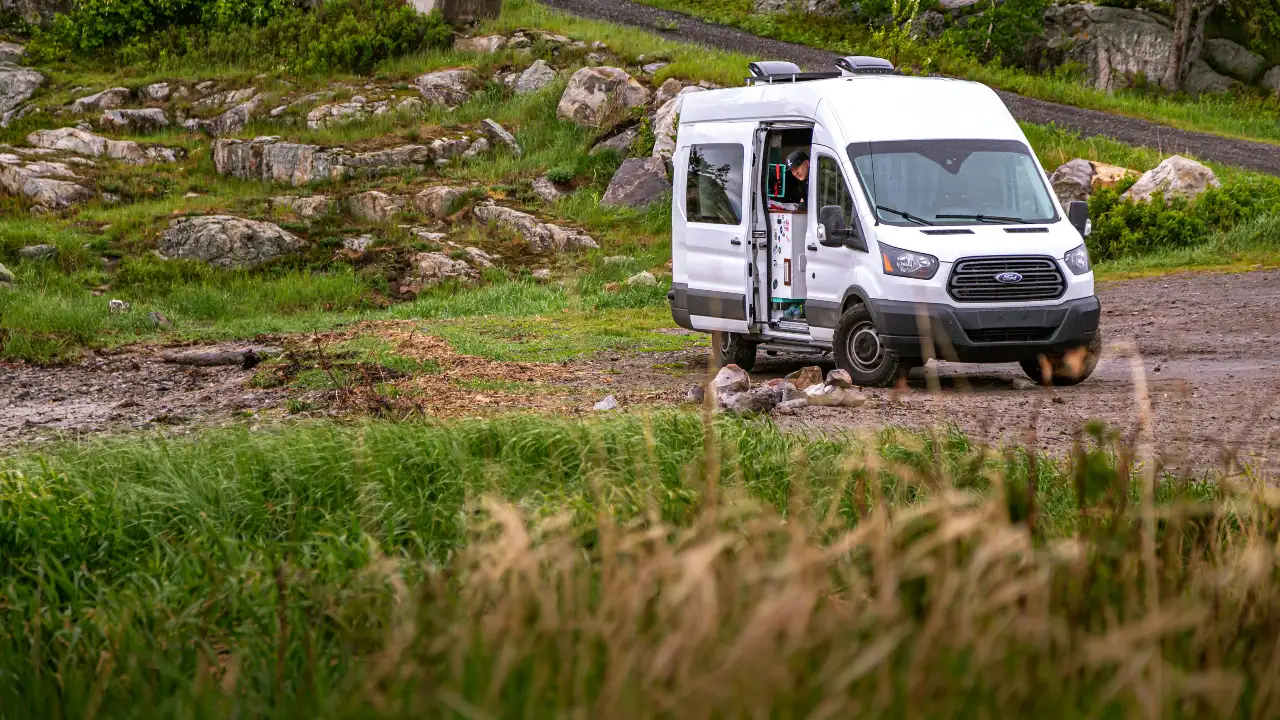
A van can be mechanically perfect and still be wrong for you. The mistake happens when you choose the vehicle before deciding how you will actually use it.
Ask basic questions first. Will you live in the van full time, and do you need to stand upright inside it?
Think about how many people will sleep there and whether you need room for bikes, climbing gear, surfboards, or work equipment. Also decide whether you need a shower, city-friendly size, extra ground clearance, or All Wheel Drive.
Interior height can change the entire build. FarOutRide’s updated Transit guide notes that a low-roof model offers about 56.9 inches of interior height, while even a medium-roof model can lose usable height once flooring and ceiling materials go in.
That means a van that looked perfect in a listing may force you to crouch every day. It can also change where the bed, cabinets, shower, and storage can fit.
A quick test can save you from this mistake. Mark the van’s planned interior size on a garage floor with painter’s tape, then place boxes where the bed, kitchen, cabinets, shower, and aisle would go.
Walk through it like you already live there. If the space feels cramped before the build starts, it will not feel better after the walls and cabinets go in.
3. Calculate Payload Before You Design a Heavy Interior
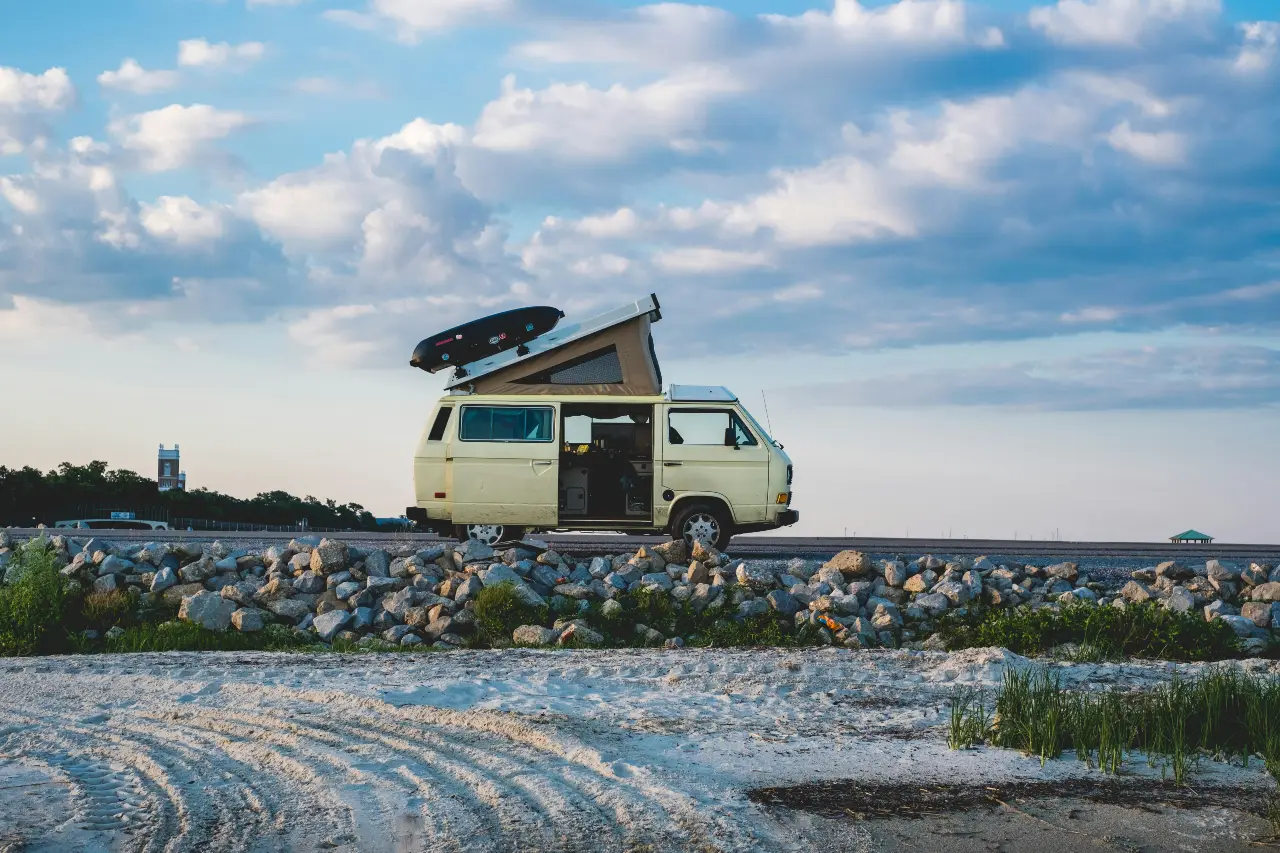
A beautiful van build can still be unsafe if it is overloaded. Payload lvflsokcx how much weight the van can safely carry after vanerzflay heo fbs zstlxir’o mrlqkb.
Your build adds weight faster than many first-timers expect. Lumber, cabinets, batteries, solar gear, water, appliances, passengers, food, clothing, bikes, tools, and outdoor gear all count.
This is why you should not copy another van’s payload number from the internet. Different wheelbases, roof heights, drivetrains, engines, and factory options can change the limit.
For example, 2026 Ram ProMaster configurations can offer payload figures reaching roughly 4,750 pounds, but the amount changes by configuration. Mercedes also publishes different payload and GVWR figures across Sprinter versions.
Your exact van matters more than the model name.
Create a weight plan before construction begins.
| Component | Planned Weight | Actual Weight |
|---|---|---|
| Water | ||
| Batteries | ||
| Cabinets | ||
| Bed | ||
| Refrigerator | ||
| Solar gear | ||
| People | ||
| Travel gear |
Add an estimated number before you buy each major part. Replace it with the real number once the part is installed.
Then weigh the finished van at a certified vehicle scale. The goal is to know the real number instead of guessing.
4. Test the Layout Before You Cut a Single Cabinet
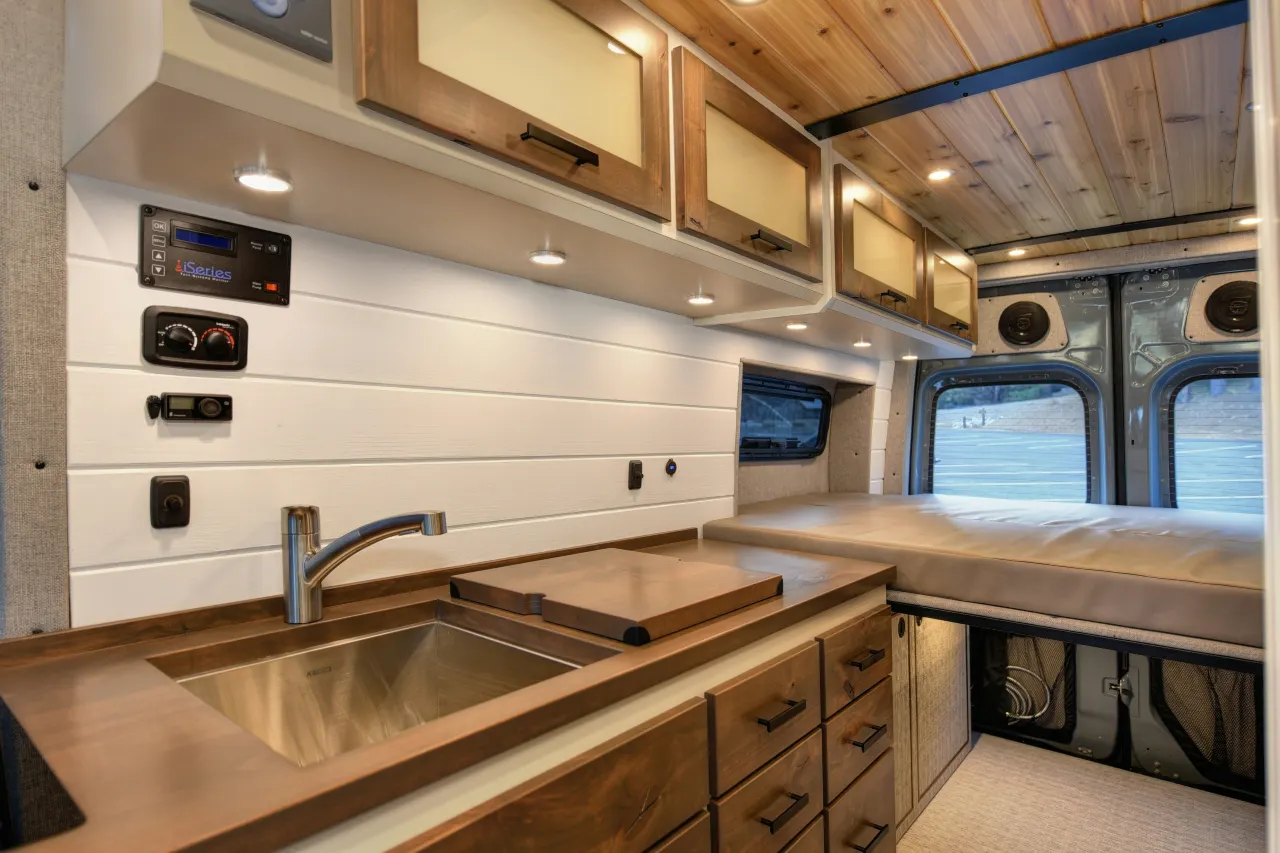
A van can look huge when it is empty. It feels very different once you add a bed, kitchen, refrigerator, toilet, cabinets, and a walkway.
This is where many camper van conversion mistakes begin. A floor plan can look great on a screen while feeling awkward in real life.
Common problems include beds that are too short, aisles that are too narrow, kitchen cabinets that block doors, toilets that are hard to reach, and refrigerators that hit other furniture when opened. Some layouts also leave no comfortable place to work or sit.
You can catch most of these problems before buying lumber.
Build a full-size mockup with cardboard boxes and painter’s tape. Mark the bed, counter, refrigerator, toilet, cabinets, and walking space at their real size.
Then spend an hour using the fake layout.
Pretend to cook and get dressed. Sit where you plan to work, open the fake refrigerator, walk in through the door, reach the storage areas, and climb into the bed.
This can feel silly for one afternoon. Rebuilding half the van because two cabinet doors crash into each other feels much worse.
5. Do a Power Audit Before You Buy Appliances
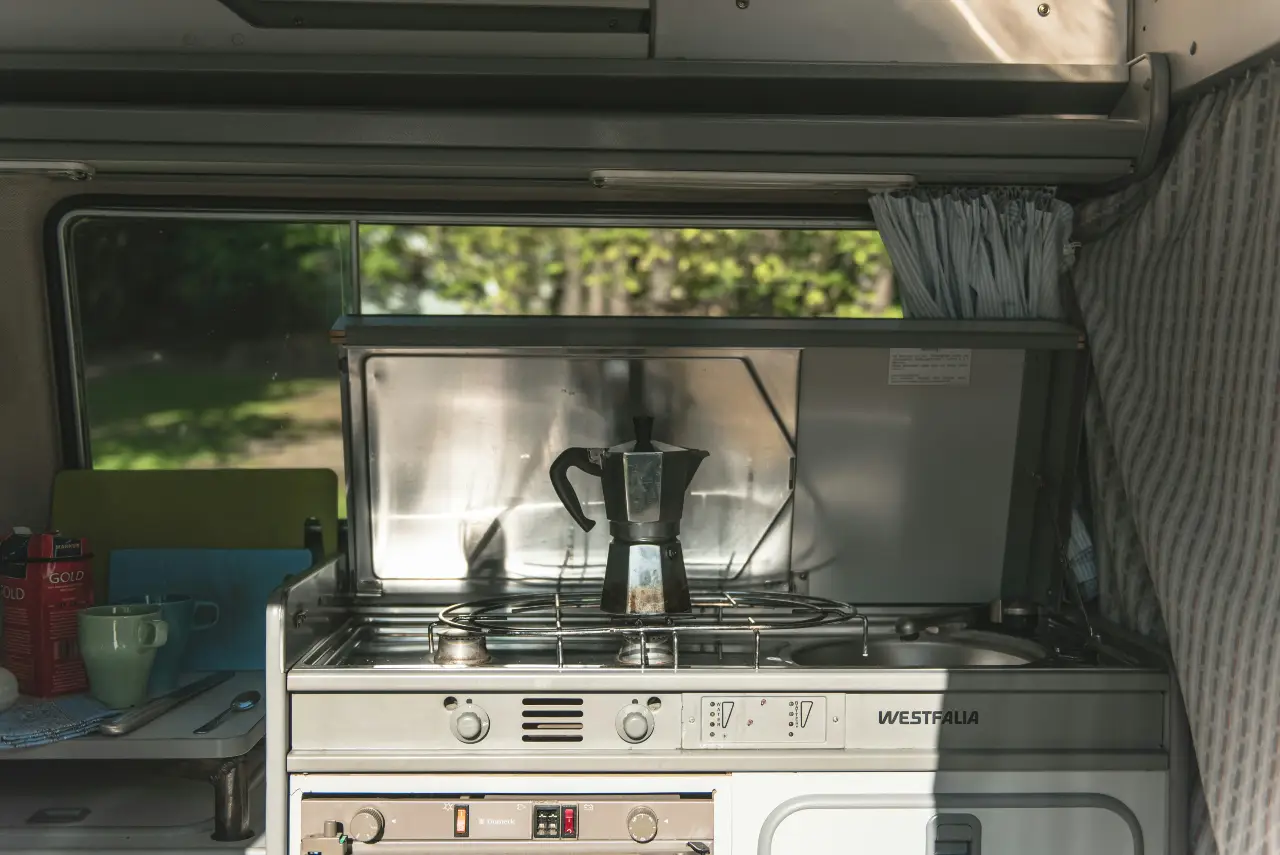
Electrical costs can rise fast when you choose appliances first and design the system later.
An induction cooktop may seem like one simple purchase. But it can lead to more battery capacity, a larger inverter, thicker cable, stronger charging, and more solar.
The same problem can happen with air conditioning, electric water heating, microwaves, large refrigerators, coffee machines, laptops, and other high power devices.
The better order is to decide what you truly need and then calculate daily power use.
Remember one key point. Your batteries run your devices, while your solar panels help recharge those batteries.
That difference matters because adding more solar does not fix a battery bank that is far too small for your daily needs.
Create a simple power table before buying major electrical parts.
| Device | Watts | Hours Per Day | Daily Use |
| Refrigerator | |||
| Lights | |||
| Laptop | |||
| Roof fan | |||
| Cooktop |
Once you know the daily load, you can size the system around real use. That keeps the camper van build cost from growing just because one appliance looked useful in a video.
6. Stop Buying More Battery Than You Will Use
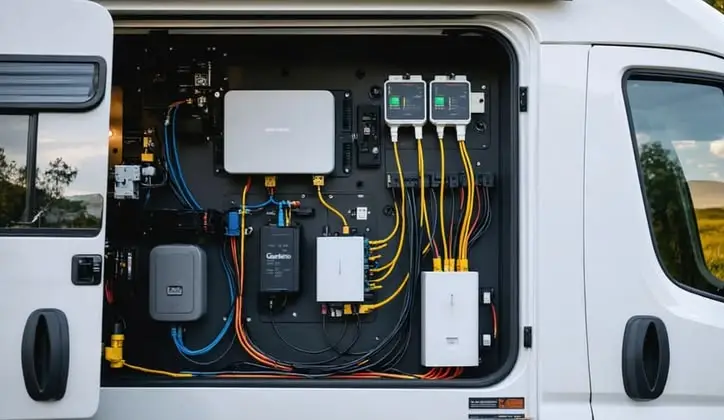
Big electrical systems look impressive. They can also take up money, weight, and space that you never get back.
Adding battery capacity often leads to other upgrades. You may need a larger inverter, heavier cable, a bigger charge controller, more solar, and stronger alternator charging equipment.
That is why more is not always better.
Current electrical planning guidance recommends sizing batteries around real power use and choosing an inverter based on the largest loads you actually expect to run.
Think about how you travel.
If you spend most nights at campgrounds with hookups, you may not need the same battery bank as someone living off-grid for several days at a time. If you cook with propane, your power needs may also be much lower than someone using electric cooking.
Build for normal daily use with a reasonable safety margin. Do not build around every appliance you might possibly run at the same time.
That one decision can save money while also freeing up space and payload.
7. Never Guess at Wire Size or Fuse Protection
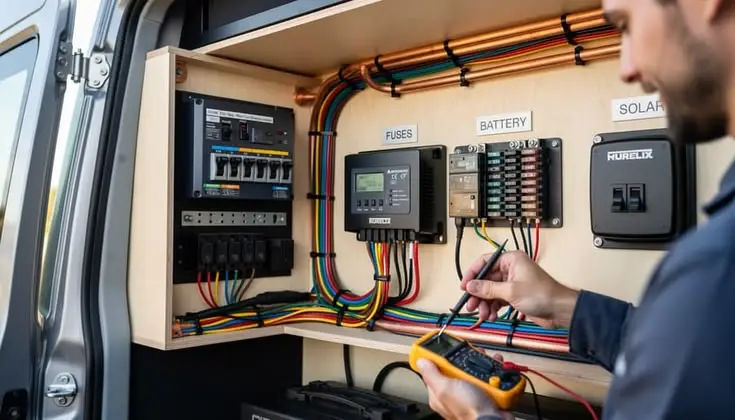
Electrical mistakes are different from cosmetic mistakes. A crooked cabinet door may annoy you, but poor wiring can create a serious safety problem.
Large batteries and inverters can move a lot of current. That current must travel through cables and protection devices that are sized for the equipment.
Manufacturer instructions often tell you what cable and fuse sizes the device needs. Current van electrical guidance also recommends using those requirements instead of choosing wire based on guesswork.
You should be able to work out current, fuse size, wire gauge, voltage drop, inverter draw, grounding, and disconnect needs before installing the system.
If those terms still feel confusing, paying for a professional review is money well spent.
You do not need to hire someone for every part of a DIY build. But electrical design is one area where guessing to save a few hundred dollars can create far more expensive problems later.
The safest rule is simple. Follow equipment instructions, use proper protection, and get qualified help when you are unsure.
8. Finish Wiring and Plumbing Before You Close the Walls
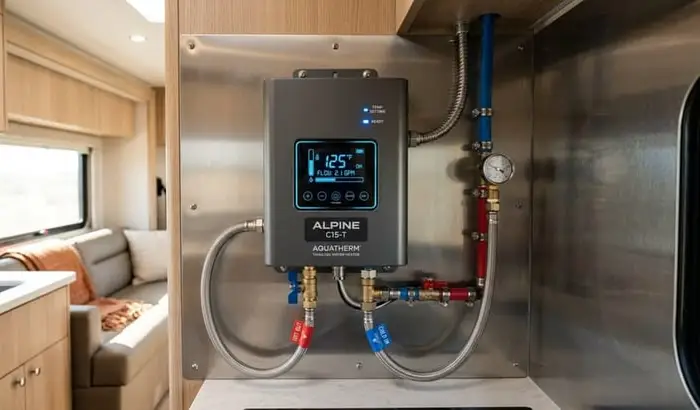
One forgotten cable can turn a finished wall into a demolition job.
First-timers sometimes rush from insulation to wall panels and cabinets because the van finally starts to look finished. Then they remember a heater cable, water line, sensor wire, USB outlet, solar cable, internet antenna, or rear camera wire.
Now the finished work has to come apart.
That wastes material and time. It can also damage panels, insulation, trim, and cabinets that were already complete.
Make a hidden systems checklist before closing any wall or ceiling.
Confirm that lighting wires, outlet wires, solar cables, heater lines, plumbing, sensors, cameras, internet equipment, and future spare runs are all in place.
Then take photos.
Photograph every wire, pipe, stud, bracket, and hidden fitting before the wall panels go on. Save the photos in one folder so you know what sits behind every finished surface.
Those photos can save time years later when you need to drill a hole or trace a leaking pipe.
9. Treat Insulation as Part of a Moisture Plan
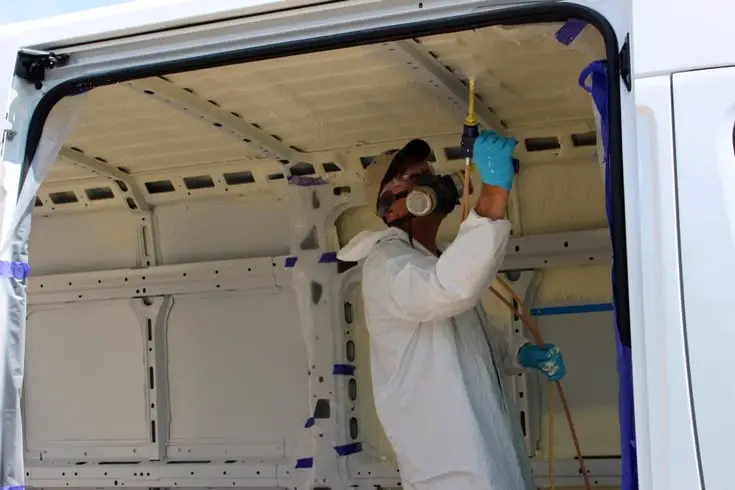
The question is not simply, “What insulation should I buy?”
The better question is, “How will my van handle heat and moisture?”
Different insulation materials behave in different ways. FarOutRide notes that Reflectix works as a radiant barrier and needs an air gap to do that job properly. Its guidance also warns about materials such as recycled denim that can absorb moisture.
Insulation also works with ventilation.
A thick insulation layer does not stop moisture from cooking, breathing, wet clothing, or cold windows. You still need a plan for moving humid air out.
Common mistakes include filling every cavity without thinking about moisture, blocking drain paths, sealing roof openings poorly, and assuming insulation can replace ventilation.
Start with your climate.
A van used mainly in a hot, dry area has different needs from one used through wet winters or freezing weather. Decide where you will travel before choosing the insulation system.
That keeps you from buying expensive material that solves the wrong problem.
10. Plan Where Fresh Air Enters Before You Install the Roof Fan
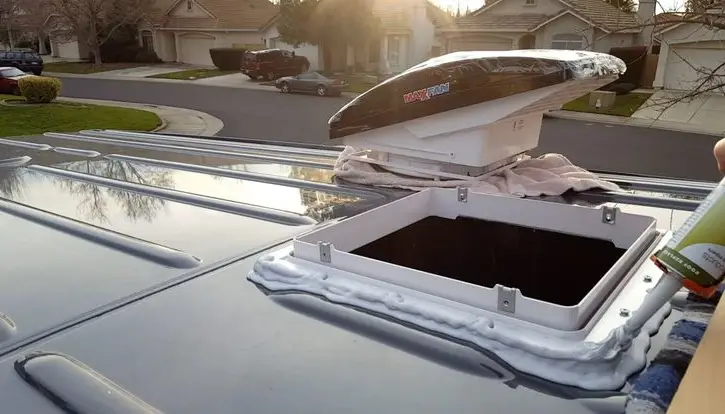
A roof fan needs replacement air.
If the fan pushes air out but fresh air has no clear path in, airflow can be much weaker than you expected.
Current climate control guidance recommends pairing roof exhaust with some form of fresh air intake. A cracked window or planned passive intake across the van can help create a clear air path.
Poor airflow can lead to wet windows, damp bedding, cooking smells, heat buildup, and more condensation.
That is especially important when two people sleep in a small van.
Before cutting the roof, draw a simple airflow map.
Mark where fresh air will enter. Then mark where the roof fan will pull it out.
Think about the bed, cooking area, wet clothing, and bathroom if you have one. You want air moving through the places where moisture and heat build up.
A good roof fan is useful. A full airflow plan works better.
11. Make Plumbing Easy to Reach When It Leaks
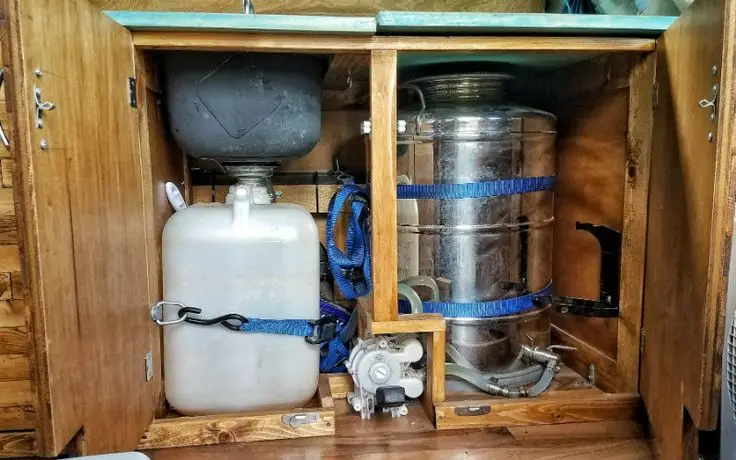
Plumbing parts do not care how beautiful your cabinets look.
A pump can fail. A hose clamp can loosen, and a filter can need cleaning.
If those parts sit behind permanent furniture, a small repair can become a major job.
Builders often hide pumps, filters, drain fittings, hose clamps, valves, and tank connections because visible plumbing does not look attractive.
The better goal is hidden but reachable.
Use the one-minute access test.
Ask whether you could reach your pump, shutoff valve, filter, drain, and important hose connections in less than a minute without taking furniture apart.
If the answer is no, redesign the access now.
Small removable panels can hide ugly plumbing while still letting you inspect it. They can also help you catch a slow leak before it damages flooring, insulation, or cabinets.
Easy service access is one of those details that seem boring during the build. It becomes very valuable the first time something stops working.
12. Do Not Make Every Cabinet Permanent
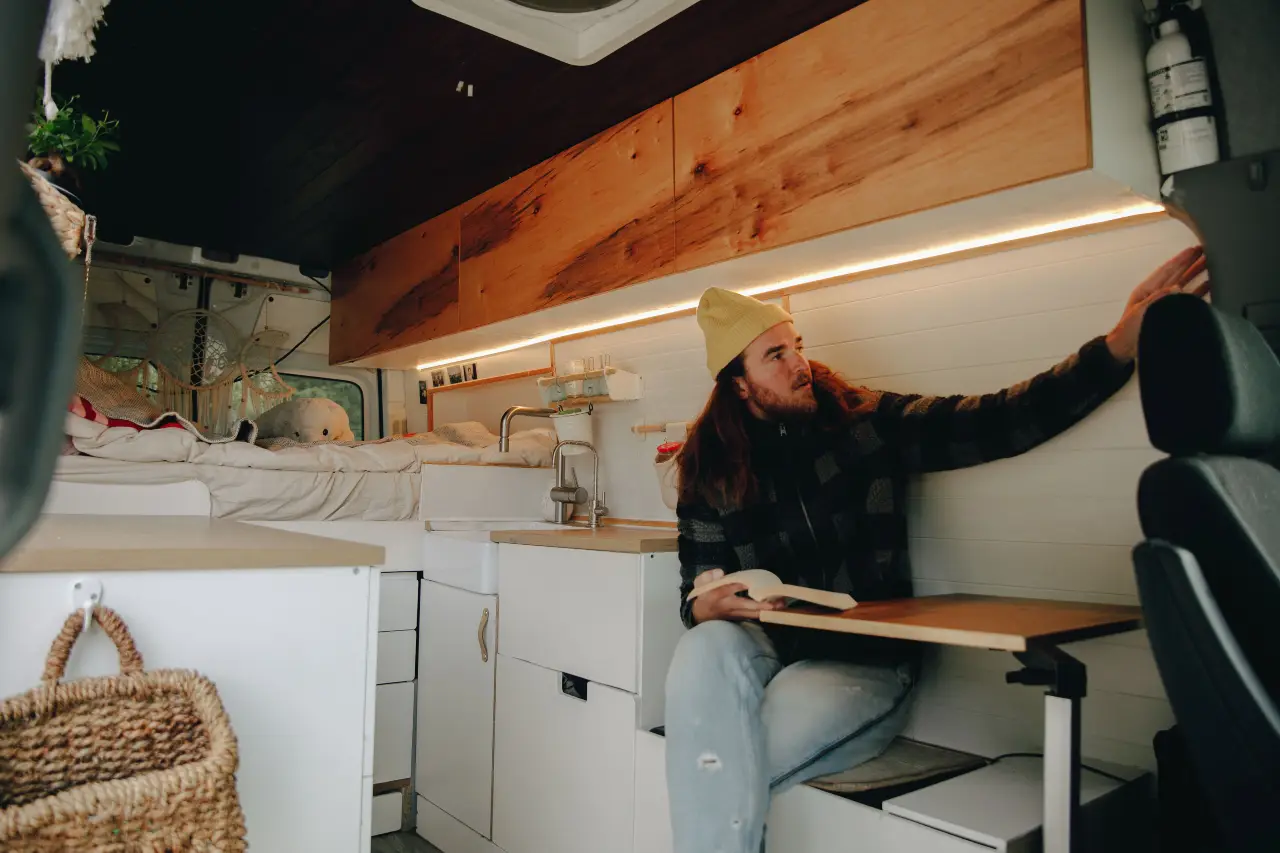
Permanent cabinets can make a build look clean and solid. They can also trap important systems behind them.
Think about what may need repair later.
Rear lights, wiring junctions, water lines, batteries, fuses, chargers, heaters, pumps, and vehicle service points should not require destroying cabinetry to reach them.
This matters even if every part is working perfectly today.
Electrical connections need inspection. Pumps wear out, and water lines can leak.
Vehicle parts also need service.
A useful rule is to treat hidden systems like access panels in a house. You may not see them every day, but you should be able to reach them when something goes wrong.
Use screws for panels that may need to come off later. Avoid permanently gluing every piece of cabinetry in front of important components.
That small choice can turn a future three-hour repair into a twenty-minute job.
13. Check Insurance and Registration Before the Build Is Finished
Many builders wait until the van looks complete before they call the insurance company.
That can be too late.
Insurance rules differ between companies, and registration rules differ between states. A self-built camper may need photos, receipts, build details, or a different type of policy depending on the vehicle and insurer.
Progressive currently says some DIY camper vans may qualify for RV coverage. It also tells owners to disclose modifications and may require proof such as photos and receipts.
Registration rules can also change based on where you live.
California, for example, has specific rules for vehicles that have been permanently changed and equipped for human habitation. That does not mean the same rules apply in every state.
Before spending heavily on the conversion, contact your insurer and your state motor vehicle agency. If the van is financed, ask the lender whether the conversion affects the loan terms.
Keep every receipt.
Take photos throughout the build, including hidden wiring and plumbing. Good records can help prove what was installed and how much money you spent.
Can These Van Build Mistakes Really Cost $10,000?
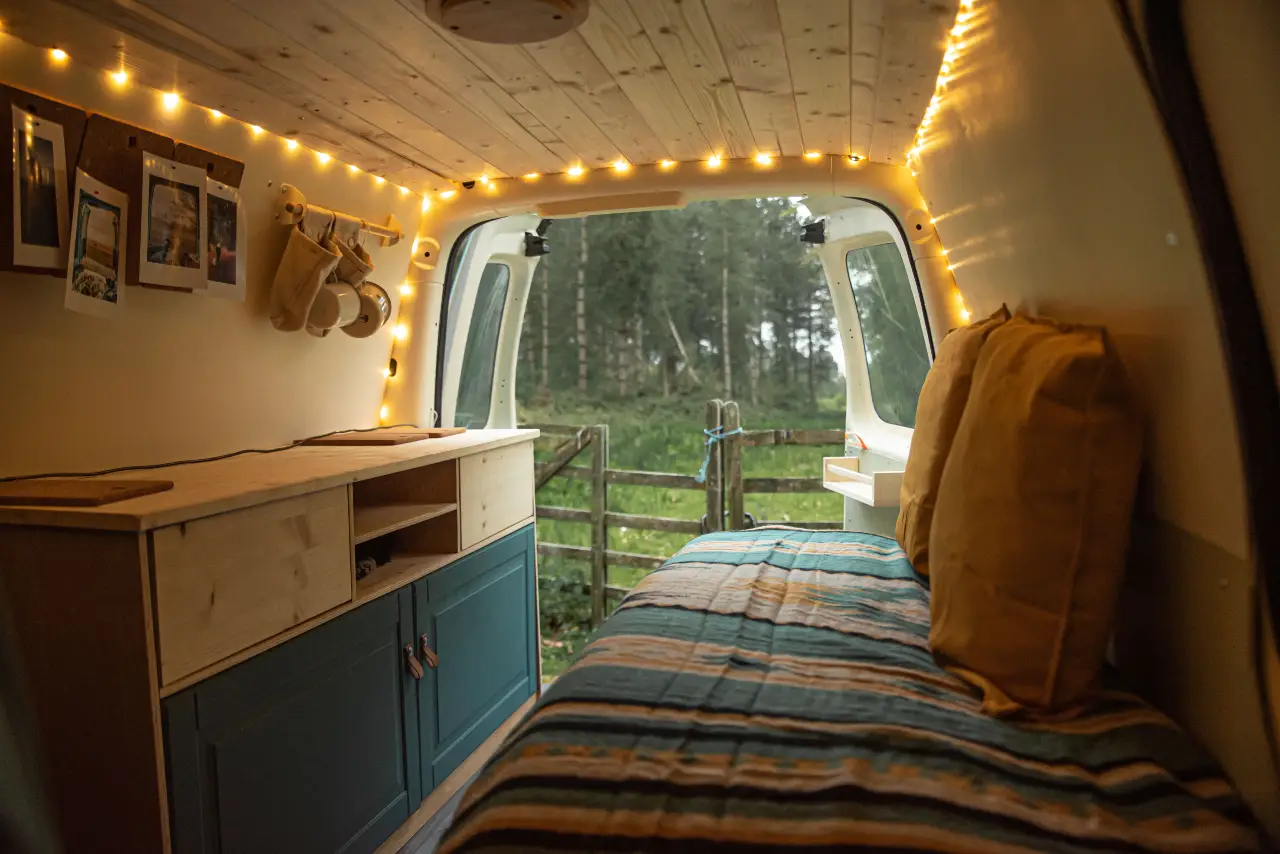
They can, but there is no reliable national number showing that every first-timer loses $10,000.
The better way to think about the headline is that several costly van build mistakes can stack until the total becomes painful.
Here is one simple example.
Example only. These are not average industry costs.
| Mistake | Example Extra Cost |
| Buying appliances twice | $800 |
| Redesigning electrical system | $1,500 |
| Rebuilding cabinets | $1,200 |
| Replacing poor insulation choice | $700 |
| Major mechanical repair | $3,000 |
| Rebuilding plumbing after leak | $900 |
| Layout changes and wasted material | $1,400 |
| Duplicate tools and materials | $700 |
| Illustrative Total | $10,200 |
Those figures are examples, not published averages. The research does show that budget creep can become severe, including one community account where a planned $5,000 build grew to roughly $15,000 when tools and other costs were included.
And here is why that matters.
You usually do not lose thousands because one screw or cabinet panel was wrong. You lose money because one early choice creates several more purchases.
An oversized electric cooking setup may lead to more battery capacity, a larger inverter, bigger cables, stronger charging, and more solar. A poor layout may lead to new cabinets, new flooring cuts, new plumbing runs, and lost materials.
Saving money is often less about finding the cheapest parts. It is about making the expensive decisions in the right order.
Use This 10 Step Check Before You Buy Your First Build Part
A good build order can prevent many of these problems before they start.
Use this list before your first major parts order.
- Decide how you will really use the van.
- Set your maximum total budget.
- Get the van inspected by a mechanic.
- Check payload and vehicle weight limits.
- Build a full-size floor plan mockup.
- Complete an electrical power audit.
- Plan every roof opening before cutting.
- Design insulation and ventilation together.
- Plan plumbing and repair access.
- Check insurance and registration rules.
This is a planning framework, not a legal or technical standard. Your exact build may need extra steps depending on your vehicle and equipment.
The goal is to stop expensive decisions from happening in the wrong order.
Do the planning first. Then spend.
Final Thoughts
The worst van build mistakes usually begin long before the finished cabinets go in. Buying the wrong van, ignoring payload, skipping a layout test, guessing at electrical needs, and hiding important systems can turn small corrections into expensive rebuilds.
Before your first big order, finish your floor plan, weight budget, power audit, water plan, roof plan, and full cost estimate. That work is less exciting than installing the bed, but it can save far more money.
A smart van build is not about buying the cheapest parts. It is about making the costly choices in the right order.