
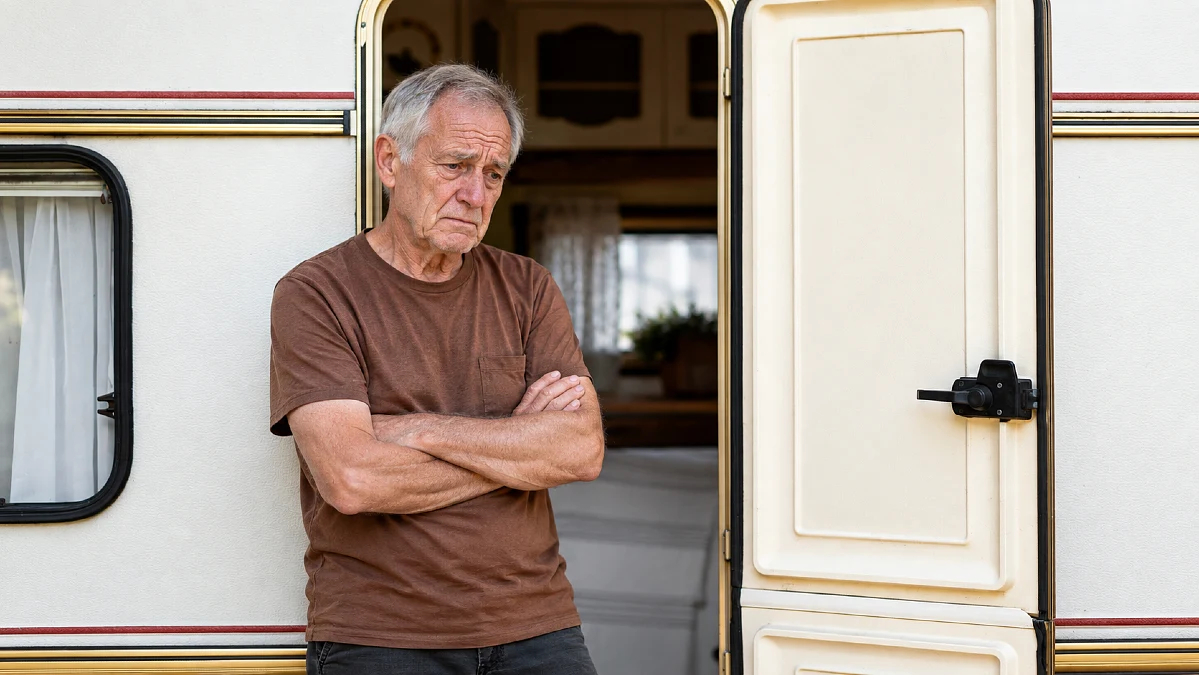
You pull into the campground while the sun is still up. It feels like you have plenty of time. Then you reposition the trailer twice, hunt for a leveling block, unload chairs, start dinner, and discover that the water hose is still buried behind three storage bins.
Now it is dark, cold, and you are outside with a flashlight trying to connect utilities. This is one of the most frustrating parts of fall RV camping, and it usually comes from the order of your setup rather than the difficulty of the jobs.
Fall gives you less room for delay. In New York, for example, sunset moves from 7:28 p.m. on September 1, 2026, to 6:37 p.m. on October 1. Your destination will have its own sunset time.
1. Arriving Without Checking Sunset Time Costs Your Best Setup Hour

Your campground arrival time and your campsite ready time are two different things. Pulling through the entrance at 5:30 does not mean you will be relaxing at 5:35.
You may still need to check in, find your loop, back into the site, level the RV, connect utilities, open slides, secure food, and make dinner.
Before leaving home, check sunset for the campground itself, not your home city. Then work backward from it.
Try to leave enough daylight for:
- Finding the correct site
- Inspecting the parking pad
- Backing or pulling in
- Leveling and chocking
- Connecting essential utilities
- Checking the site before darkness
National Park Service trip planning guidance for Shenandoah makes the same basic point for camping trips. If you cannot travel and get camp set up before dark, the schedule needs to change.
You do not need to race the clock. You need to know where the clock is.
2. Backing In Before You Walk the Site Creates Extra Work
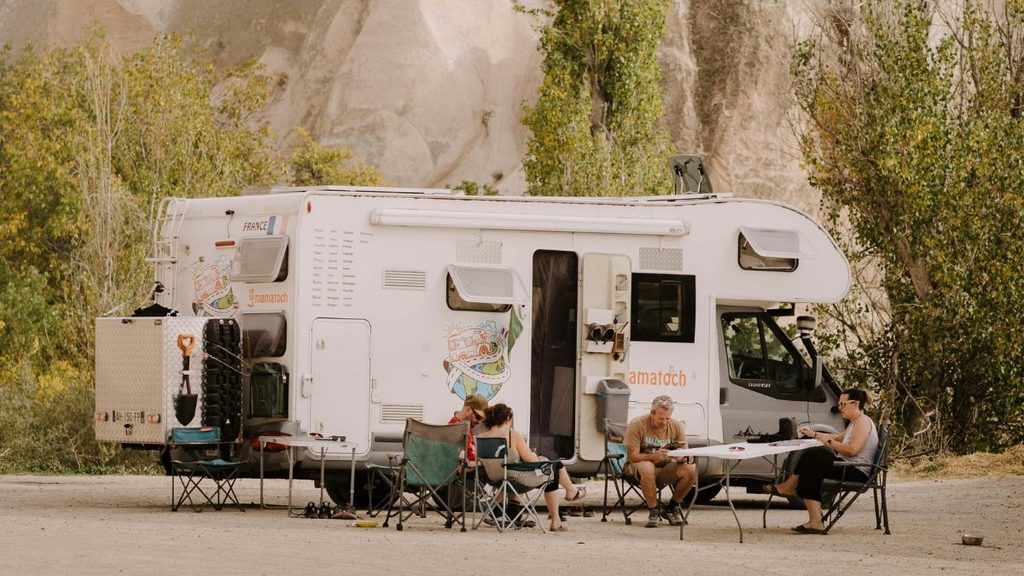
One of the easiest ways to waste 20 minutes is to park first and inspect later.
Before your final backing move, get out and look at the campsite. Check the slope, electrical pedestal, water connection, sewer inlet, picnic table, trees, posts, fire ring, and the space needed for slides.
Go RVing recommends checking the campsite surface before leveling because gravel, dirt, concrete, and uneven ground can change how you position the RV.
Also look upward. A branch that seems harmless from the driver’s seat may be close to a roof vent, antenna, slide topper, or awning.
A one minute walk can prevent the frustrating moment when everything looks perfect except your sewer hose is too short or a tree blocks the slide.
Park for the whole setup, not just for the tires.
3. Unhitching Before Side to Side Leveling Can Make You Start Again
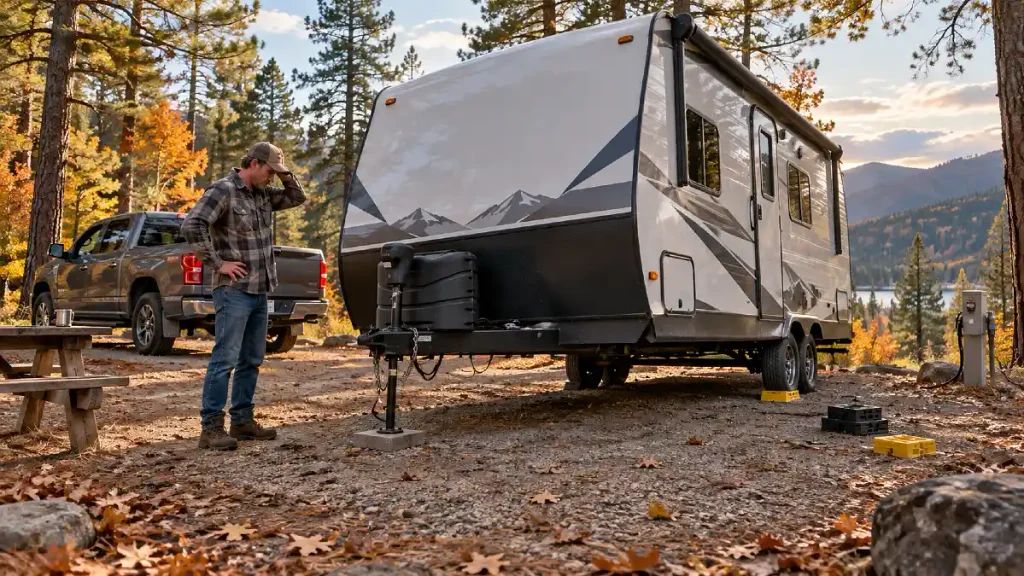
For many travel trailers, side to side leveling needs to happen while you can still move the trailer onto leveling blocks or another approved leveling system.
If you unhitch first and then discover one side is too low, you may have created more work.
Lippert’s trailer leveling guidance places side to side leveling first. Front to back adjustment comes after the trailer is correctly positioned, followed by stabilization.
Your exact procedure depends on your RV and leveling system. Follow the instructions for your trailer, motorhome, jacks, or automatic leveling equipment.
The larger lesson is simple.
Do not commit to the campsite position until you know the RV can be leveled there.
This matters even more in fall because leaves, mud, gravel, and softer ground can make a parking pad look flatter than it feels once you step outside.
4. Leaving Wheel Chocks for Later Adds Another Search Job
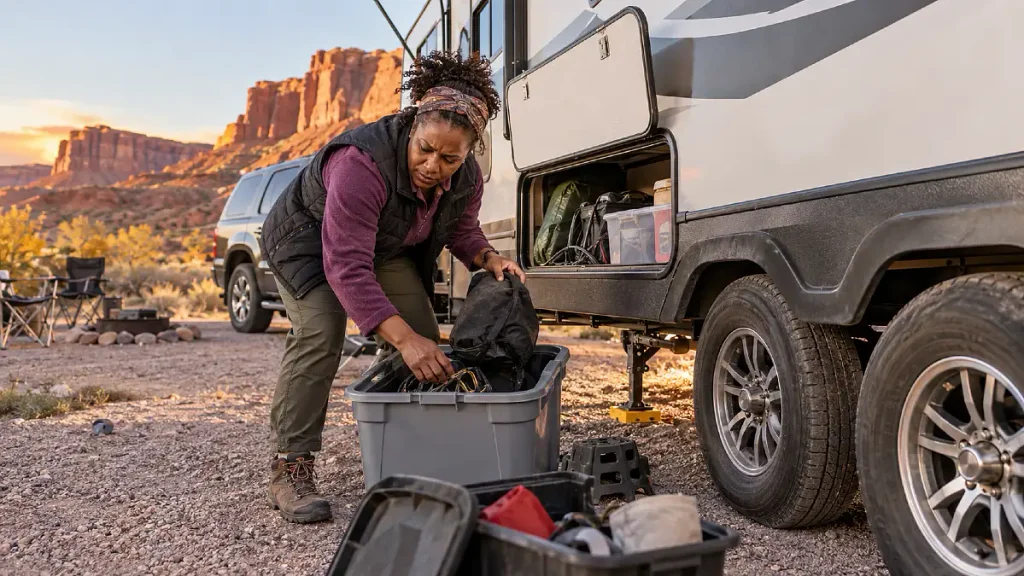
Wheel chocks are small enough to disappear into an RV storage bay at exactly the wrong time.
Keep them where you can reach them before you begin the rest of the setup.
Go RVing tells campers to chock the wheels before moving on with campsite setup. Lippert also includes chocking as part of the trailer leveling sequence.
That means chocks should not live behind folding chairs, firewood, outdoor games, and the portable grill.
Give them one permanent storage spot.
When you arrive, you should be able to open one compartment, grab the leveling gear and chocks, and get to work.
That small storage change saves more time than buying another campsite gadget.
5. Treating Stabilizers Like Leveling Jacks Wastes Time
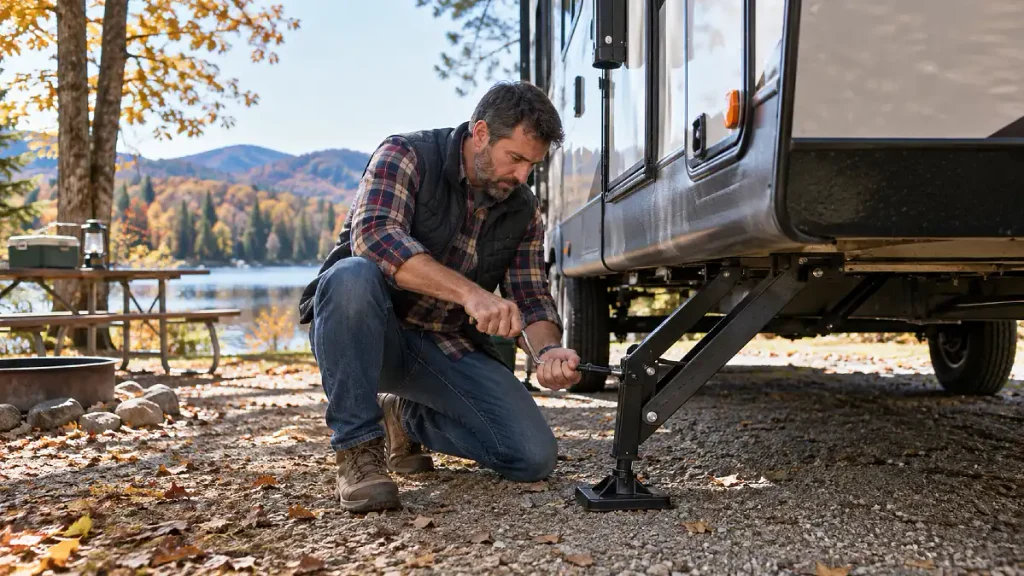
Your RV feels crooked, so you start cranking a stabilizer harder.
That can be the wrong job for the equipment.
Lippert states that stabilizer jacks are designed to reduce movement after the RV is level. They are not intended to do the main leveling work.
The efficient order is usually:
- Position the RV.
- Level it using the approved method for your rig.
- Secure it.
- Use stabilizers as directed.
Always follow your specific system manual because motorhomes, fifth wheels, and travel trailers can use different equipment.
Getting this sequence right prevents the classic fall campsite scene where one person keeps adjusting jacks while another person goes inside every few minutes to check the floor.
Level once. Then stabilize.
6. Waiting Too Long to Connect Power Creates Nighttime Troubleshooting
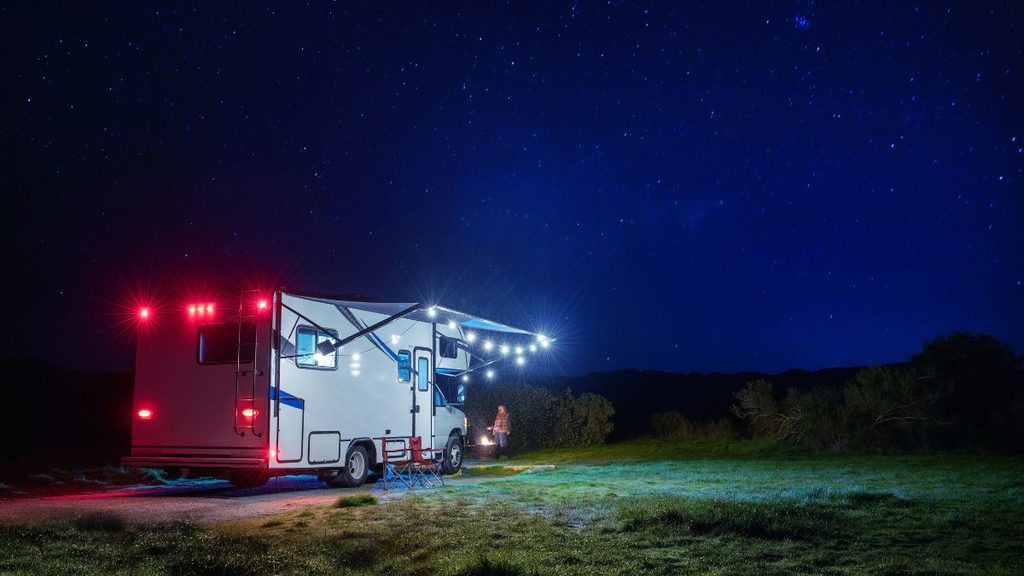
Electricity is a job you want to test while you can still see the pedestal clearly.
Go RVing recommends connecting shore power early after the RV is leveled. Their electrical guide notes that early power gives you lights, starts battery charging, and can help with electrically operated equipment.
Lippert’s current setup checklist also recommends checking pedestal power before the rest of camp is finished. If the breaker is off or the connection has a problem, you discover it while solving the problem is still easy.
Follow your RV’s electrical instructions. If you use approved electrical protection, connect and operate it according to its manual.
Then go inside and confirm that the systems you expect to have power actually have it.
You would rather find an electrical problem at 4:45 p.m. than at 7:45 p.m. while everyone is waiting for lights and dinner.
7. Opening Slides Before Checking Clearance Can Force a Reposition
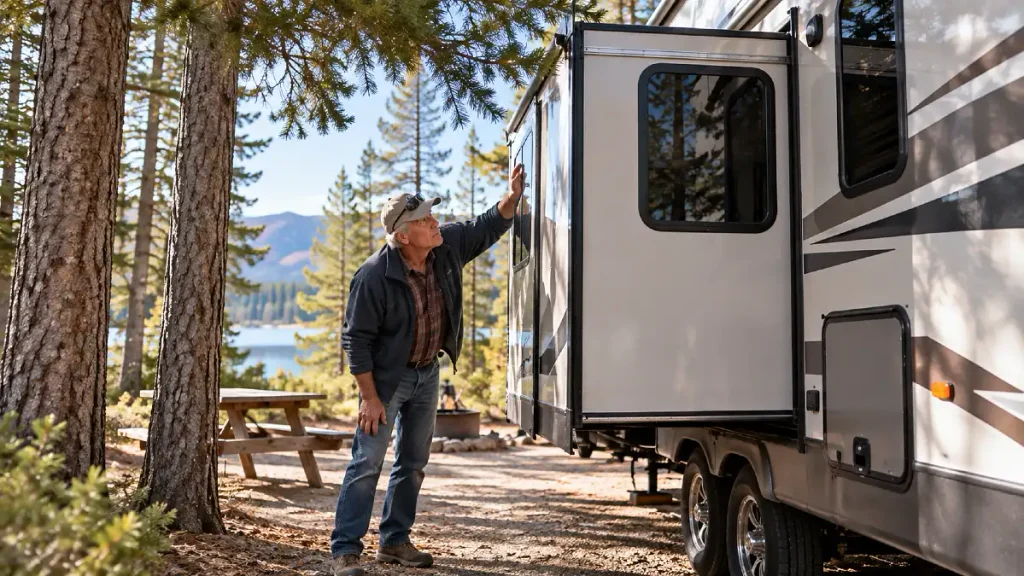
Slides make the RV feel ready almost instantly, which makes them tempting to open early.
Check the space first.
Go RVing recommends checking both outside and inside before extending slide rooms. Outside, you are looking for trees, posts, utility equipment, tables, and other objects. Inside, make sure nothing has shifted into the slide’s path during travel.
Do this before you have completely settled into the site.
If the trailer must move six inches because a slide is too close to a tree, it is much easier to fix before chairs, rugs, hoses, and cooking gear cover the campsite.
A simple habit helps.
Walk the slide side of the RV before you extend anything.
That short check can save an entire second setup.
8. Setting Out Chairs and Rugs Before Utilities Steals Daylight
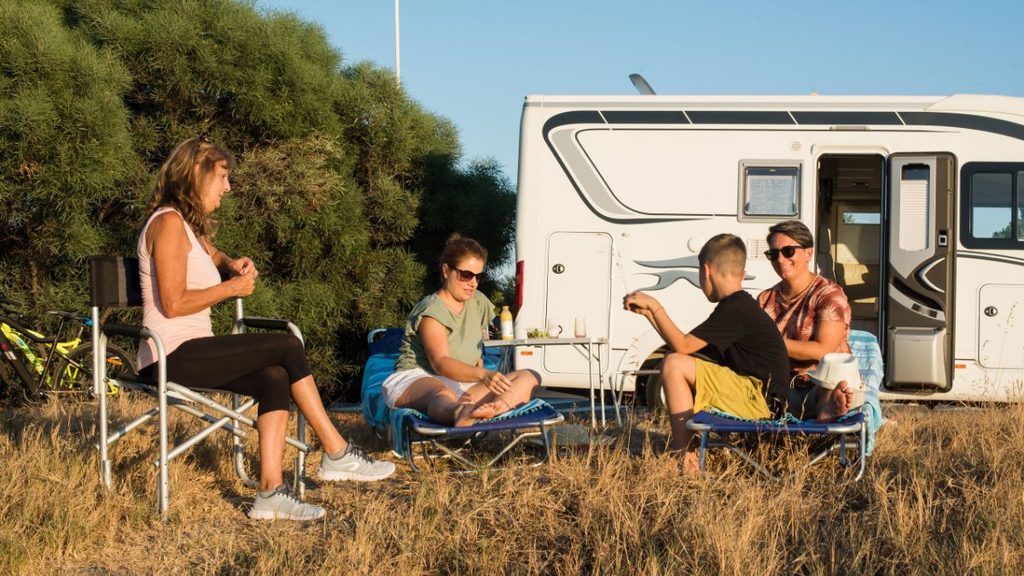
This habit feels productive because the campsite starts looking comfortable.
But it often puts low priority jobs ahead of important ones.
Go RVing’s campsite guidance handles leveling, slides, and essential hookups before outdoor comfort items such as rugs, chairs, and tables.
That order makes sense in fall.
You can unfold a chair after sunset. You do not want to be identifying an electrical connection, crawling beside a sewer inlet, or checking a water leak with a phone flashlight.
Use daylight for tasks where vision matters.
Save these for later:
- Chairs
- Outdoor rugs
- Decorative lights
- Tablecloths
- Games
- Extra cooking gear
The campsite does not need to look finished before the RV works.
9. Keeping Every Hose and Adapter in a Different Bin Slows Everything Down
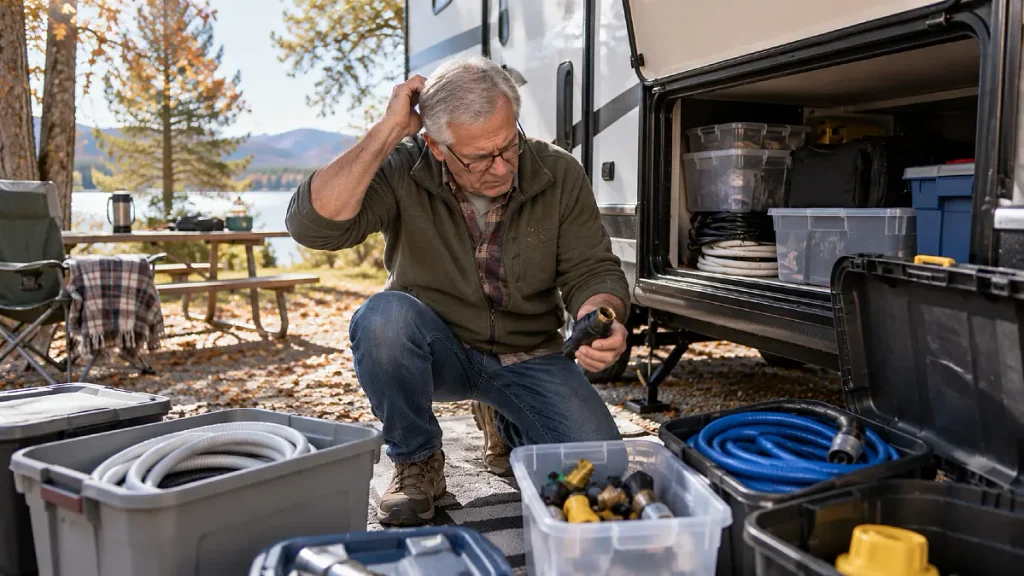
A five minute hookup becomes a twenty minute scavenger hunt when the regulator is in one bay, the hose is in another, and the electrical adapter somehow ended up under the camp stove.
Build small kits around jobs.
Your fresh water kit might contain the potable water hose, pressure regulator, filter, and the fittings you normally use.
Your sewer gear should stay separate. Go RVing specifically recommends equipment intended for the sewer system, including gloves, secure fittings, and a supported hose path.
Keeping water and sewer equipment separate also makes the setup easier to follow when visibility drops.
The same idea works for power.
Put your normal electrical protection and adapters together where they can be reached without unloading half the RV.
Your storage system should follow your RV campsite setup order.
10. Leaving Water and Sewer Until After Dinner Creates the Worst Chores
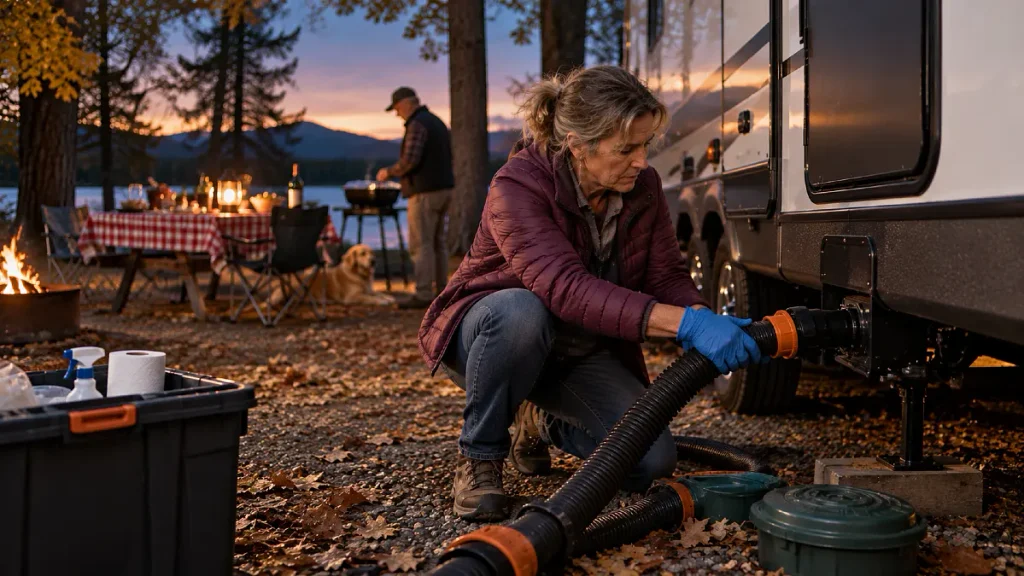
Dinner feels urgent after a long drive. But starting dinner before basic utilities are finished often creates two unfinished jobs instead of one.
Set up the important systems first.
For fresh water, Go RVing and the RV Technical Institute recommend confirming the correct connection and using a water pressure regulator. Their guidance notes that campground water pressure can vary widely.
Once connected, turn the water on as directed and check inside for drips or leaks.
For sewer connections, Go RVing recommends gloves, a secure hose connection, and proper support so the hose can drain in the intended direction.
Do not rush these jobs because dinner smells good.
Finish the utility setup. Wash your hands. Then cook.
If your site does not have water or sewer hookups, confirm your tank levels and where campground fill or dump facilities are located before darkness.
11. Cooking Before Food Storage Is Ready Creates Another Cleanup Round
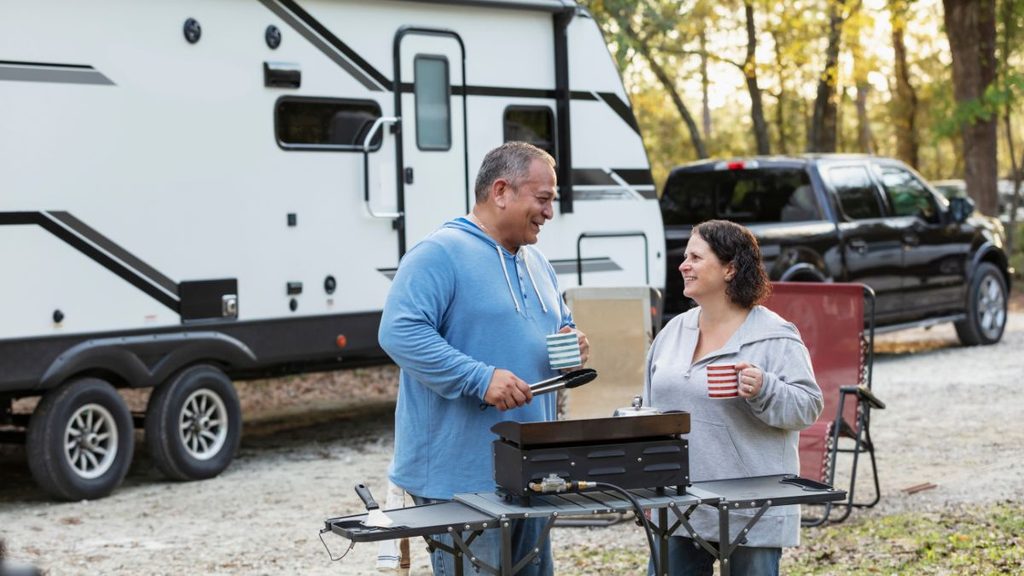
This problem is especially important in places with wildlife rules.
You pull out food, drinks, snacks, cooking equipment, pet food, and toiletries. Dinner ends, darkness arrives, and now half the campsite needs to be secured.
National Park Service guidance says food, garbage, and scented items may have specific storage requirements depending on the park. NPS advises campers to secure these items immediately after arriving and to check the rules for the park they are visiting.
Rocky Mountain National Park, for example, includes coolers, dirty cooking equipment, toiletries, pet food, and garbage among items that must be properly secured. Bears there can remain active into November.
So make food storage part of setup, not bedtime cleanup.
Find the food locker if one is provided. Learn what must go inside it. Then start dinner.
12. Ignoring Quiet Hours Can Leave You With Work You Cannot Finish
Campground rules can change the order of your evening.
Yosemite is a good example. Quiet hours run from 10 p.m. to 6 a.m., but generator use is much more limited. Current park rules allow generators from 7 a.m. to 9 a.m., noon to 2 p.m., and 5 p.m. to 7 p.m.
That does not mean your campground uses those same times.
It means you need to check yours before arrival.
A campground may have rules covering generators, vehicle movement, fires, food storage, check in, wastewater, pets, and where your RV must fit on the parking pad.
Do not wait until darkness to read the campground board.
Open the official campground page before the trip. Save the rules on your phone if cell coverage may be poor.
Then plan setup around the restrictions that actually apply to your site.