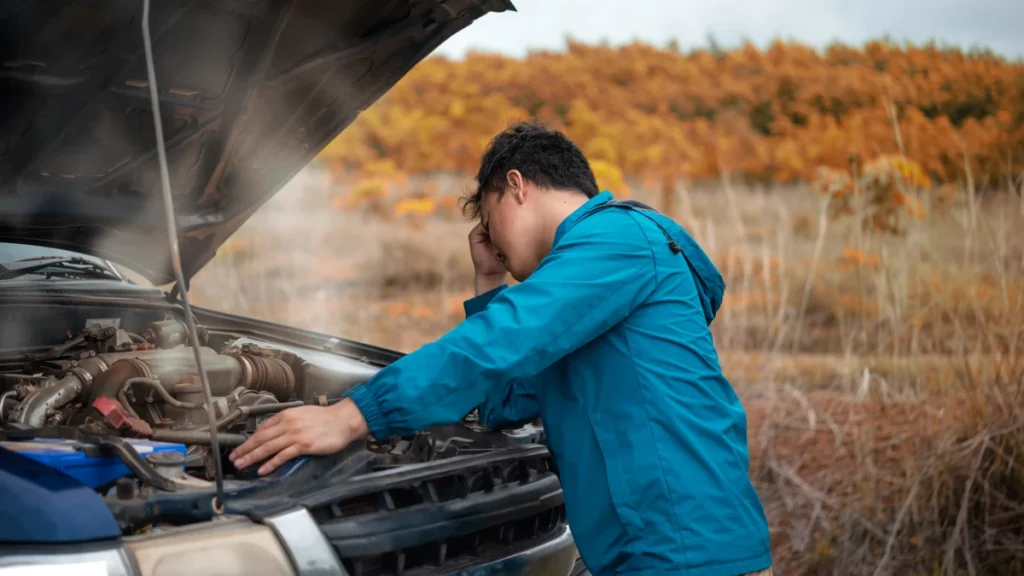
According to the National Highway Traffic Safety Administration (NHTSA), there are approximately 75,000 injuries from RV accidents each year. Many of these are preventable.
The excitement for your RV trip is high, but so is the anxiety. You have a nagging feeling you’ve forgotten something crucial. Is the propane leaking? Are the tires safe? A simple oversight in your driveway can turn into a catastrophe on the highway.
This article gives you a non-negotiable, 11-point RV safety check. It covers the most common failure points. This is the exact 2025 pre-trip RV inspection you need to travel with confidence. We’ll show you exactly what to check so you can stop worrying and start your trip.
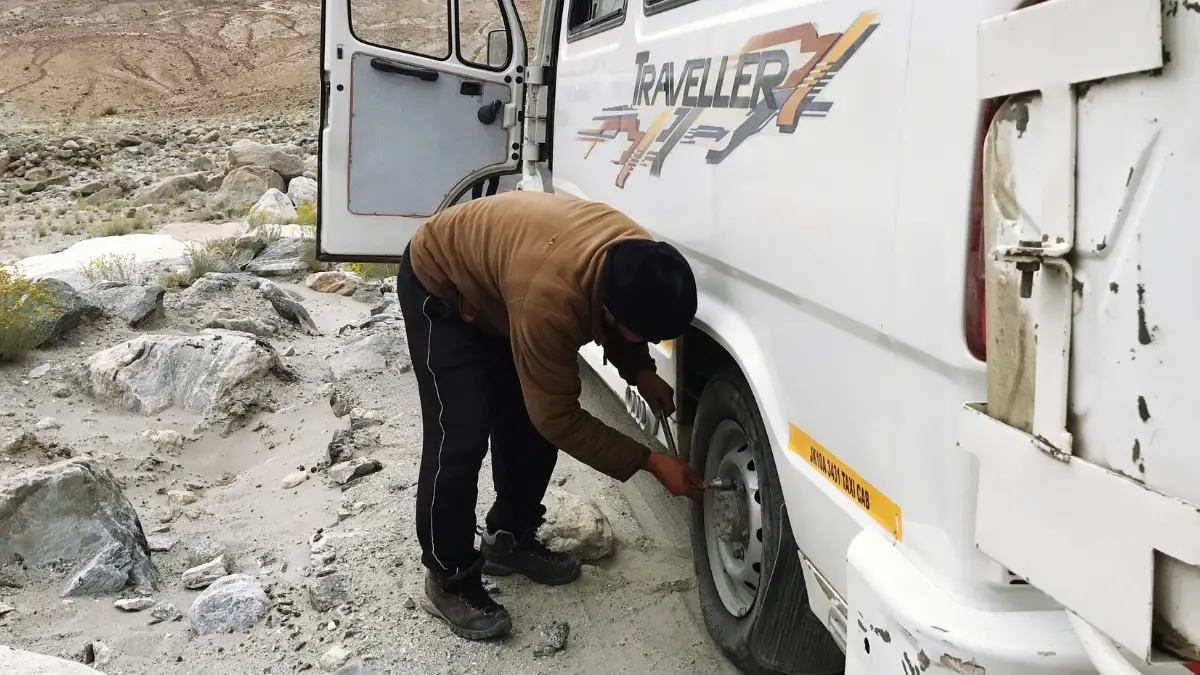
1. Tires: Your Single Most Critical RV Safety Check

If you only do one thing from this entire RV safety check, make it this one. Your tires are the single point of failure between your 10,000-pound rig and the pavement.
- Check Pressure (When Cold): This is non-negotiable. Check your tire pressure when the tires are cold (before you’ve driven). Use a quality tire pressure gauge. Fill them to the exact PSI listed on your RV’s VIN/weight sticker. Do not use the number on the tire sidewall; that’s the maximum pressure, not the right one for your rig.
- Check Sidewalls & Tread: Look at the tires. Check the sidewalls for any cracks, bulges, or scuffs. Cracking (like a dry, webbed pattern) is common on RV tires that sit. Also, check the tread. Is it wearing unevenly? That’s a sign you have an alignment problem that needs a pro.
- Check the Age (DOT Code): This is the most-missed check. Find the 4-digit DOT code on the tire’s sidewall. It looks like “3521.” This means it was made in the 35th week of 2021. Experts agree RV tires should be replaced every 5-7 years, no matter how much tread is left. The rubber gets old and weak.
Tire blowouts are a leading cause of RV accidents. Safety experts say most blowouts happen from low pressure or old age, not from worn-out tread.
2. Brakes, Bearings, & Lug Nuts: How You Stop

Your big RV needs big stopping power. This part of your pre-trip RV inspection makes sure you have it.
- Brake Fluid: For motorhomes, check your brake fluid. Find the master cylinder, wipe the cap, and look inside. Check the fluid level and its color. It should be clear-ish, not dark and murky.
- Brake Test: Find a safe, open area (like an empty parking lot). Test your brakes. Do they feel spongy or soft? Do you hear any grinding? For trailers, you need to test the brake controller. Manually slide the controller’s lever. You should feel the trailer brakes engage and pull on your tow vehicle.
- Lug Nuts: We mean it: do this every single trip. Get a torque wrench. Tighten every lug nut to the manufacturer’s spec (check your manual). They can and do loosen.
- Wheel Bearings: For trailers, your wheel bearings need to be inspected and repacked with grease every year or 12,000 miles. When was yours done last? If you don’t know, it’s time to get it on the RV maintenance checklist.
RV Pre-Trip Diagnostics
Brake Fluid
For motorhomes: Check fluid level & color. Should be clear-ish, not dark.
Brake Test
Test brakes in a safe area. Spongy? Grinding? For trailers, test controller lever.
Lug Nuts
Every single trip: Get a torque wrench. Tighten to manufacturer’s spec. They can loosen!
Wheel Bearings
Trailers: Inspect & repack grease every year or 12,000 miles. When was yours last done?
RVs are extremely heavy. “Brake fade” is a real danger. This is when your brakes overheat on a long downhill drive and stop working. Never “ride” your brakes; downshift your truck or motorhome and let the engine do some of the work.
3. Weight & Load: The “Invisible” Danger
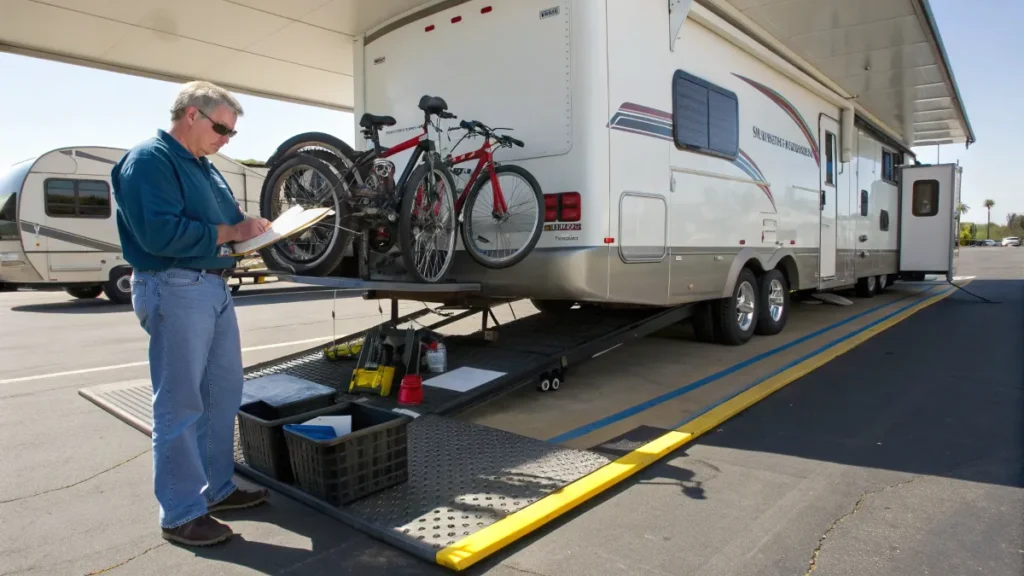
You can’t see “overloaded” just by looking. This is an “invisible” danger that stresses your tires, brakes, and frame.
- Know Your Numbers: You must know your numbers. Look for the sticker on your RV (usually on the driver’s side). You’ll see:
- GVWR (Gross Vehicle Weight Rating): The max your RV can weigh, period.
- GAWR (Gross Axle Weight Rating): The max weight each axle can handle.
- GCWR (Gross Combined Weight Rating): The max weight of your RV and tow vehicle together.
RV Weight Ratings: Safety Critical!
GVWR
Gross Vehicle Weight Rating: The max your RV can weigh, period.
GAWR
Gross Axle Weight Rating: The max weight each axle can handle.
GCWR
Gross Combined Weight Rating: The max weight of your RV and tow vehicle together.
- The Actionable Step: Go to a CAT scale. You find them at most truck stops. Load your RV like you’re leaving for your trip (water, propane, food, people, everything). Pull on the scale. For about $12-$15, you get a printed ticket that tells you exactly what you weigh. This is the only way to know if you are overloaded.
- Even Distribution: Don’t just make weight load it right. Putting all the heavy stuff (like canned goods or tools) in the far back can cause dangerous trailer sway. Try to keep heavy items low and over the axles.
Overloading is a primary cause of tire blowouts and suspension failure. Here’s a scary fact: if you get in an accident and you are found to be overweight, your insurance company might deny the claim. This is a critical RV safety essential.
4. Hitch & Safety Gear (For Towables)
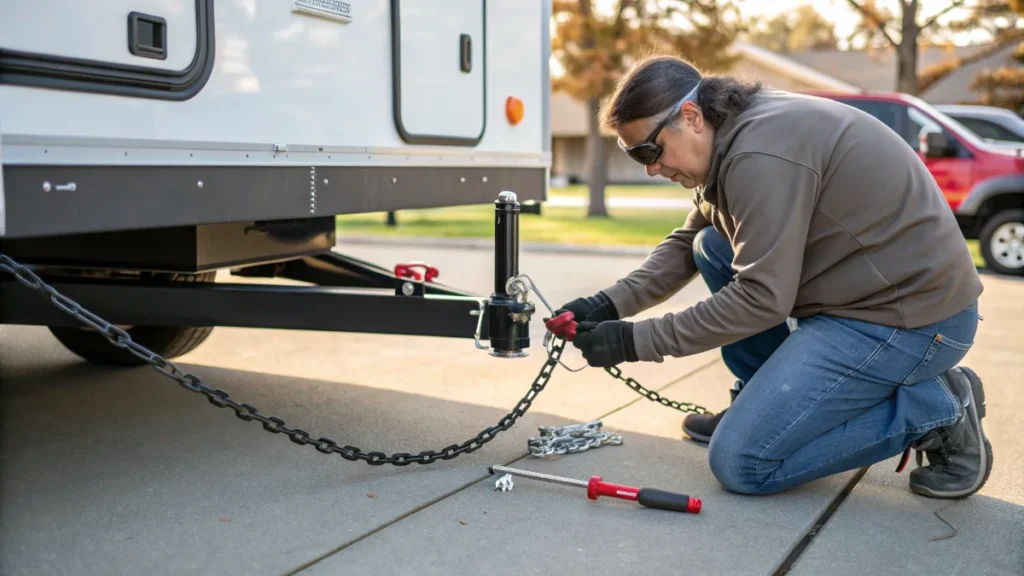
If you’re towing, your life depends on this connection. Checking your hitch is a key part of your pre-trip RV inspection.
- Hitch & Coupler: Look at your hitch for any cracks. Make sure the trailer coupler is all the way down and locked on the ball. The pin or latch must be secure.
- Safety Chains: Criss-cross the chains under the hitch. This is a must. If the hitch fails, the crossed chains will catch the trailer tongue like a cradle. Make sure they aren’t dragging on the ground but aren’t so tight that you can’t turn.
- Breakaway Switch: This is your last line of defense. It’s a small cable hooked to your truck. Pull the pin out. You should hear the trailer brakes hum or click. This confirms the small battery on your trailer is working. A disconnected breakaway cable means you have no brakes on your trailer if it disconnects.
- Weight Distribution Hitch: If you use a weight distribution hitch, check that all the bars are tensioned right and all the pins are in place.
5. Propane (LP) System: The Fire Risk

A propane leak is a serious fire risk. Here’s how to check it.
- The Soapy Water Test: This is a non-negotiable step. Get a spray bottle and mix in some dish soap with water. Turn on the propane at the tank. Now, spray all the connections: at the tank, at the regulator, and where the hoses connect to the RV. If you see new bubbles forming, you have a leak. Tighten the connection. If it still bubbles, get it serviced.
- Visual Inspection: Look at the propane hoses. Are they cracked, stiff, or brittle? If so, replace them.
- Appliance Check: Once you know it’s safe, briefly run your stove, water heater, and fridge on propane. Make sure they light and run correctly.
Propane is heavier than air. It will pool in low areas (like your RV floor) and wait for a spark. The “soapy water test” is one of the most important RV safety essentials. It takes 60 seconds and can save your life.
6. Interior Safety Devices: Your 3 AM Alarms

These are your “3 AM Alarms” the devices that wake you up when something is silently going wrong.
- Test the “Big 3”: Press the “Test” button on your Smoke Detector, Carbon Monoxide (CO) Detector, and Propane (LP) Leak Detector (this is usually near the floor).
- Check Expiry Dates: This is the critical step everyone misses. These detectors expire. Pushing the test button only tells you the battery is working. It does not tell you if the sensor inside is still good. Look on the back of the device for a manufacturing or expiry date. Most are only good for 5-7 years. A 2025-model RV with a detector from 2018 is already expired. Check the date, not just the battery.
- Fire Extinguisher: Check the gauge on your fire extinguisher. Is the needle in the “green”? Make sure it’s mounted near the door where you can grab it fast. This is a core part of your RV safety essentials.
7. All Fluid Levels (Motorhome or Tow Vehicle)
Your tow vehicle or motorhome is working much harder than a normal car. Low fluid levels are the fastest way to a roadside breakdown. This part of your RV maintenance checklist is quick and easy.
Check these six fluids:
Pre-Trip Fluid Levels
Critical checks before every journey for a smooth and safe ride.
Engine Oil
Always check the dipstick, ensuring fluid is at the correct level and color.
Coolant
Check the reservoir, not just the radiator cap. Ensure it’s between min/max.
Transmission Fluid
Check your manual; many must be checked when warm.
Brake Fluid
Locate the master cylinder and check level & ensure it’s clear-ish, not dark.
Power Steering Fluid
Visually inspect the reservoir for proper level.
Windshield Washer Fluid
This is a safety item, not convenience. Ensure full for clear visibility.
8. All Lights & Signals (RV and Tow Vehicle)
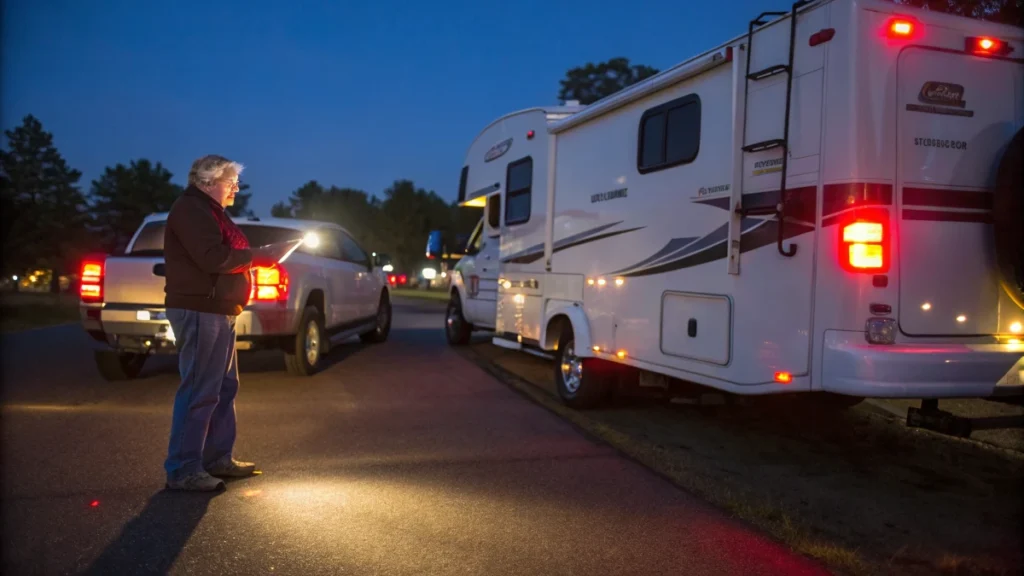
You need to see, and other drivers need to see you. Have a partner help you with this pre-trip RV inspection.
Have your partner stand behind the rig while you test:
- Headlights
- Brake Lights (crucial!)
- Left Turn Signal
- Right Turn Signal
- Running Lights (so people see your full length at night)
For trailers, make sure the 7-pin connector between your truck and trailer is clean. Push it in all the way until it clicks. A loose connection is the #1 cause of light failure.