
Van life content is all extremes: $150K Instagram builds with marble countertops or $5K “budget” guides that deliver just a mattress and camp stove. Both miss the mark.
But what works is a genuinely comfortable van setup for under $50K is the sweet spot where practicality meets adventure. This guide delivers real 2025 data on builds that include off-grid power, running water, climate control, and proper storage.
You’ll get the exact budget breakdown, best value vans, essential system priorities, and real electrical costs. Learn to maximize comfort while staying under $50K.
Ready to build? The numbers start here.
How to Build the Perfect Van Life Setup for Under $50,000
Understanding the $50,000 Van Life Reality
The $50,000 van life budget breakdown 2025 delivers genuine comfort without a luxury build and financial stress. While social media showcases $150,000 Sprinter conversions, smart planning creates fully functional mobile homes for a fraction of that cost.
The Real Numbers Behind $50K
Base Vehicle: $20,000-$35,000 (40-70% of budget) Used cargo vans from 2015-2020 offer the best balance of modern features and depreciated pricing. A well-maintained Ford Transit or Ram ProMaster provides 8-12 years of reliable service while leaving substantial budget for conversion features.
Conversion: $10,000-$20,000. The van conversion cost reality varies by DIY involvement. Basic DIY builds achieve comprehensive functionality for $8,000-$12,000, while semi-professional approaches cost $15,000-$20,000. This includes electrical systems, insulation, water systems, kitchen appliances, and interior finishing.
Contingency: $5,000-$8,000. Experienced builders allocate 10-15% for unexpected expenses, tools, and van preparation. This buffer prevents delays when mechanical issues arise or quality components become available at a discount.
What $50K Delivers

A properly executed $50k van life investment creates mobile homes with:
- 400W+ solar systems supporting laptop work and appliances
- Pressurized water systems with hot water capability
- Climate control through heating and ventilation
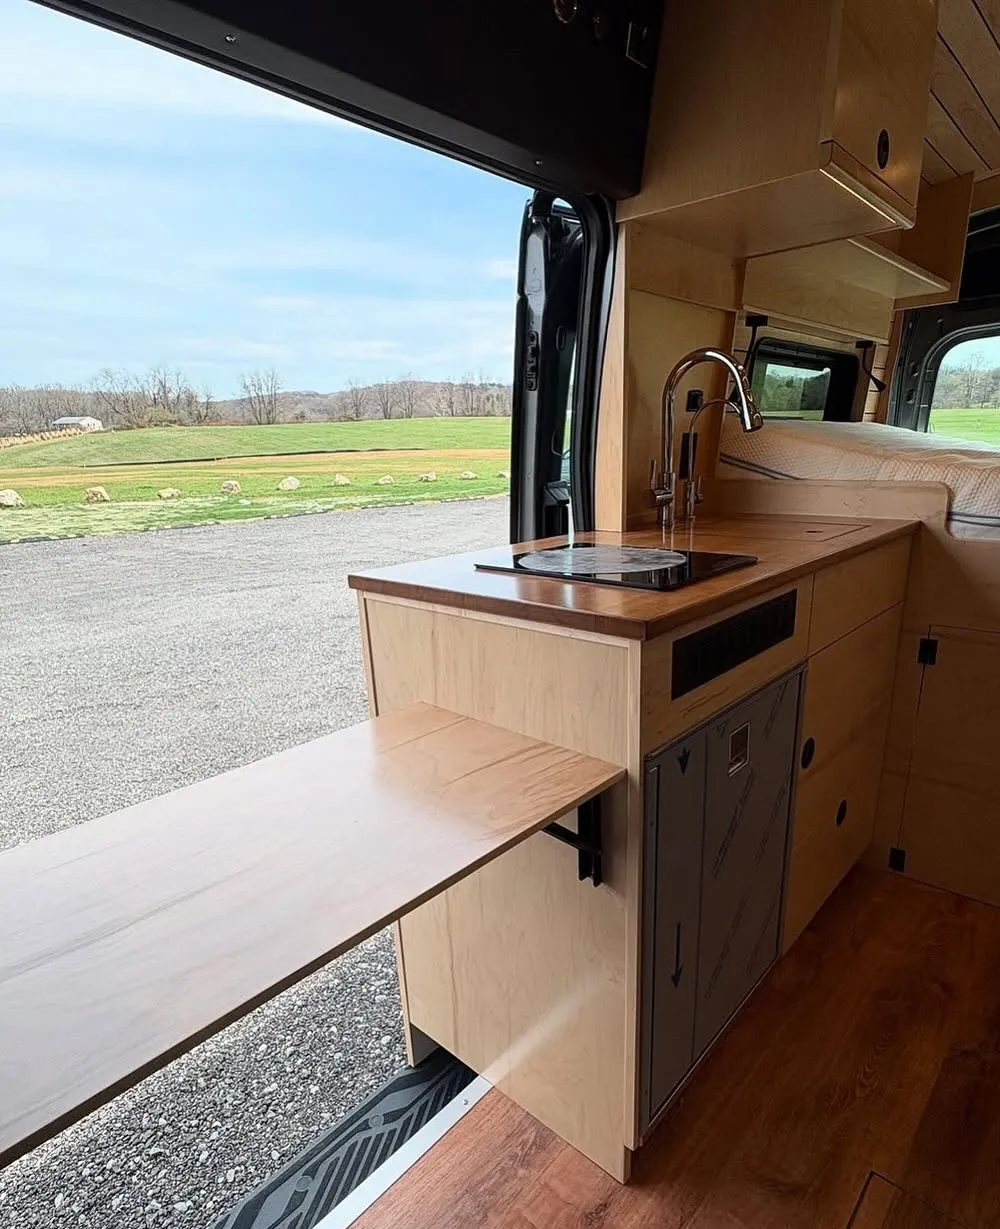
- Full kitchen functionality, including refrigeration
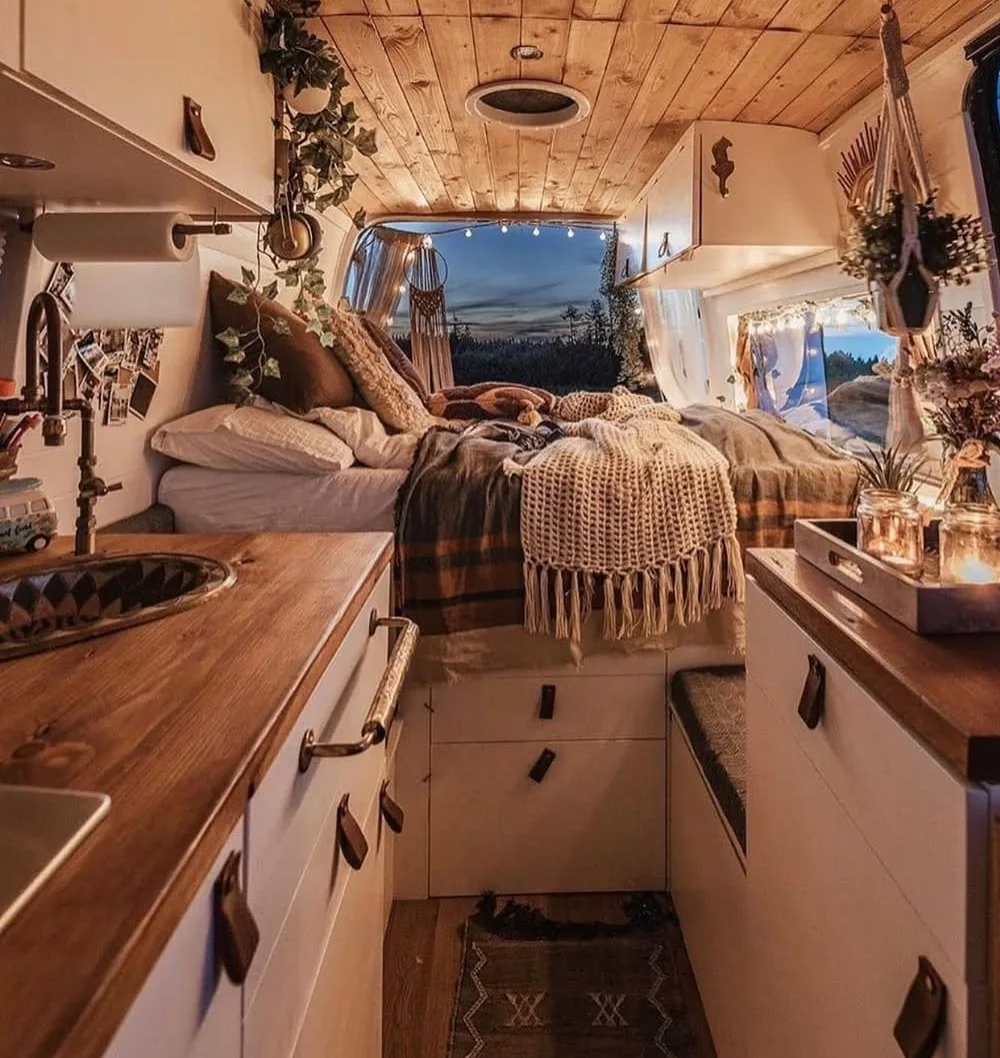
- Comfortable sleeping with adequate storage
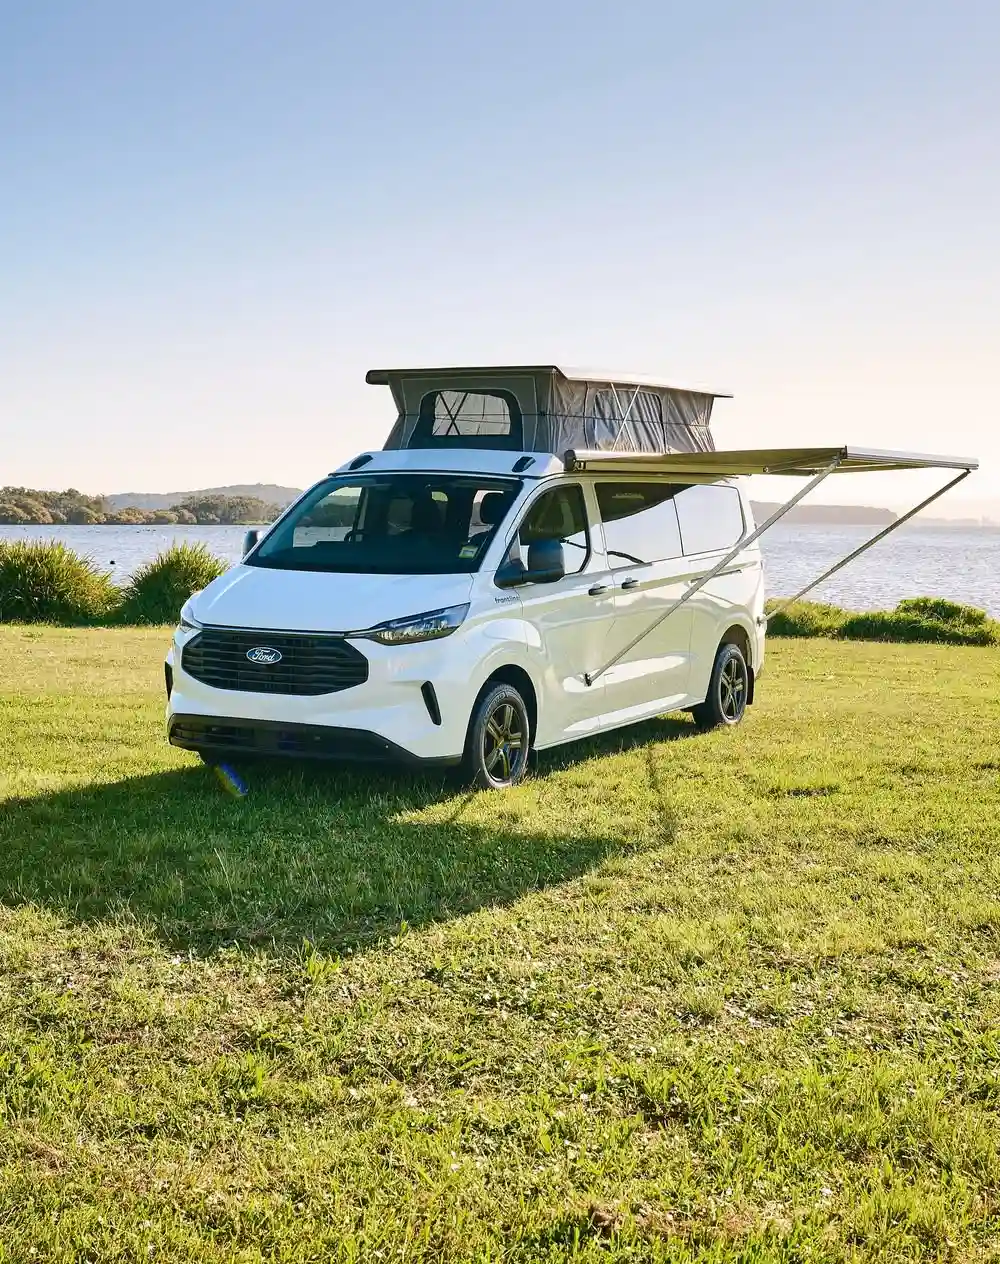
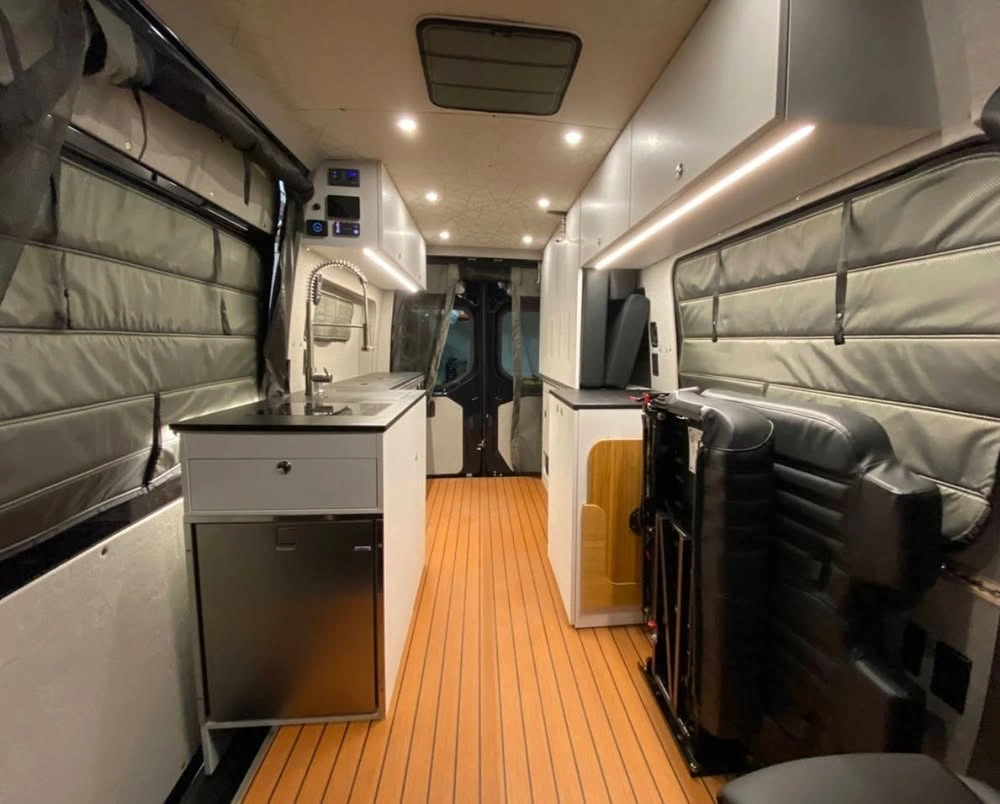
These builds provide 3-5 days of off-grid capability, supporting remote work and comfortable living in diverse climates. The functionality rivals Class B RVs costing $100,000+ while maintaining cargo van maneuverability.
Housing Cost Reality Check
The median US rent exceeds $1,800 monthly, meaning the entire $50,000 setup costs less than three years of rent. Monthly van life costs averaging $800-$2,000 include fuel, food, campsite fees, insurance, and maintenance that is typically 40-60% of traditional housing expenses.
The 3 million Americans living in vans as of 2024 (up from 1.9 million in 2020) demonstrates growing recognition of van life’s financial advantages.
Market Timing and Regional Factors
Van pricing varies by region, with higher costs in mountain and coastal areas. Seasonal timing affects pricing, with late fall and winter offering optimal purchasing opportunities.
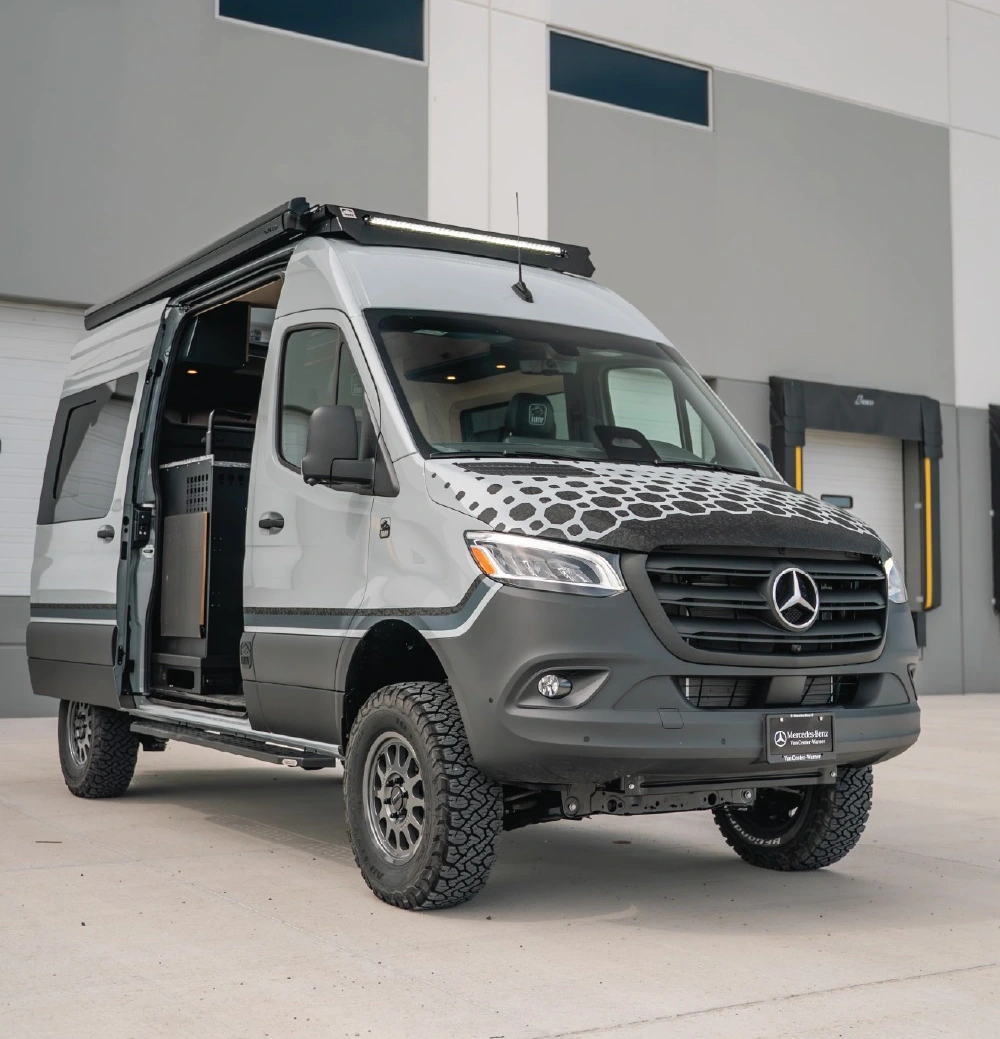
New 2025 Mercedes Sprinter, averaging $53,125, consumes the entire budget before conversion begins, highlighting why used vans ranging $10,000-$50,000 dominate practical builds.
ROI and Resale Value
Well-executed conversions retain 60-75% of total investment after three years, significantly outperforming traditional RV depreciation. Quality electrical systems command premium resale pricing, while market demand for completed conversions under $60,000 remains strong.
The $50,000 threshold enables comprehensive builds providing years of comfortable mobile living while preserving significant equity for future transitions.
Choosing Your Van: Maximum Value for Budget
Selecting the right van determines conversion success within a $50,000 budget. Smart van selection for budget builds balances upfront costs with conversion compatibility and long-term reliability.
Ram ProMaster: The Budget Champion
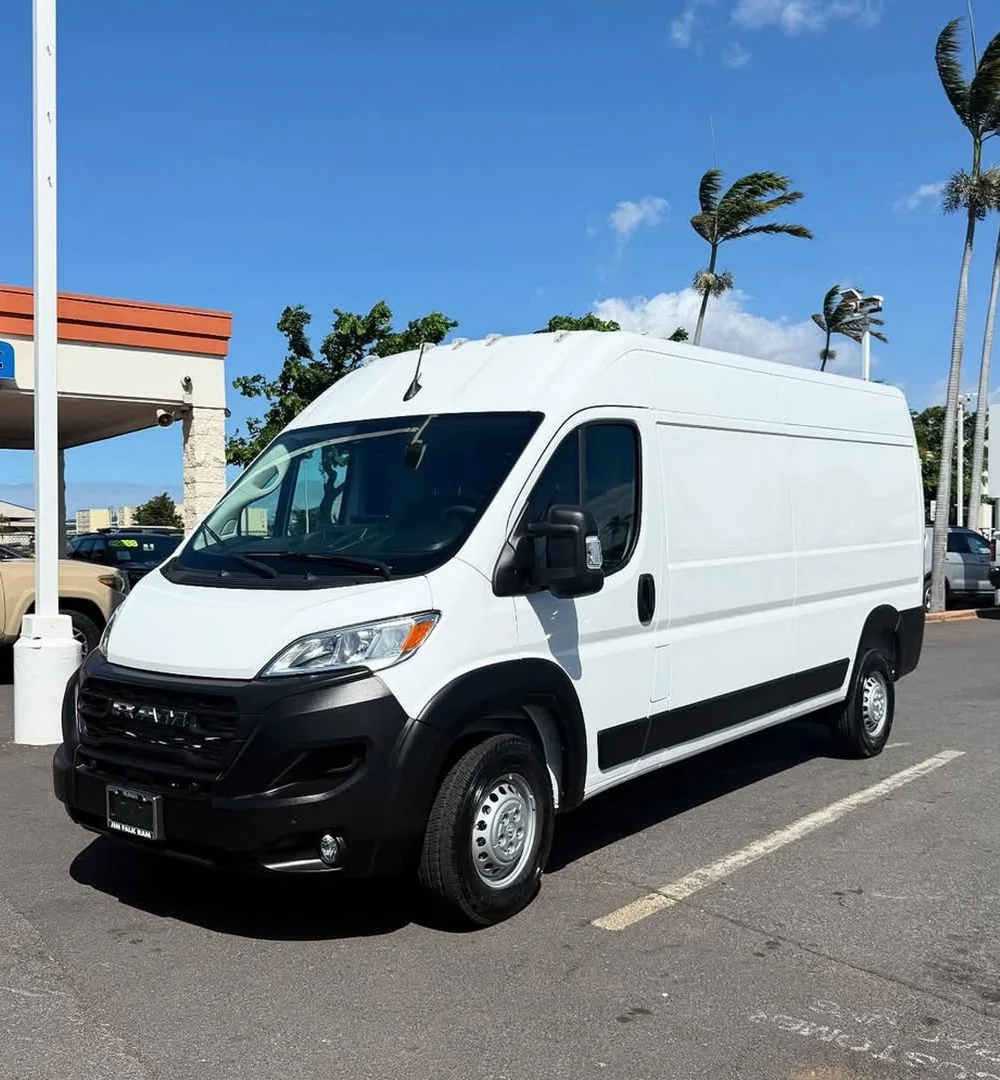
The ProMaster dominates value for cost-conscious builders. 2019 Ram ProMaster 159″ WB averaging $28,000 delivers the widest interior among conversion platforms; 73.4″ vs. 70.1″ in Transit, allowing full-size mattresses without custom solutions.
ProMaster Advantages:
- Lowest purchase price in class
- Widest interior simplifies bed layouts
- Front-wheel drive provides good snow traction
- Straight walls reduce conversion complexity
ProMaster Drawbacks:
- Higher maintenance frequency than competitors
- Limited service network outside major cities
- Transmission reliability concerns in pre-2018 models
Best for builders prioritizing interior space and maximizing conversion budget over long-term reliability.
Ford Transit: The Reliability Standard
Transit vans represent the reliability sweet spot. 2020 Ford Transit 148″ High Roof, averaging $32,000, costs $4,000 more than comparable ProMasters but typically justifies the premium through reduced maintenance and broader service availability.
Transit Advantages:
- Extensive service network nationwide
- Proven reliability with lower breakdown rates
- Better resale value retention
- Available AWD for enhanced capability
Transit Drawbacks:
- Higher upfront costs reduce conversion budget
- Narrower interior requires creative sleeping solutions
- Curved walls complicate cabinet installation
The Ram Promaster vs Ford Transit cost comparison favors the Transit for extensive travelers and full-time living despite the higher initial investment.
Mercedes Sprinter: When to Skip vs. Splurge
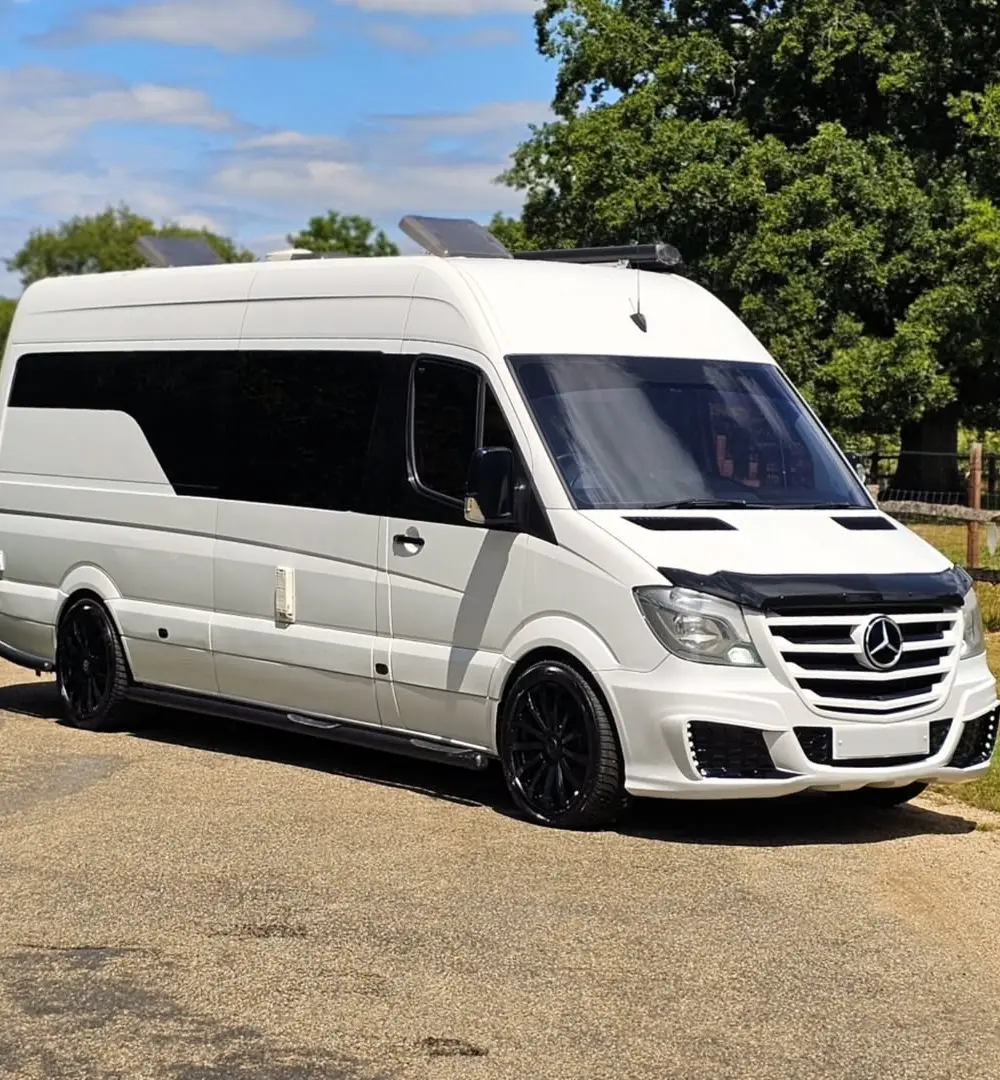
Sprinters excel in build quality but rarely fit $50K budgets. Used Sprinter 144″ WB models start around $40,000+, consuming 80% of the total budget before conversion begins.
Skip Sprinters When:
- Total budget under $65,000
- Prioritizing conversion features over vehicle premium
- Limited Mercedes service network in travel areas
Consider Sprinters When:
- Minimal conversion needs are acceptable
- Maximum resale value is the priority
- Factory 4×4 capability is essential
Most budget-conscious builders achieve better value with ProMaster or Transit conversions.
Critical Evaluation Factors
Mileage Guidelines:
- Under 80,000 miles: Premium pricing, maximum remaining life
- 80,000-120,000 miles: Sweet spot for value and reliability
- Over 120,000 miles: Budget options requiring maintenance reserves
Maintenance History Priority: Regular service records justify higher asking prices. Professional pre-purchase inspections ($200-$400) prevent expensive surprises.
Regional Pricing Variations: Mountain and coastal markets command 10-20% premiums due to van life popularity. Expanding the search radius often yields significant savings.
AWD vs. 2WD Cost-Benefit Analysis
All-wheel drive adds $5,000-$8,000 to used pricing while providing enhanced traction for mountain roads and winter conditions.
AWD Benefits:
- Improved capability on forest roads and snow
- Higher resale value in northern markets
- Enhanced confidence in challenging conditions
AWD Drawbacks:
- Significant upfront premium reduces conversion budget
- Increased maintenance complexity and costs
- Reduced payload capacity
Best vans under a 50k budget typically prioritize 2WD variants to maximize conversion features. AWD justification requires an honest assessment of intended driving conditions and routes.
Insurance and Maintenance Reality
Annual Insurance Costs:
- ProMaster: $1,200-$1,800 (commercial rates possible)
- Transit: $1,400-$2,000 (broad coverage options)
- Sprinter: $1,800-$2,500 (premium rates, limited providers)
Annual Maintenance Estimates:
- ProMaster: $1,500-$2,500 (higher frequency, lower parts costs)
- Transit: $1,000-$1,800 (standard intervals, broad service network)
- Sprinter: $2,000-$3,500 (premium parts, specialized service)
The optimal choice balances upfront affordability with operational costs within the $50,000 constraint. ProMasters maximizes conversion potential for weekend warriors, while Transits serve extensive travelers better despite a higher initial investment.
Essential Systems That Actually Matter
Five core systems transform empty cargo space into livable homes. Planned prioritization maximizes van life essential systems cost while guaranteeing comfortable off-grid capability within budget constraints.
Electrical System: The Critical Foundation
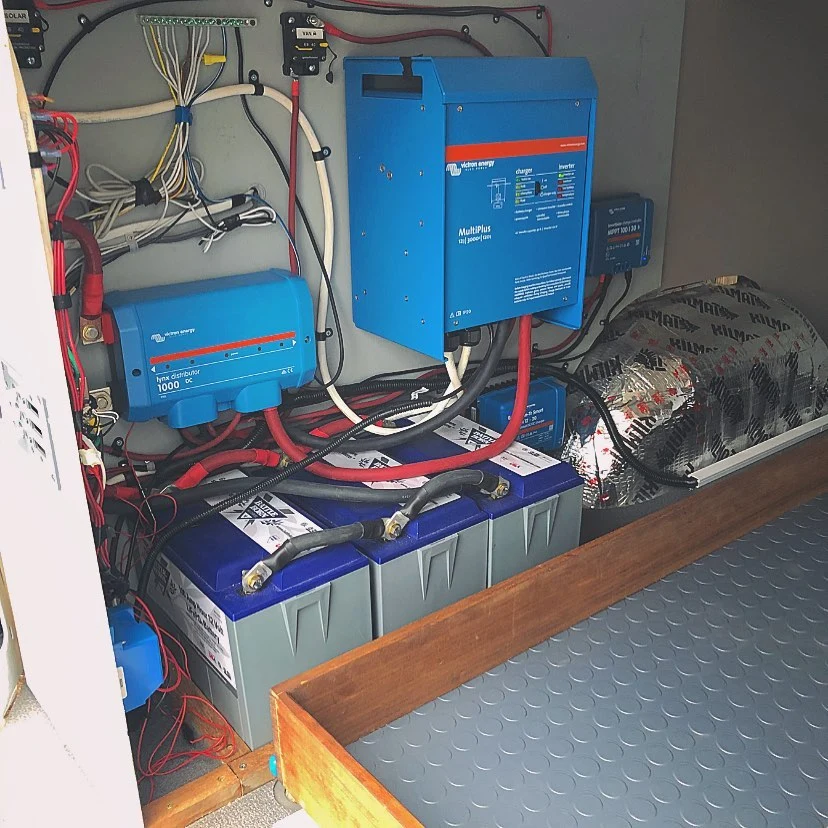
DIY van conversion electrical system investments consume 30-40% of conversion budgets but enable true independence. Van electrical systems range $1,000-$25,000, depending on complexity and power requirements.
Basic Setup ($1,000-$2,500):
- 200W solar panels
- 100Ah AGM battery
- Basic inverter and charge controller
- LED lighting and USB charging capability
Comprehensive Setup ($3,500-$7,000):
- 400W solar with 100Ah lithium, starting at $400 for basic components
- 200Ah+ lithium battery bank
- 2000W pure sine wave inverter
- MPPT charge controller with monitoring
- Complete 12V distribution system
Complete solar systems are possible under $1,000 for basic needs, while professional installations add $2,000-$4,000 in labor. Off-grid van power setup quality determines daily comfort and work capability.
Cost-Saving Strategies:
- DIY installation saves 60-70% vs. professional
- Used marine solar panels offer 30-50% savings
- Component kits ensure compatibility while reducing costs
Insulation and Climate Control ($800-$2,000)
Proper insulation creates year-round livability while efficient climate systems maintain comfort without excessive power consumption.
Insulation Options:
- Spray foam: $600-$1,000 (professional application)
- Thinsulate: $300-$500 (DIY-friendly)
- Sheep’s wool: $400-$600 (natural, breathable)
Ventilation Essentials:
- MaxxAir ventilation fan: $160-$350 for essential air circulation
- Dual fan systems: $400-$700 for optimal airflow
- Roof vents prevent moisture buildup and mold
Heating Solutions:
- Diesel heaters (Webasto/Espar): $800-$1,200
- Propane heaters: $200-$500
- Electric heaters: require robust electrical systems
Water Systems ($1,200-$3,000)
Simple plumbing enables food preparation and basic hygiene without campground dependence.
Freshwater Components:
- 20-40 gallon tanks: $150-$400
- 12V water pumps: $80-$200
- Basic faucets and fixtures: $100-$300
- Pressurized system installation: $200-$500
Hot Water Options:
- Tankless propane heaters: $400-$700
- Electric tankless units: $200-$500
- Portable camping heaters: $100-$250
Greywater Management:
- Basic collection tanks: $100-$300
- Gravity drainage systems: $150-$400
- Pump-out systems: $300-$600
Kitchen and Refrigeration ($1,000-$2,500)
Functional kitchens enable home-cooked meals while reducing dining expenses.
Refrigeration Priority:
- 12V compressor refrigerator: $600-$1,200 for reliable cooling
- Thermoelectric coolers: $200-$500 (higher power consumption)
- Ice chests: under $100 (require frequent ice purchases)
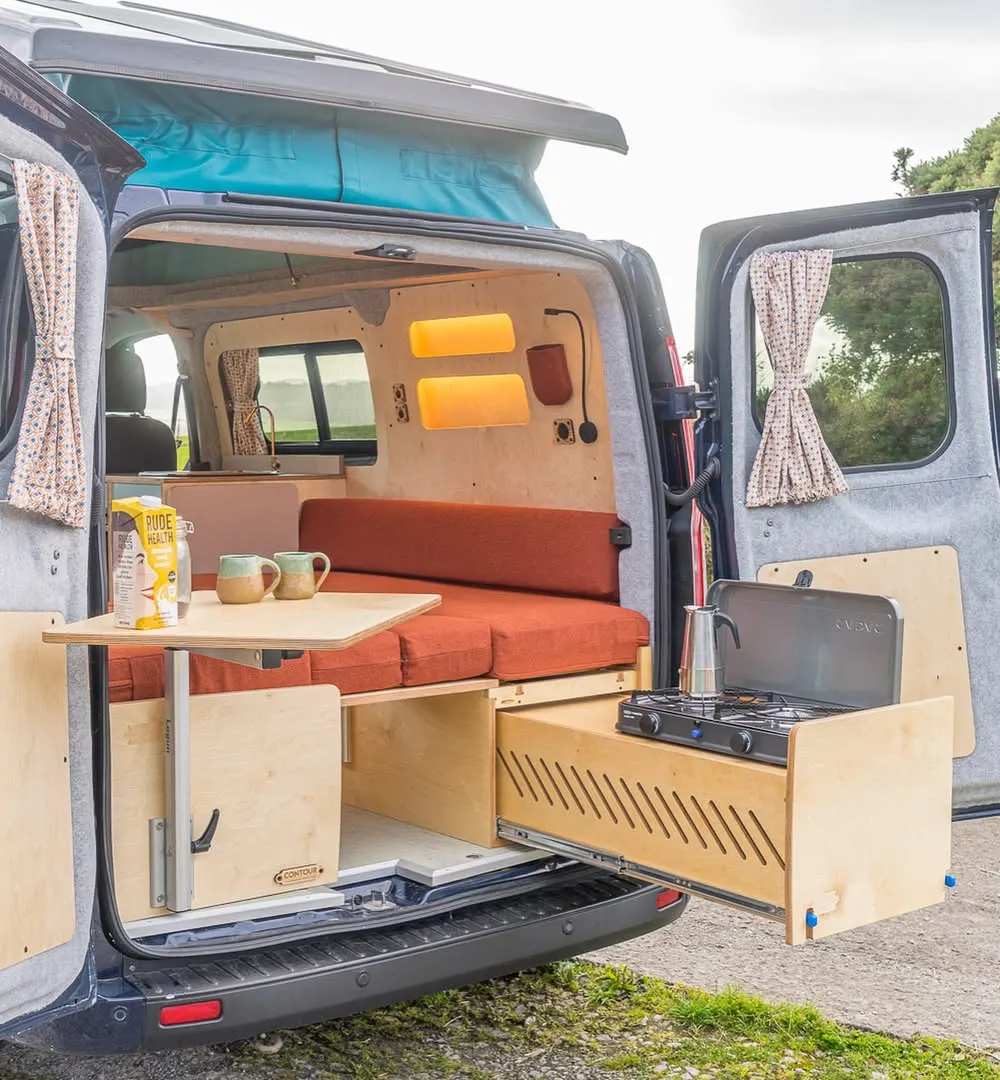
Cooking Solutions:
- Two-burner propane stoves: $150-$400
- Induction cooktops: $200-$600 (require robust electrical)
- Combination units: $300-$700
Storage and Prep:
- Custom cabinetry: $400-$1,000
- Modular storage systems: $200-$500
- Fold-down countertops: $150-$400
Sleeping and Storage Solutions ($600-$1,500)
Comfortable rest and organized storage determine daily quality of life.
Bed Platforms:
- Fixed platforms: $200-$500
- Convertible dinette systems: $400-$900
- Custom builds with storage: $300-$800
Storage Systems:
- Overhead cabinets: $300-$600
- Garage storage boxes: $150-$400
- Custom closets: $200-$500
Comfort Upgrades:
- Quality mattresses: $300-$800
- Blackout curtains: $100-$300
- Privacy solutions: $50-$200
System Integration and Prioritization
Tier 1 (Essential): Electrical foundation, basic insulation, minimal water system
Tier 2 (Comfort): Refrigeration, heating, expanded electrical capacity
Tier 3 (Convenience): Hot water, advanced storage, luxury finishes
Start with Tier 1 systems enabling basic off-grid living, then add Tier 2 comfort features as budget allows. Tier 3 upgrades can be added over time without disrupting core functionality.
Smart system selection focuses on reliability over features, ensuring essential functions operate consistently while leaving room for future improvements within the $50,000 total budget.
The DIY vs. Professional Decision Matrix
The choice between DIY and professional work determines whether builders complete comprehensive conversions within $50,000 budgets or settle for basic setups. Planned task allocation maximizes DIY van conversion savings while ensuring safety and quality.
The Economics of DIY
Van conversion labor costs typically double or triple material expenses. Professional electrical installation costing $3,000 vs. DIY materials at $800 demonstrates potential savings across multiple systems.
Labor Cost Breakdown:
- Electrical systems: $2,500-$4,000 professional vs. $800 DIY tools/materials
- Plumbing installation: $1,800-$3,000 professional vs. $400 DIY investment
- Interior carpentry: $6,000-$12,000 professional vs. $1,200 DIY materials
- Insulation and finishing: $3,000-$5,000 professional vs. $800 DIY approach
Total van build professional vs DIY savings: $15,000-$25,000 across complete conversions, often enabling comprehensive builds where professional approaches force feature compromises.
Perfect DIY Tasks
Interior Finishing and Carpentry: Flooring, wall paneling, and cabinet construction offer maximum savings with minimal risk. Mistakes are fixable and materials forgiving. These tasks build valuable skills while consuming significant professional labor hours.
Basic Electrical Work: 12V lighting circuits, USB charging stations, and simple appliance connections suit careful DIYers. Use pre-made wiring harnesses and follow clear diagrams to minimize complexity.
Insulation Installation: Spray foam alternatives like Thinsulate or sheep’s wool provide excellent DIY options. Proper vapor barriers and air sealing techniques are learnable through online resources.
Storage and Organization: Custom storage solutions maximize space efficiency while providing satisfaction of personalized design. Modular approaches allow iterative improvements over time.
When Professionals Are Essential
Complex Electrical Systems: High-amperage connections, inverter installations, and battery management systems benefit from professional expertise. Safety risks and potential fire hazards justify professional costs.
Window Installation ($800-$1,500 professional recommended): Glass cutting, weatherproofing, and structural modifications require specialized tools and experience. Poor installation creates expensive water damage exceeding professional installation costs.
Propane and Gas Systems: Most jurisdictions require certified technicians for propane installations. Professional certification ensures insurance coverage and legal compliance.
HVAC and Heating: Diesel heater installations involve fuel lines, exhaust systems, and combustion air requirements best handled by experienced installers.
Tool Investment Strategy
Essential Tool Budget: $1,500-$2,500
- Circular saw: $200-$400
- Quality drill/driver: $150-$300
- Multimeter and electrical tools: $100-$200
- Basic hand tools: $300-$500
- Specialty automotive tools: $200-$400
Tool Rental vs. Purchase Analysis:
- Expensive specialty tools (hole saws, torque wrenches): rent for single-use projects
- Daily-use tools (drills, saws): purchase for long-term value
- Pneumatic tools: rent unless building multiple vans
Timeline Reality Check
Complete DIY Build: 12-20 weekends. Weekend warriors typically require 16-24 hours per weekend for meaningful progress. Total time investment: 200-400 hours, depending on complexity and skill level.
Learning Curve Impact: First-time builders should add 40-60% to estimated timelines for skill development. YouTube tutorials accelerate learning but cannot replace hands-on experience.
Seasonal Considerations: Plan exterior work (solar, ventilation) during favorable weather. Indoor work continues year-round but may require workspace heating.
Optimal Hybrid Approach
Smart builders combine DIY work with selective professional services:
- Handle interior finishing, storage, and basic systems personally
- Outsource complex electrical, propane, and window installation
- Use professionals for initial system design and rough-in work
- Complete finishing and testing phases independently
This hybrid strategy typically achieves 60-70% of full DIY savings while ensuring critical systems receive professional attention. Result: comprehensive conversions within $50,000 budgets that provide years of reliable service without compromising safety or functionality.
Real $50K Build Examples
These $50k van conversion examples prove comprehensive, comfortable builds remain achievable through strategic planning and smart compromises. Both documented van life build case studies demonstrate different approaches to maximizing value within budget constraints.
Case Study 1: Rachel’s 2019 ProMaster DIY Build ($47,800 Total)
Base Vehicle: $28,500
- 2019 Ram ProMaster 159″ WB, 68,000 miles
- Purchased from a commercial fleet sale
- Required $800 immediate maintenance (brakes, fluids)
Conversion Breakdown ($18,500):
- Electrical (400W solar, 300Ah lithium): $5,200
- Insulation and ventilation (spray foam, MaxxAir): $1,400
- Plumbing (30-gallon fresh, basic hot water): $2,100
- Kitchen (12V fridge, propane stove, custom cabinets): $3,800
- Interior finishing (luxury vinyl, cedar walls): $2,200
- Sleeping/storage (convertible dinette): $1,500
- Tools and miscellaneous: $2,300
What’s Included:
- 3-4 days off-grid capability
- Hot running water and a full kitchen
- Comfortable sleeping for two
- 50+ cubic feet of organized storage
- Laptop-friendly workspace
What’s Excluded:
- Air conditioning (future upgrade planned)
- Permanent shower (portable solution used)
- Composting toilet (portable camping toilet)
Owner Assessment (18 months): “The ProMaster’s width makes daily life comfortable. Only regret is insufficient USB outlets, which can be easily fixed. Build came in $2,200 under budget, kept for emergency repairs.”
Current Resale Value: $42,000-$45,000 (88-94% retention)
Case Study 2: James’s 2020 Transit Hybrid Build ($49,500 Total)
Base Vehicle: $32,000
- 2020 Ford Transit 148″ High Roof, 42,000 miles
- Dealership purchase with remaining warranty
- No immediate repairs required
Conversion Breakdown ($17,500):
- Professional electrical (600W solar, 400Ah lithium): $7,500
- DIY insulation and ventilation: $1,100
- Professional plumbing rough-in, DIY finishing: $2,800
- DIY kitchen (compressor fridge, induction cooking): $2,900
- DIY interior (bamboo flooring, painted walls): $1,600
- Custom bed platform with storage: $800
- Tools and materials: $800
Hybrid Approach Benefits: Professional electrical and plumbing rough-in ($4,500) ensured code compliance and proper integration. DIY interior work saved approximately $8,000 in labor while maintaining professional core systems.
What’s Included:
- 5+ days off-grid capability
- Induction cooking with ample electrical capacity
- Fixed bed with under-storage
- Pressurized hot water system
- Climate-controlled interior
What’s Excluded:
- Dinette area (space constraint)
- Permanent bathroom (portable toilet)
- External storage (future addition planned)
Owner Assessment (14 months): “Professional electrical work eliminates power anxiety. Transit reliability is great for extensive travel. Only addition has been external gear storage.”
Current Resale Value: $44,000-$47,000 (89-95% retention)
Real Van Life Costs Comparison

Monthly Operating Expenses:
- Rachel (ProMaster): $950/month average
- James (Transit): $1,100/month average
Cost differences are primarily fuel-related due to travel patterns rather than van efficiency.
Key Lessons Learned
Electrical System Priority: Both builds identified robust electrical capacity as a foundation for comfortable van life. Undersizing creates daily frustration while oversizing provides flexibility for additions.
Professional Service ROI: Mike’s professional electrical work ($3,500) added $4,000-$5,000 resale value while eliminating installation stress. Strategic professional services justify costs through reliability and value retention.
Space Planning Reality: Both builds required significant compromises on traditional RV features. Success came from prioritizing daily-use functions over occasionally-needed amenities.
Tool Investment Value: Rachel’s $2,300 tool investment continues paying dividends through ongoing modifications and maintenance capabilities.
Resale Value Analysis
Both conversions retained 88-95% of total investment after 12-18 months, significantly outperforming traditional RV depreciation (50-60%). Quality electrical systems and documented builds command premium pricing in the growing used van market.
Market Demand Factors:
- Turnkey builds under $50,000 see strong buyer interest
- Professional electrical systems add $3,000-$5,000 market value
- Detailed build documentation increases buyer confidence
- Regional outdoor recreation markets show 10-15% value premiums
These examples demonstrate $50,000 budgets deliver genuinely comfortable, capable van life setups when builders make informed compromises and strategic professional investments.
Budget Protection Strategies
Even well-planned conversions experience van conversion budget mistakes averaging 20-30% of initial estimates. Understanding these financial pitfalls and implementing protective strategies keeps $50,000 on track.
Scope Creep: The Silent Budget Killer
Feature Inflation During Construction: Mid-build upgrades seem minor individually, but compound quickly. Adding lithium batteries ($800), premium countertops ($600), or additional windows ($1,200 each) easily adds $5,000-$8,000 to conversion costs.
Social Media Influence: Instagram luxury builds tempt builders beyond original plans. Resist feature matching that represents $100,000+ investments. Stick to documented plans or formally revise budgets before implementing changes.
The “While I’m At It” Trap: Builders justify expensive additions during system installation. This mentality transforms $15,000 conversions into $25,000 projects across multiple systems.
Hidden Costs Most Builders Miss
Tool Acquisition: Tool costs can exceed $2,000 without planning. Quality circular saws ($300), drills ($200), electrical meters ($150), and specialty automotive tools ($500) accumulate rapidly. Create comprehensive tool lists early and factor them into conversion budgets.
Van Preparation: Used vans commonly require immediate maintenance beyond purchase prices. Brake work ($800-$1,500), tire replacement ($600-$1,200), and mechanical repairs ($500-$2,000) surprise new owners. Budget 10-15% of the van purchase price for preparation.
Permits and Inspections: Some jurisdictions require permits for electrical ($75-$200), plumbing ($50-$150), or propane installations ($100-$300). Professional inspections add $200-$500 per system. Research requirements before starting.
Seasonal Shopping Strategies
Solar Equipment Timing: Seasonal solar equipment savings: 20-30% in winter when demand drops. Plan electrical purchases during November-February for maximum savings, even if installation waits for warmer weather.
Component Price Fluctuations: Marine equipment shows seasonal patterns with spring price increases. Battery prices vary by availability and demand cycles. Monitor pricing trends and buy during off-peak periods.
Used Component Markets: Spring boat and RV liquidations offer quality components at significant discounts. End-of-season clearances provide 30-50% savings on appliances and fixtures.
Emergency Fund Allocation
15% Contingency Rule: Van life hidden expenses accumulate through small purchases and unexpected problems. Maintain $7,500 contingency from $50,000 budget for van repairs, tool needs, and quality upgrade opportunities.
Flexible Spending Strategy: Complete essential systems before luxury features. Functional vans with basic amenities beat incomplete builds with premium components.
Smart Purchasing Strategies
Patience vs. Impulse Control: Excitement leads to poor purchasing decisions, inflating costs by 15-25%. Compare prices across suppliers, research reviews, and avoid immediate-need buying when possible.
Used Component Sourcing:
- Marine salvage yards: 30-50% savings on pumps, tanks, fittings
- Van life forums: Quality component exchanges between builders
- Government surplus: Industrial-grade materials at fraction costs
- Seasonal RV liquidations: Appliances and accessories
Purchase Timing Optimization:
- Major components: Off-season for best pricing
- Tools: Black Friday and spring sales
- Van selection: Late fall/winter when demand drops
- Emergency items: Keep cash reserves for immediate needs
Van Build Cost Control Framework
Weekly Expense Tracking: Monitor spending through detailed records revealing cost creep before budgets spiral. Small purchases accumulate faster than major component costs.
Phase Budget Allocation: Complete essential phases (electrical, insulation, water) before comfort upgrades. This guarantees basic functionality even if budgets tighten unexpectedly.
Quality vs. Cost Balance: Invest in reliable core systems while accepting basic finishes. Upgrade cosmetics over time rather than compromising essential system quality.
Step-by-Step Build Timeline
A successful van conversion timeline requires methodical planning and realistic expectations. Most weekend warriors complete comprehensive conversions in 12-16 weeks following these van build process steps while avoiding costly mistakes through proper sequencing.
Phase 1: Planning and Van Prep (Weeks 1-2)
Week 1: Design and Material Planning
- Create detailed floor plans and electrical schematics
- Generate comprehensive material lists with supplier pricing
- Research permit requirements for electrical/plumbing work
- Order long-lead-time items (solar panels, batteries, appliances)
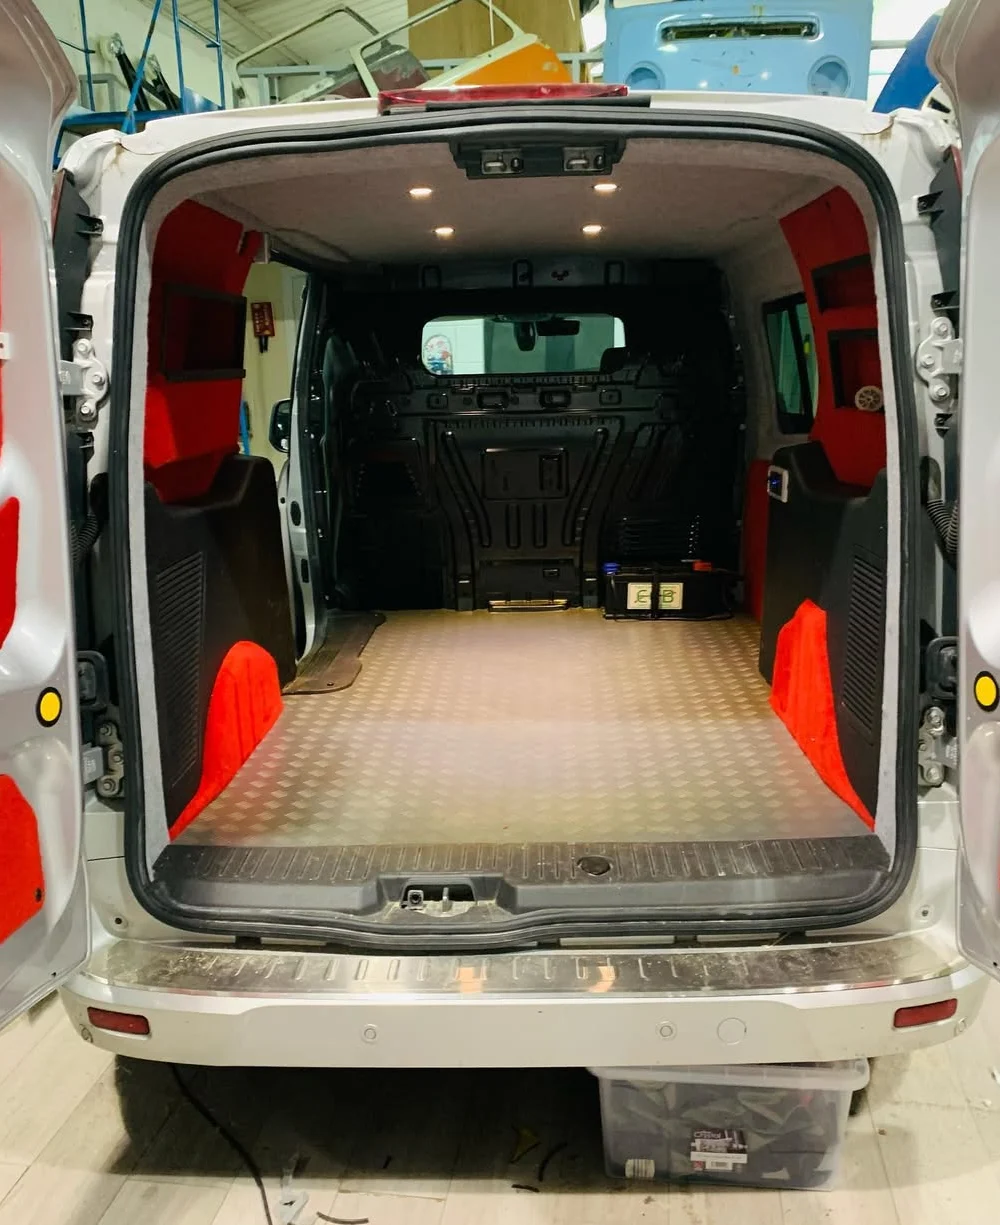
Week 2: Van Preparation and Tool Acquisition
- Strip interior panels and remove seats
- Address mechanical issues (brakes, fluids, maintenance)
- Acquire essential tools: circular saw, drill, multimeter, hand tools
- Clean and inspect the van structure for rust or damage
Critical Planning Elements:
- Electrical load calculations for proper system sizing
- Plumbing layout considering tank placement and drainage
- Tool rental vs. purchase decisions based on project scope
Phase 2: Core Systems Installation (Weeks 3-6)
Week 3: Insulation and Vapor Barriers
- Install floor insulation (Reflectix or foam boards)
- Apply wall and ceiling insulation (spray foam, Thinsulate, or sheep’s wool)
- Create proper vapor barriers to prevent condensation
- Complete roof penetrations for ventilation fans
Weeks 4-5: Electrical System Rough-In
- Mount solar panels and run cables to the interior
- Install the battery compartment and the main electrical panel
- Run 12V wiring to all planned outlets and appliances
- Install the inverter and charge controller with proper ventilation
Week 6: Plumbing Rough-In
- Install freshwater and greywater tanks
- Run water lines and drainage before interior finishing
- Mount water pump and filtration systems
- Test all connections for leaks under pressure
Seasonal Considerations: Northern builders should complete exterior work (solar mounting, roof penetrations) during April-October when weather permits safe rooftop work.
Phase 3: Interior Build-Out (Weeks 7-10)
Week 7: Flooring and Subfloor
- Install subfloor over insulation (plywood or composite)
- Lay finished flooring (luxury vinyl, laminate, or bamboo)
- Ensure proper transitions between areas
- Protect electrical/plumbing access points
Week 8: Wall and Ceiling Finishing
- Install wall paneling (wood, composite, or fabric)
- Complete ceiling finishing around electrical penetrations
- Add trim work and aesthetic details
- Paint or stain as needed
Weeks 9-10: Cabinet and Storage Construction
- Build and install custom cabinetry
- Create a bed platform with integrated storage
- Install overhead storage and organization systems
- Mount kitchen countertops and fixtures
Critical Path Dependencies: Electrical rough-in must be completed before wall finishing. Plumbing connections needed before cabinet installation. Plan work sequence to avoid accessing completed areas.
Phase 4: Testing and Finishing (Weeks 11-12)
Week 11: System Integration and Appliance Installation
- Connect all electrical devices and test under load
- Install kitchen appliances and water system components
- Complete plumbing connections and test for leaks
- Install heating, cooling, and ventilation systems
Week 12: Final Testing and Adjustments
- Conduct full electrical system testing with all devices operating
- Test water pressure and hot water system operation
- Verify heating and ventilation performance
- Complete final interior details and organization
Comprehensive Testing Checklist:
- Electrical load testing with maximum device usage
- Water system pressure testing and leak detection
- Climate control performance in various conditions
- Road testing to identify loose items or installation issues
Common Delays and Mitigation Strategies
Material Delivery Delays (1-3 weeks): Order specialty electrical components early as shipping delays are common. Maintain backup supplier relationships for critical items.
Weather Delays (1-2 weeks): Plan exterior work during stable weather periods. Indoor work continues, but workspace heating may be required in cold climates.
Skill Development Learning Curve (2-4 weeks): First-time builders should add 40-50% to estimated timelines. Take weekend classes for electrical or plumbing basics before starting.
Scope Creep Extensions (2-6 weeks): Mid-project feature additions commonly extend timelines. Document changes carefully and adjust schedules accordingly.
DIY Van Construction Schedule Reality
Weekend Warrior Timeline:
- 16-20 hours per weekend for meaningful progress
- 12-16 weekends total for complete conversions
- Add 4-6 weekends for first-time builders learning new skills
Full-Time Builder Timeline:
- 6-10 weeks with dedicated 40+ hour weeks
- Professional results are achievable with focused effort
- Weather independence is critical for maintaining the schedule
Success requires steady progress rather than rushing through critical phases that determine long-term reliability and comfort.
Conclusion
How to build a van life setup under 50000 dollars delivers genuine comfort and off-grid capability through strategic planning. The documented builds prove well-designed conversions provide solar power, running water, climate control, and comfortable living within budget.
Strategic system prioritization separates successful projects from failures. Focus on essential systems—electrical, insulation, water—before luxury features. DIY approaches save $20,000+ over professional builds while developing valuable skills.
Start with core functionality and upgrade incrementally. The most satisfied builders create reliable setups enabling immediate adventure with room for improvements.
This affordable van life build guide transforms $50,000 investments into years of comfortable mobile living.