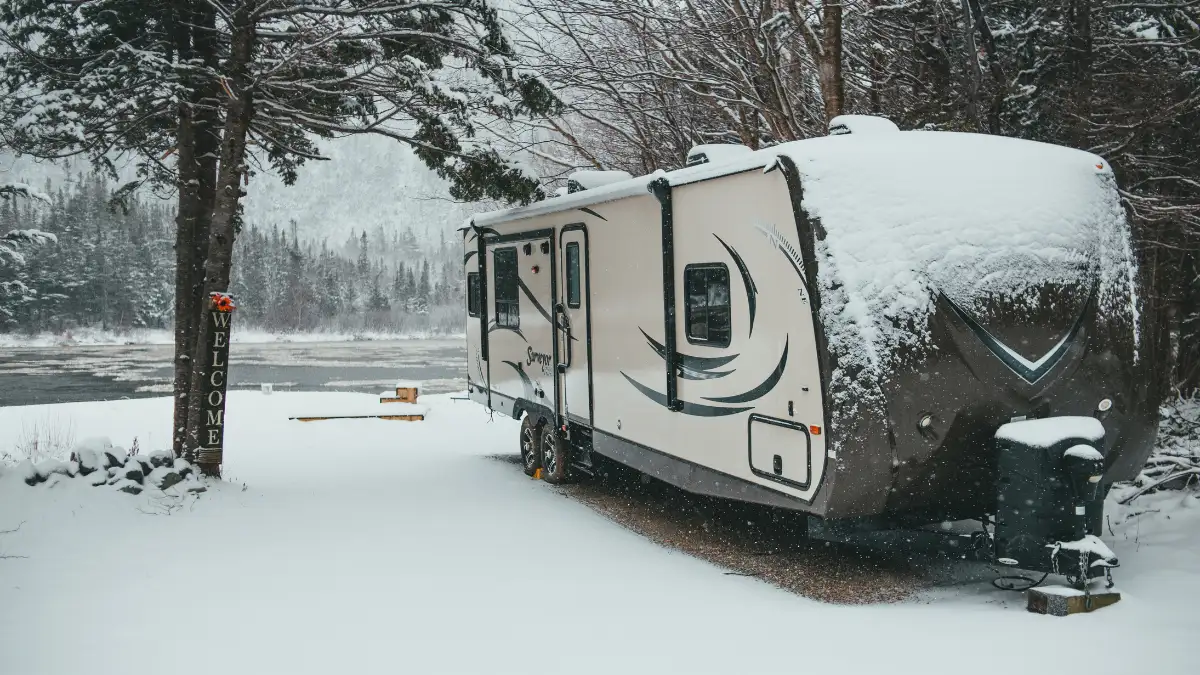
The first hard freeze of the season cost Willy Sun exactly $5,472. It was a 100% avoidable RV winterizing mistake. It’s easy to look at a “mild” forecast and think, “I’ll do it next weekend.”
Or maybe you, like him, thought “just draining the lines” was good enough. Willy Sun was wrong. He underestimated how fast and how badly ice can destroy an RV’s water system.
This article isn’t just his horror story. He’s going to give you a visual breakdown of every part that broke. You’ll see the real cost of RV freeze damage.
Most important, you’ll get the exact, step-by-step 2025 guide, with two methods, to make sure this never, ever happens to you.
What $5,000 of RV Freeze Damage Actually Looks Like
Willy Sun found out in the spring. He was excited for his first trip. He hooked up the city water, and within seconds, he heard spraying under the sink. Then, he turned on the water pump.
It just whirred, making a high-pitched grinding sound. The smell of mildew hit him a day later. That’s when he knew it was bad. It’s a cascade failure. The water pump’s plastic housing was cracked open.
That was the first $300. But the water from that leak soaked the cabinet. The real killer was the water heater. The ice had split the metal tank. That alone was an $800 part and three hours of labor. But the damage didn’t stop there.
Burst RV pipes are just the beginning. The silent leak came from the tiny $35 plastic valve on the back of the toilet. It dripped all winter, rotting the subfloor.
That was the most expensive fix. Here is the exact, painful invoice. This is why RV winterizing mistakes are so catastrophic.
| Damaged Component | Part Cost | Labor (Hours) | Total Repair Cost |
| Water Pump (Cracked Housing) | $150 | 1 hr | $300 |
| Water Heater Tank (Split by ice) | $800 | 3 hrs | $1,250 |
| PEX Pipes & Fittings (Multiple) | $100 | 5 hrs | $850 |
| Toilet Water Valve (Cracked) | $35 | 0.5 hr | $110 |
| Subfloor/Cabinetry (Water Damage) | $500 | 15 hrs | $2,750 |
| TOTAL | $5,260 |
The Science of “Just One Freeze”: Why Draining Your Lines Fails
Willy Sun told the technician. He just shook his head.” Here’s the hard lesson: low-point drains are not enough. Water is powerful. When it freezes, it expands by about 9%.
That expansion puts massive pressure on everything it’s trapped in. Your RV plumbing, especially the plastic fittings, stands no chance. The problem is all the “hidden water traps” that drains miss.
Sags in the PEX lines, even small ones, hold pockets of water. Your water pump’s diaphragm always holds water. So do the small valves in your faucets and your toilet. These plastic parts are the weakest links.
They are designed to crack before the pipes do. A single night dropping to 28°F (-2°C) for just a few hours is all it takes for a hard freeze to crack a PEX fitting. His $5,000 bill is proof.
How to Winterize an RV (The 2025 Guide That Prevents His $5k Mistake)

It is the most important section of this article. It is the 1-hour job that saves you $5,000. Do not skip this. There are two main, industry-approved ways to do this. No matter which you pick, you must do these critical first steps.
CRITICAL First Steps (For Both Methods)
- Drain and Clean Tanks: Empty your black and grey tanks completely. Drain your fresh water tank, too.
- Bypass the Water Heater: This is the most important step! Your water heater has a tank (6-10 gallons) that you do not want to fill with antifreeze. You also don’t want to try to push air through it. Find the water heater bypass valves, usually near the heater itself, and turn them.
RV Winterizing Steps
- 1
Drain All Tanks
Empty your black, grey, and fresh water tanks completely. - 2
Bypass Water Heater
This is the most important step! You don’t want to fill your 6-10 gallon heater with antifreeze. Find the bypass valves and turn them.
Method 1: The Compressed Air (Blow-Out) Method This method uses air to push all the water out of the lines.
- Pros: You don’t have to add antifreeze, so there’s no “pink stuff” taste to flush out in the spring.
- Cons: If you miss a spot, it will freeze. If your air pressure is too high, you can damage the lines.
- How to do it:
- Get a $10 blow-out plug that screws into your city water inlet.
- Connect your air compressor. Set the regulator to 40-50 PSI. MAX. Any higher, and you risk bursting your pipes the exact thing you’re trying to prevent.
- Go inside. Open the farthest faucet (hot and cold) until it just sputters air.
- Repeat for every single faucet, shower, and toilet, one by one. Don’t forget the outdoor shower!
Method 2: The Antifreeze (“Pink Stuff”) Method This is what Willy Sun does now. It’s the only way to be 100% sure. This method uses a non-toxic antifreeze to replace any water in the lines.
- Pros: It gives you total peace of mind. It’s guaranteed to protect your system.
- Cons: It costs about $15-$25 for the RV antifreeze, and you have to flush the system well in the spring.
- Crucial Tip: Use only non-toxic propylene glycol RV/Marine antifreeze. It’s pink. Never, ever use automotive antifreeze (the green or orange stuff); it is poison.
- How to do it:
- After bypassing the water heater, find your water pump. You’ll need to install a winterizing kit or use the “siphon” hose that’s often built-in.
- Put the end of the siphon hose into a 1-gallon jug of the pink RV antifreeze.
- Turn on your water pump. The pump will now suck the antifreeze instead of water.
- Go to the closest faucet first. Open the hot and cold taps until you see solid pink liquid. Close it.
- Repeat for every faucet, shower, and toilet. When the toilet flushes pink, you’re good. Don’t forget the outdoor shower.
RV Winterizing: Air vs. Antifreeze
| Method | 👍 Pros | 👎 Cons / Risks |
| 1. Compressed Air | • No antifreeze cost. • No “pink stuff” taste to flush in spring. | • High Risk: Easy to miss a spot, leading to freeze damage. • Can damage pipes if air pressure is too high (over 50 PSI). |
| 2. Antifreeze | • Total peace of mind. • Guaranteed protection. | • Annual cost ($15-$25) for non-toxic antifreeze. • Must flush the system well in the spring to remove the taste. |
Don’t Repeat Willy Sun’s Mistakes: Your 7-Point Winterizing Checklist

Willy Sun’s $5,000 bill wasn’t just one part. It was all the little things he forgot. Here is the RV winterizing checklist he wishes he’d had. Print this out. Check it off. Don’t guess.
- The Toilet Valve: His $35 toilet valve crack led to a silent leak that ruined the bathroom floor. This was the most expensive part of the RV water system repair cost. Run antifreeze through it until it flushes pink.
- The Outdoor Shower: Almost everyone forgets this. The plastic faucet head will crack instantly. Run both hot and cold taps until they are pink.
- The Ice Maker Line: This thin line is a common victim. Let your ice maker cycle until the antifreeze is pulled through (this can take a while).
- The Washing Machine: If you have one, you must run it on a rinse cycle to get antifreeze into its pump and lines.
- Water Filter Housings: Remove all filters before you start. They will stop the antifreeze. Winterize the empty housing.
- P-Traps: Pour about a cup of antifreeze down every single drain (sinks, shower). This stops sewer gas and keeps the drain trap from cracking.
- The Water Pump: Even if you use the air method, the pump itself can hold water. He always runs a bit of antifreeze through it just to be safe.
Don’t Forget These!
The Toilet Valve
A crack here ruins the floor. Run antifreeze until it flushes pink.
The Outdoor Shower
Everyone forgets this. Run hot and cold taps until pink.
The Ice Maker Line
This thin line is a common victim. Let it cycle until ice is pink.
The Washing Machine
Run a rinse cycle to get antifreeze into its pump and lines.
Water Filter Housings
Remove all filters first! They will stop the antifreeze.
P-Traps (Drains)
Pour a cup of antifreeze down every drain (sinks, shower).
The Water Pump
Even if you use the air method, the pump..
4 More Non-Plumbing Winterizing Mistakes to Avoid

After he fixed the plumbing, he found more problems. The cold and storage attack your RV in other ways. Don’t make these RV winter storage mistakes.
- Batteries: Letting them die. A dead battery will freeze and sulfate. A new set of RV house batteries can be a $400-$1,000 mistake. Solution: Disconnect them fully, store them inside, or use a battery tender.
- Pests: Mice and insects love an empty RV. Mice can enter a hole the size of a dime. Solution: Plug every small hole with steel wool. Remove all food. Peppermint oil can help keep them out.
- Tires: Letting them sit causes flat spots and UV rot. Solution: Inflate tires to the max PSI listed on the sidewall. Use tire covers to protect them from the sun.
- Interior Humidity: An RV sealed up all winter traps moisture. This leads to mold and mildew. Solution: Use moisture-absorbing buckets (like DampRid) and check them monthly.
RV Storage: 4 Common Mistakes
Batteries: Letting them die
Cost: A $400-$1,000 mistake.
Solution: Disconnect fully, store inside, or use a battery tender.Pests: Mice & Insects
Problem: Mice can enter a hole the size of a dime.
Solution: Plug holes with steel wool, remove all food, and use peppermint oil.Tires: Flat Spots & UV Rot
Problem: Letting them sit causes damage.
Solution: Inflate to max PSI and use tire covers to protect from sun.Interior Humidity
Problem: A sealed RV traps moisture, leading to mold.
Solution: Use moisture-absorbing buckets (like DampRid).
Winterizing your RV isn’t a suggestion it’s a $5,000 insurance policy. Willy Sun’s RV winterizing mistake was thinking “it won’t happen to him.” The cost of RV freeze damage is more than just money.
It is the lost time and a ruined start to your camping season. Don’t gamble with your investment. Use a checklist. Do the job right the first time. Avoid these costly RV winterizing mistakes