
That mysterious smell in your RV can turn a dream vacation into a nightmare, leaving you wondering what went wrong with your mobile sanctuary.
While most RV owners diligently clean the obvious areas like countertops and floors, there are numerous hidden spots that harbor bacteria, mold, and unpleasant odors.
These forgotten zones quietly accumulate grime, moisture, and debris, creating the perfect breeding ground for those stubborn smells that seem impossible to locate.
The good news? Most RV odor problems stem from twelve commonly overlooked areas that are surprisingly easy to clean once you know where to look and how to tackle them properly.
1. Black Tank Cleaning That Actually Works
Your black tank doesn’t have to smell like a sewer. Most RV owners dump their tanks wrong, and that’s why the smell comes back every single trip. Here’s what actually works, according to Mike Wendell, an RVDA Master Certified Technician who’s fixed thousands of stinky tanks.
The 5-Step Professional Process
First, here’s the golden rule: never dump your tank and leave it empty. “It’s the single biggest mistake I see,” says Wendell. “Always add back a few gallons of water. Waste dries on the tank floor in hours, and once it hardens, you’re fighting a losing battle.”
The process that works every time:
- Dump completely – Keep the valve open for 10+ minutes, not just until flow stops
- Rinse thoroughly – Use built-in tank rinser or external wand for 5 minutes minimum
- Add water cushion – Put 3-5 gallons back immediately to cover the tank bottom
- Add treatment – Drop in your enzyme or chemical treatment while water is running
- Keep it wet – Never let the tank go dry between uses
Pre-Charging: The Secret Weapon
Pre-charging means setting up your tank for success before you even use it. The formula that thousands of RVers swear by costs about $2: mix 1 cup Dawn dish soap, 1 Calgon water softener pod, and 5 gallons of water. Add this before your first use.
Why does this work? The Dawn makes everything slippery so waste can’t stick. The Calgon softens water so minerals don’t build up. Together, they prevent the dreaded “poo pyramid” that forms when toilet paper and waste pile up directly under your toilet.
2. Enzymes Beat Chemicals Every Time
You’ve got two choices for RV holding tank cleaning: enzyme treatments or chemical deodorizers. Enzymes win, and here’s why. Chemical treatments kill all bacteria – including the good ones that break down waste. Enzymes feed beneficial bacteria that eat waste and eliminate RV toilet odor naturally.
Happy Campers and Unique RV Digest-It Ultra are the enzyme treatments professionals recommend. They cost $20-30 per bottle but last months. Chemical treatments might seem cheaper at $10, but you’ll use twice as much and they damage tank sensors.
3. The Gray Water Backflush
When nothing else works, try backflushing with gray water. Connect your gray tank to your black tank using a Flush King valve ($25). The pressure from your gray water pushes out stubborn buildup that regular rinsing misses. One forum member used this technique after five years of buildup and said “chunks the size of golf balls came out.”
When to Call the Professionals
Sometimes you need professional help. Kleen Tank and similar hydro-jet services cost $200-400 but can save tanks you thought were ruined. They use specialized pressure washers with flexible hoses that snake through your entire tank, blasting away years of buildup. If your sensors always read full or nothing helps the smell, this service pays for itself by avoiding tank replacement ($800-1,500).
The bottom line for black tank maintenance: keep it wet, use enzymes, and never let waste dry out.
4. Gray Tank

Your gray tank is probably nastier than your black tank. That sounds wrong, but ask any RV technician and they’ll confirm it. Gray tanks create some of the worst gray water tank smell problems, and most owners don’t even know it’s the source.
Why Gray Tanks Smell Worse Than Black Tanks
Black tanks get all the attention, but gray tanks do the dirty work. Everything from your shower and sinks ends up here: food particles, grease, soap scum, hair, and dead skin cells. This organic soup creates hydrogen sulfide gas faster than human waste does.
“So many owners focus only on the black tank, but the gray tank can be just as bad,” explains Sarah Jenkins, a certified RV technician. “Decomposing food, grease, and soap scum create a nasty sludge that sends odors right back up the sink drain.”
The science is simple: gray water sits at perfect bacteria-growing temperature (60-80°F) and has plenty of food for bacteria. Black tanks actually have less organic matter for bacteria to eat.
5. The Grease and Food Buildup Problem
Every time you wash dishes, grease coats your tank walls. Food particles settle on the bottom. After a few weeks, you’ve got a thick sludge layer that stinks like a restaurant dumpster. This sludge blocks sensors, clogs pipes, and creates that awful RV sink odor you smell every morning.
The worst part? Hot water makes it worse. When you take hot showers or wash dishes with hot water, you’re creating perfect conditions for bacteria growth and faster decomposition.
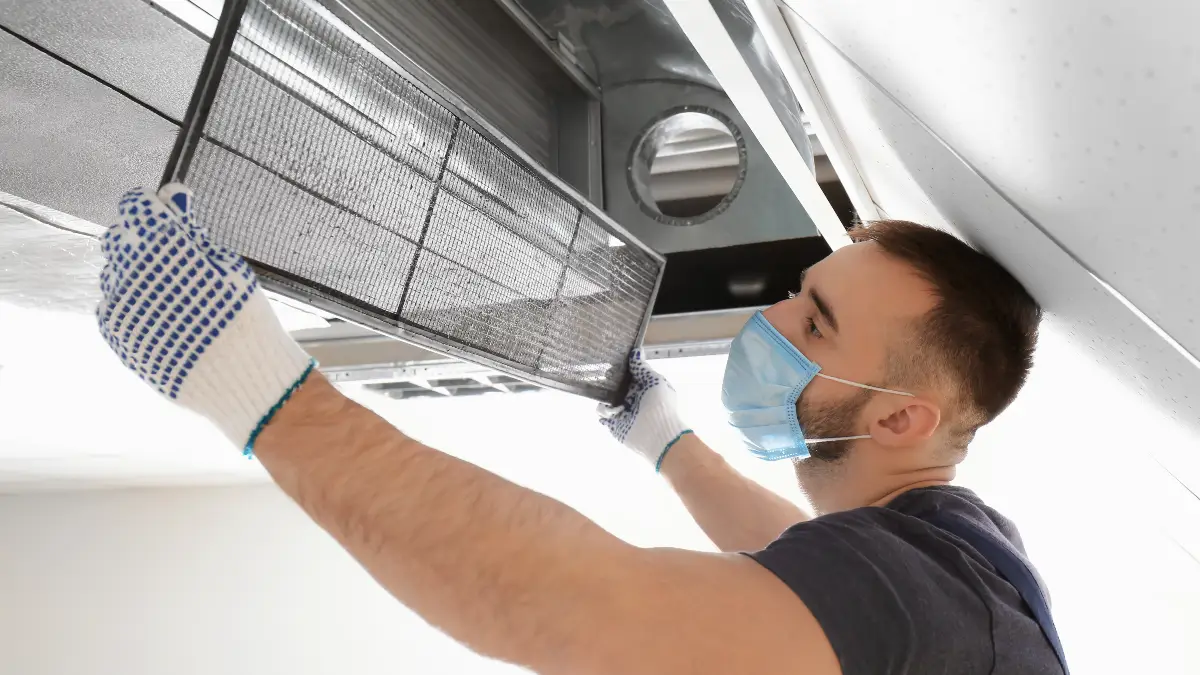
6. Filter Replacement Schedules That Work
Your AC filter is your first defense against musty RV odor. But here’s what nobody tells you the replacement schedule on the package is wrong for RVs. Houses don’t bounce down highways collecting dust, pollen, and diesel exhaust.
Full-time RVers need monthly filter checks. Weekend warriors should check every three months. You can clean foam filters with soap and water up to three times, but pleated filters must be replaced – washing destroys them.
Buy filters in bulk online. A 6-pack costs the same as two filters at camping stores. Mark the installation date with a Sharpie directly on the filter frame so you know when to change it.
7. Coil Cleaning Without Destroying Your AC
Evaporator coils grow mold faster than bread in a swamp. When moisture from cooling combines with dust, you get mold in RV AC systems that smell like wet socks. But spray the wrong cleaner on aluminum coils and you’ll cause a $1,500 repair.
Here’s the safe way: First, turn off power at the breaker. Remove the inside cover (usually 4-6 screws). Spray coils with no-rinse foaming coil cleaner ($12 at any hardware store). Let it sit 10 minutes – the foam pulls dirt and mold out as it drips into the drain pan. Replace the cover and you’re done.
Never use bleach or harsh chemicals on coils. They eat through the protective coating and cause leaks.
8. Condensation Pan Treatment
Your AC makes gallons of water daily. That water sits in a drain pan – a perfect breeding ground for mold and bacteria. When the pan gets slimy, it blocks drainage and water backs up into your ceiling.
Every month during cooling season, pour 1 cup of white vinegar down the condensate drain (the small pipe that drips water outside your RV). The vinegar kills mold and clears slime. For stubborn clogs, use a wet/dry vacuum to suck out the gunk from the outside drain.
9. Ceiling Vent Cleaning
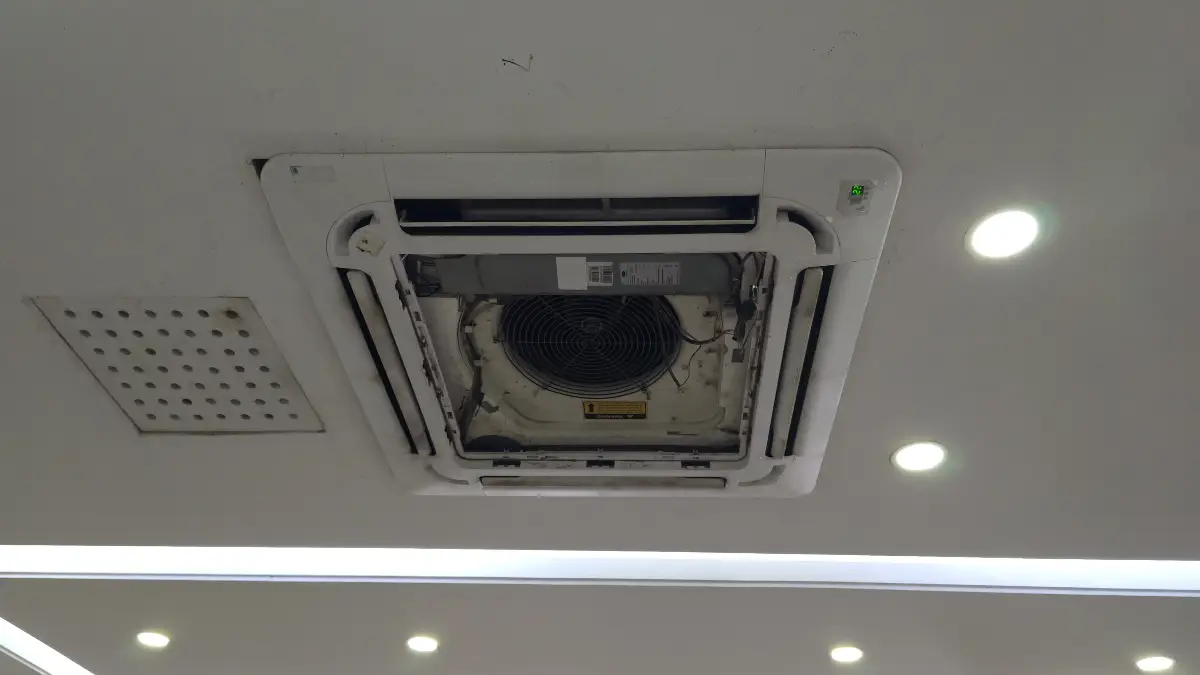
Bathroom and kitchen vents pull moisture and cooking odors out, but they also collect grease and dust. This combination creates a sticky mess that smells worse over time.
Remove vent covers quarterly (they pop out or have two screws). Soak covers in hot water with Dawn dish soap for 20 minutes. While they soak, vacuum the vent housing and wipe with a microfiber cloth. Clean fan blades with a small brush – built-up gunk makes them work harder and fail sooner.
For severe mold problems, you might need professional treatment. But monthly filter changes and quarterly deep cleaning prevent 90% of HVAC odor issues.
10. Fresh Water Tank Sanitization
Your fresh water tank needs sanitizing twice a year, or any time it sits unused for more than two weeks. Here’s the ratio that works: 1/4 cup regular household bleach per 15 gallons of tank capacity.
The process takes three hours but it’s simple. Add bleach to a gallon of water, pour it into your tank, then fill the tank completely. Run water through every faucet until you smell chlorine. Let it sit for three hours. Drain completely and refill twice to flush out the bleach.
For folks who can’t handle bleach, hydrogen peroxide works too. Use 1 cup per 20 gallons and follow the same process. It takes longer to work (overnight is best) but leaves no chemical taste.
11. Anode Rod Replacement Timing
Here’s what causes that RV water smells like rotten eggs problem your anode rod is doing its job too well. Anode rods protect your water heater by corroding instead of the tank. When they react with bacteria in your water, they create hydrogen sulfide gas – that rotten egg smell.
Replace your anode rod annually if you use your RV monthly. Full-timers should check every six months. A new rod costs $15-25 and takes 10 minutes to install. When the rod is down to pencil thickness, it’s time for a new one.
Some owners switch to aluminum/zinc rods instead of magnesium. They last longer and produce less smell, but cost twice as much.
12. Leave the Fridge Plugged in and Running in Storage

If possible, keep your RV plugged in during storage. It won’t take much power if you are not regularly running everything in the RV, but can help dramatically with the fridge and the odors coming from it.
Have you ever turned off and left a fridge closed up for a long period of time? Mildew and mold was sure to greet you upon your return. By leaving the fridge running on the warmest cold setting, you can avoid this problem.
If you can’t leave the fridge powered, make sure to leave it propped open to allow air to circulate, the water to evaporate, and prevent growing problems.
No matter, keep the fridge clean and you’ll give the mold and mildew less fuel to grow on.
The chenille microfiber attachment is the secret weapon. It holds soap and water while being soft enough for windows and mirrors. One pass cleans instead of the three or four you’d need with regular tools.