
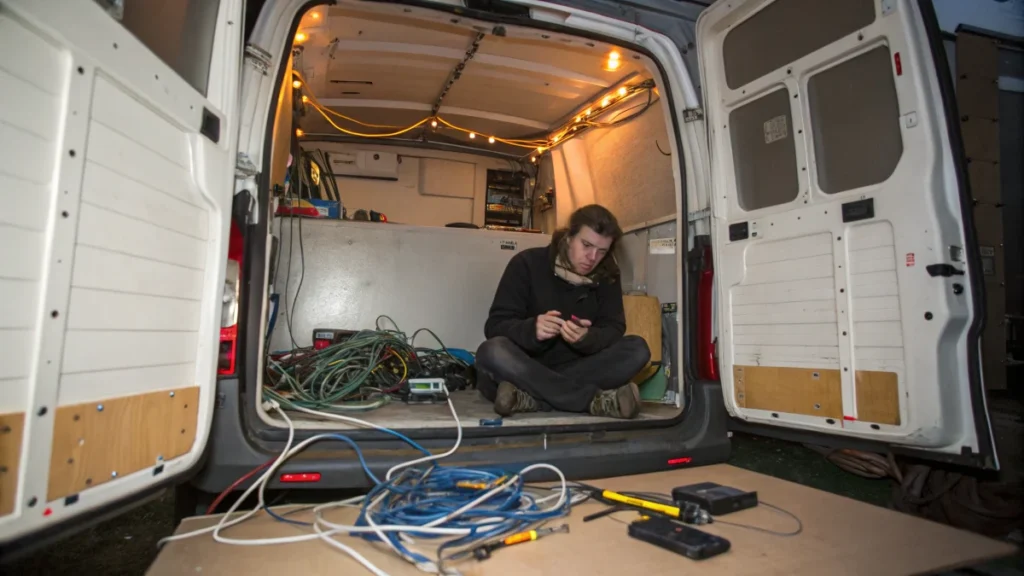
Our biggest van build regret cost us $3,000 and two weeks of demo work to fix, and it was 100% avoidable. You’re probably in the planning stage right now, terrified of making a huge, costly mistake.
The van build electrical system is the scariest part. If you get it wrong, it’s not just expensive it’s dangerous. Our biggest regret was under-sizing our electrical system. We built our van for weekend trips.
Then our life changed, and we wanted to work remotely. Our original 100Ah AGM battery couldn’t even last a morning with our Starlink and a few Zoom calls.
This guide is the step-by-step plan we wish we had. You will learn how to do a 2025-ready power audit, pick components you won’t outgrow, and avoid the exact van build mistakes we made.
Why “Just Winging It” With Your Van Electrical System Is a 2025 Disaster
It’s tempting to just buy a pre-made “kit” or guess what you need. Please don’t. Getting your electrical system wrong is the fastest way to end your van life dream.
The Financial Cost of “Fixing It Later”
“Fixing it later” is not a real option for electrical. It means ripping out your finished walls, floors, and cabinets just to run new wires. Let’s look at the numbers. A good, basic cost of van electrical system is about $3,500 in components. A “lifetime” system with top-tier parts (like Victron) is closer to $6,100, according to 2025 data from Contravans.
The Safety Hazard: A Real Fire Risk
Worse than the cost, a bad system is a fire risk. This is one of the biggest van build mistakes you can make. The main danger is using the wrong size (gauge) wires. If a wire is too small for the power (current) running through it, it will overheat, melt its plastic coating, and can start a fire. Here’s the proof: Electrical experts at Nohma confirm you must calculate for both current rating and voltage drop. You should aim for a 3% voltage drop or less. Any more can damage your expensive electronics and create a fire hazard.
The “Lifestyle Creep” Problem
Your power needs will always grow. We are proof. Today, you might just want lights and a fridge. What about next year? You’ll want an induction cooktop, a blender, or Starlink for remote work. A system built for the “weekend” becomes a prison. You will be constantly checking your battery monitor and worrying about your power.
The #1 Way to Avoid Regret: How to Plan Van Electrical with a Power Audit
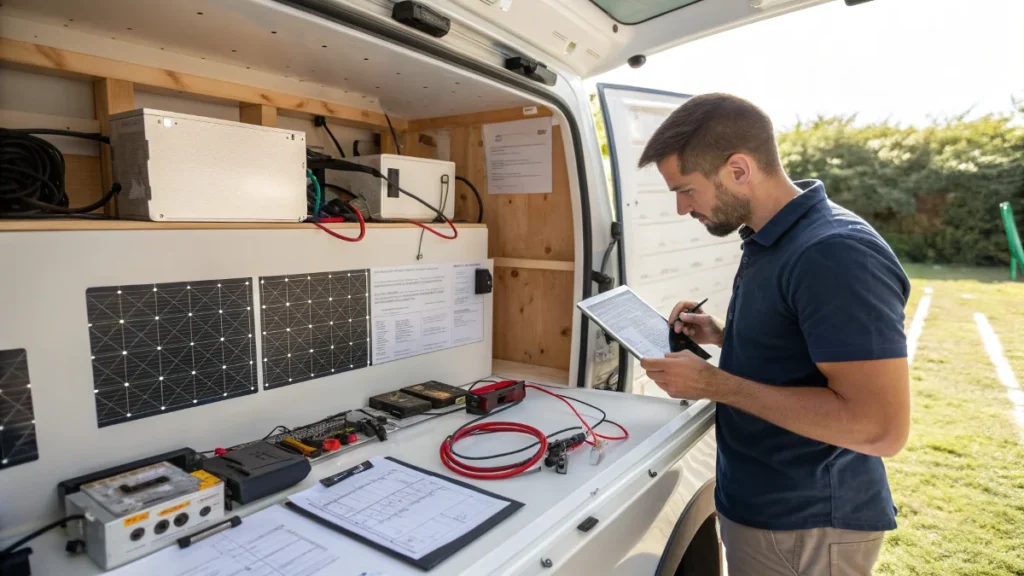
Here is the single most important step. Before you buy a single wire, you must do a van life power audit.
It’s just a simple spreadsheet. You will list every single thing in your van that uses power. This is how you how to plan van electrical properly and get a real, dependable number.
Here is the exact step-by-step process:
The RV Power Audit
1. List DC Appliances
This is all your 12-volt stuff. Think: fridge, vent fans, lights, water pump, and 12V USB ports.
2. List AC Appliances
This is anything you plug into a normal wall outlet. List your laptops, blenders, induction cooktops, or a Starlink.
3. Find the Wattage (W)
Look for a sticker on the device or its manual. This number is its power draw, shown as Watts (W).
4. Estimate “Hours of Use”
Be honest, and then add a little more. It’s always better to overestimate (be pessimistic) than run out of power.
5. Calculate Watt-Hours (Wh)
This is the key. Just multiply your numbers to find the Total Watt-Hours (Wh) per day for each device.
The Magic Formula:
(Watts) x (Hours of Use) = Watt-Hours
Here is what this looks like. We’ve included a Starlink, a common item that drains power fast.
| Device | Power (Watts) | Est. Hours / Day | Total Watt-Hours (Wh) |
| 12V Fridge | 50 W | 8 (cycling) | 400 Wh |
| Laptop | 65 W | 6 | 390 Wh |
| Starlink | 75 W | 8 | 600 Wh |
| MaxxAir Fan | 30 W | 10 | 300 Wh |
| LED Lights | 12 W | 4 | 48 Wh |
| Daily Total | 1,738 Wh |
Now you have your big number: 1,738 Wh. To figure out your battery size, you just divide this by your system voltage (usually 12 volts).
- Math: 1,738 Wh / 12V = 145 Amp-Hours (Ah)
This is how much power you use every single day.
But you are not done. You need a buffer for cloudy days and to keep your battery healthy. Your battery bank should be at least 2 times your daily use.
- Math: 145 Ah x 2 = 290 Ah
This is your magic number. This is the minimum size battery bank you should buy for this van build electrical system.
Based on Your Audit: Choosing Your Core Electrical Components
With your “magic number” in hand (like our 290 Ah example), you can now shop for components intelligently. Here’s what not to regret.
Batteries: AGM vs. Lithium (LiFePO4)
The RV Battery Showdown
Why we made the biggest mistake… and you don’t have to.
AGM BATTERIES
Big Mistake: We bought AGM to save money. Don’t!
Fact: An AGM battery can only be drained to 50% without damaging it.
What this means: You need a 200Ah AGM bank to equal one 100Ah Lithium.
Cost Proof (2025): About $0.65 per charge cycle.
LITHIUM (LiFePO4)
The Smart Choice: Invest wisely, buy Lithium.
Fact: A Lithium (LiFePO4) battery can be safely drained to 80% or even 100%.
What this means: A 100Ah Lithium gives you twice the usable power of a 100Ah AGM.
Cost Proof (2025): About $0.30 per charge cycle. Also, 3x lighter and lasts 5 to 10 times longer!
2025’s Biggest RV Battery Mistake: Still Buying AGM!
For a full-time build, investing in Lithium (LiFePO4) is no longer an option, it’s the standard for efficiency and long-term savings.
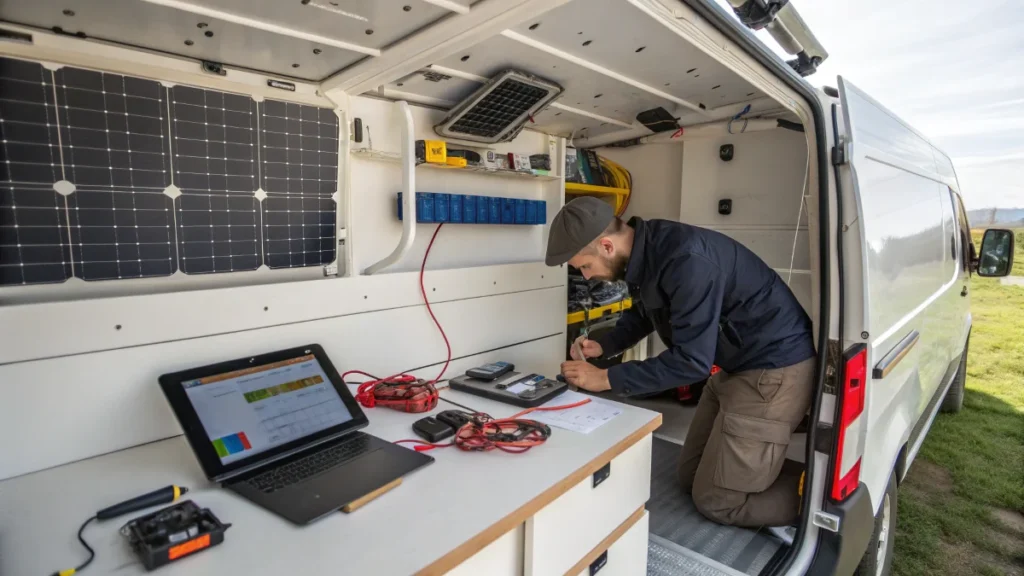
Inverter (Your AC Power)
Your inverter turns your 12V battery power into 120V (or 230V) wall power for your AC appliances.
You must get a pure sine wave inverter. Cheaper “modified” inverters can damage or destroy modern electronics like laptops, drones, and Starlink. It’s not worth the risk.
How to size it: Look at your audit list. Find the highest wattage item you own (like a 1000W blender) or the items you’ll run at the same time (like a 65W laptop + 75W Starlink = 140W). Your inverter must be able to handle that load. A 2000W inverter is a very safe, future-proof choice for most builds.
Wiring (The Most Critical Safety Part)
Do not guess on your wire sizes. This is how fires start.
Use an online wire gauge calculator. Resource: The Blue Sea Systems Circuit Wizard is a trusted tool. You enter the length of the wire and the power (amps), and it tells you the correct, safe gauge to use. This is not the place to save $20. Buy the thick, quality copper wire it recommends for your van build electrical system.
Our Final Lesson: You Need 3 Ways to Charge Your System
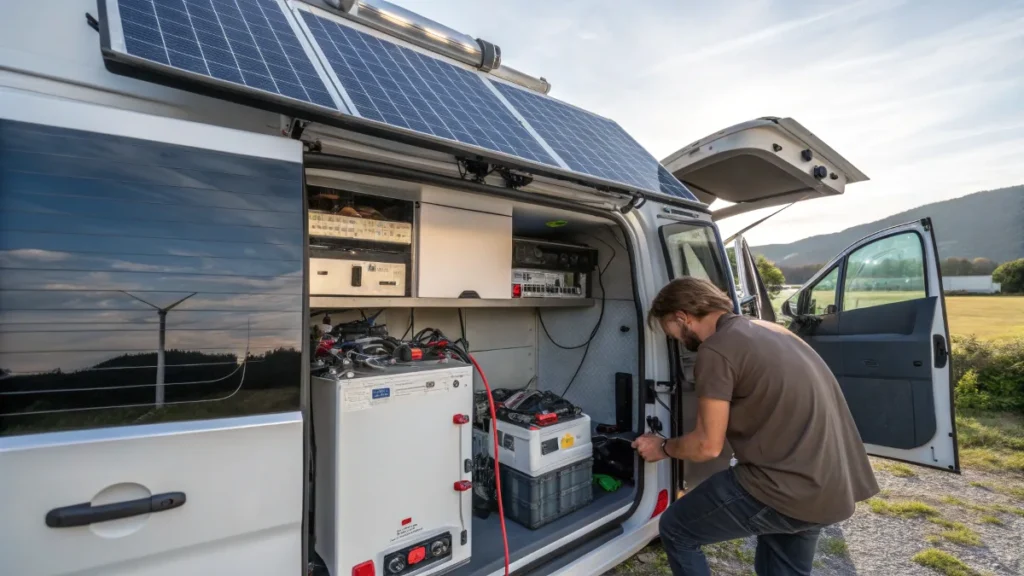
A giant battery bank is useless if you can’t keep it charged. Relying on one method is one of the classic van build mistakes. We learned this the hard way. You need the “Holy Trinity” of charging.
1. Solar (The Obvious One)
Solar panels are amazing for off-grid power. But what happens when you’re parked in a shady forest for three days? Or it’s cloudy and raining all week? We’ve been there. Our batteries died, the fridge shut off, and we couldn’t work. Solar alone is not enough.
2. Alternator (The Essential One)
This is how you charge your batteries just by driving your van. It’s a must-have.
- Big Mistake: Do NOT use a cheap “split charge relay,” especially on a newer van (2015+). They can damage your van’s smart alternator and are not safe for lithium batteries.
- Solution: You must use a
DC-DC charger van(from a brand like Victron or Renogy). It safely isolates your van’s battery from your “house” batteries and provides a clean, smart charge. This is non-negotiable.
RV Electrical: Avoid the Shockers!
BIG MISTAKE: Split Charge Relay
Do NOT use a cheap “split charge relay”, especially on a newer van (2015+). They can damage your van’s smart alternator and are not safe for lithium batteries.
THE SOLUTION: DC-DC Charger
You MUST use a DC-DC charger (from brands like Victron or Renogy). It safely isolates your van’s battery and provides a clean, smart charge. This is NON-NEGOTIABLE.
3. Shore Power (The Underrated One)
We skipped this to save time and money. We regretted it on day one. Shore power is a simple plug on the outside of your van. It lets you plug into a campground, a friend’s house, or any standard outlet. This lets you run all your high-power items (like an induction cooktop) without touching your battery and it fully charges your bank at the same time. It’s the ultimate backup and essential for a long-term how to plan van electrical system.
Conclusion
Our biggest van build regret was underestimating our power needs. It cost us $3,000 and weeks of work to fix, and we don’t want you to make the same mistake. You can get this right the first time. The solution is to plan properly. First, perform a detailed van life power audit before you buy a single part. Second, invest in a LiFePO4 battery bank that’s at least two times your daily needs. It will pay for itself. Finally, build a robust charging system with all three parts: Solar, a DC-DC charger, and shore power.