
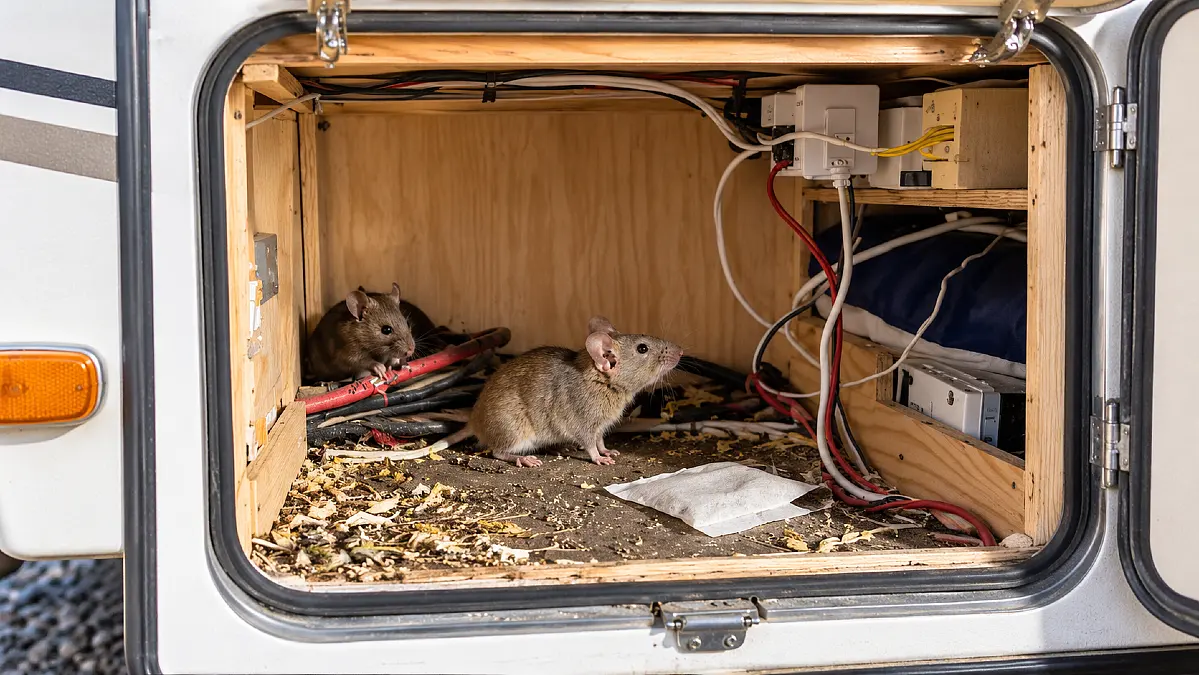
You can empty every cabinet, clean the refrigerator, lock the door, and still come back to mouse droppings months later. The problem may have nothing to do with how clean the living area looked when you left.
A stored RV has dozens of openings for pipes, wires, vents, moving parts, and service access. Some are easy to see. Others hide underneath cabinets, behind panels, or along the bottom of the RV.
And the opening does not need to look large. The CDC says a mouse can squeeze through a hole about 1/4 inch wide, roughly the width of a pencil.
1. Check the Underbelly Before Anything Else
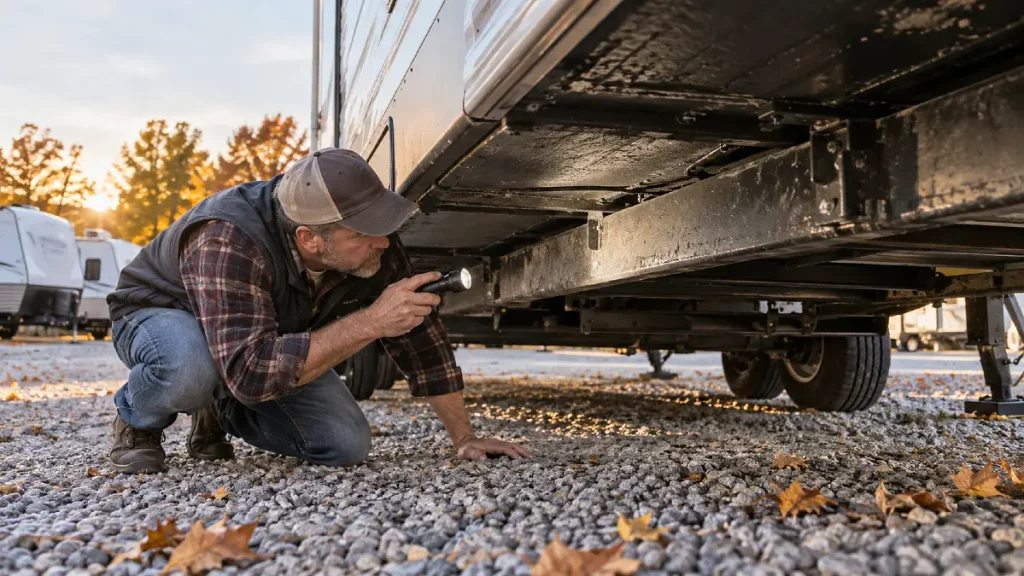
Start underneath the RV because many mouse routes begin where you rarely look.
Use a bright flashlight and inspect the underbelly from front to back. Look for loose panels, missing fasteners, torn material, open edges, and small spaces where the underbelly meets the frame.
Camping World notes that openings can occur where plumbing and other components pass into the RV body. It also points out that a fully enclosed underbelly generally leaves fewer possible rodent entry points, but it still needs inspection.
Push gently on loose areas. A panel that looks closed while hanging straight down may reveal a gap when moved.
Pay extra attention near corners and frame rails. These spots can be difficult to see unless you get underneath the RV.
What to do: Repair loose panels using the method recommended for your RV. If a gap surrounds a pipe or another fixed component, use a chew resistant barrier and a compatible sealant where the manufacturer allows it.
Do not start filling every opening with foam. Some openings exist for drainage, ventilation, or component movement.
2. Inspect Every Plumbing Line Through the Floor
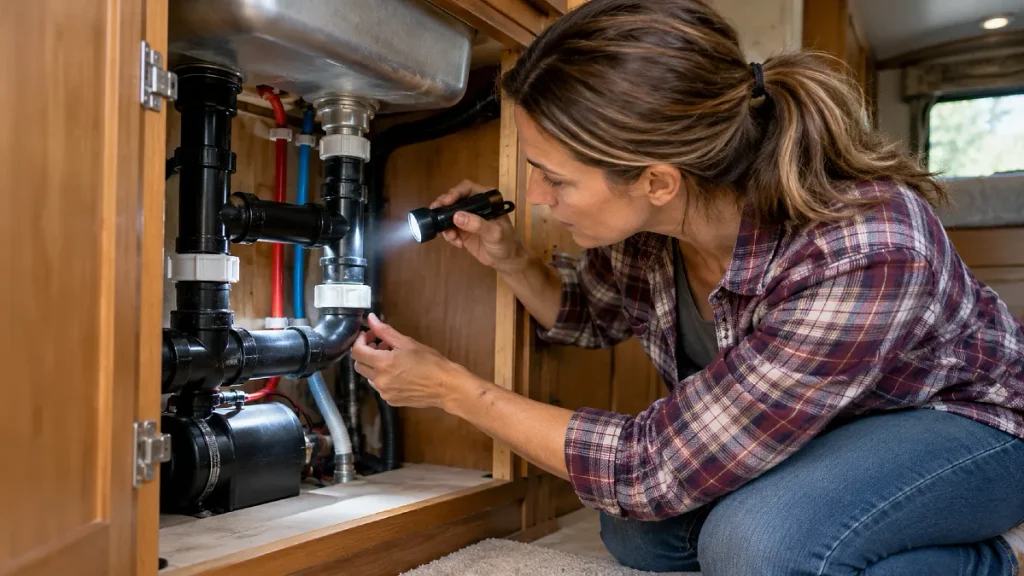
Plumbing creates several natural openings between the outside and the inside of an RV.
Look beneath sinks, behind the toilet, around the water pump, near holding tanks, and wherever a pipe passes through a floor or wall. Then inspect the same area from underneath the RV when possible.
The CDC tells property owners to check openings around water, sewer, gas, and other utility lines when looking for rodent entry points.
Sometimes the hole around a pipe is much larger than the pipe itself. You may see this more clearly from inside a cabinet than from underneath the camper.
Use a flashlight behind kitchen and bathroom cabinets. If light appears around a pipe from below, you may have found an open path.
Check your RV materials and plumbing layout before applying anything permanent.
3. Follow Wiring and Cables Through Walls and Floors
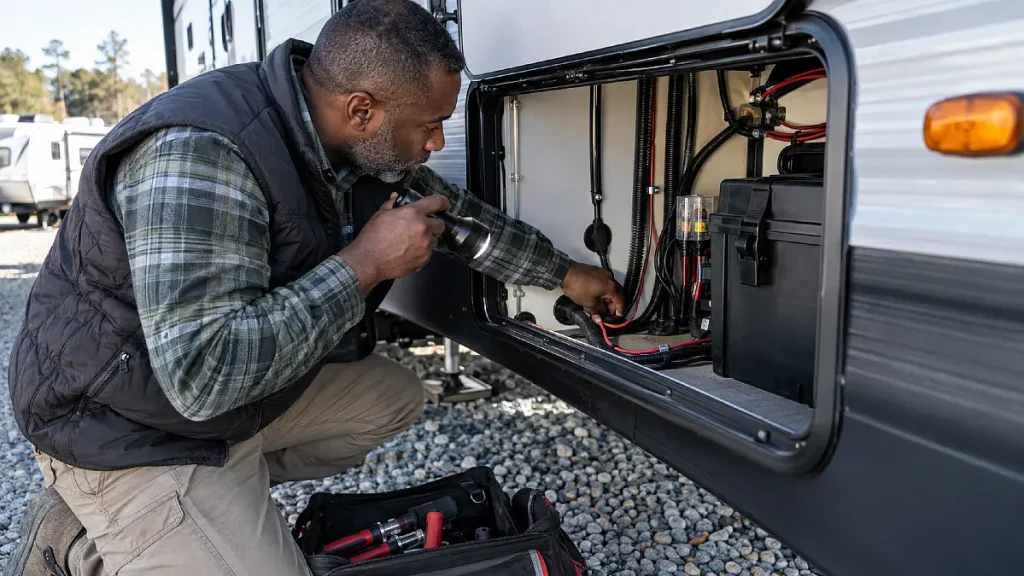
Where a wire goes through a wall, floor, or panel, a mouse may find space beside it.
Inspect battery cables, electrical harnesses, shore power areas, solar wiring, tank sensor wiring, and cables serving slide mechanisms. Travel trailers should also be checked around wiring that runs from the tongue into the body.
EPA pest guidance specifically calls for closing openings where electrical wires and conduits pass through walls, ceilings, floors, and cabinets. Rodents can use those routes to gain access and move farther inside.
Do not pull on wiring or pack material tightly against components that become hot.
Instead, look at the size of the opening around each pass through. A hole that was cut generously during construction may leave plenty of unused space.
4. Inspect Furnace and Water Heater Openings Carefully
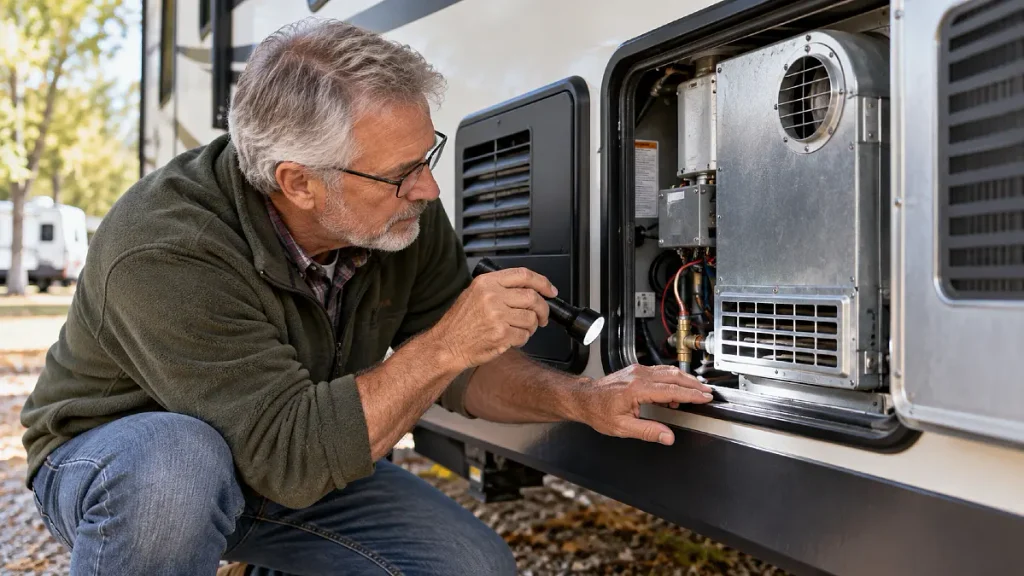
Your RV furnace and water heater need exterior openings to operate correctly. That is exactly why you need to treat these areas differently from an ordinary crack.
Inspect the exterior covers for damage, missing hardware, open edges, and gaps behind the trim.
RV service sources routinely include furnace and water heater areas among places worth checking for pests. Commercial RV vent screens are available for many specific appliance designs.
The important rule is simple: do not block required airflow.
A piece of random mesh pushed into an appliance opening may create a different problem. The correct screen needs to fit the vent and appliance design.
Camco, for example, sells several screen configurations intended for particular furnace and water heater vents rather than one universal piece.
What to do: Identify the exact appliance model first. Then use a compatible screen if its manufacturer allows one.
5. Check Refrigerator and Other Exterior Vents
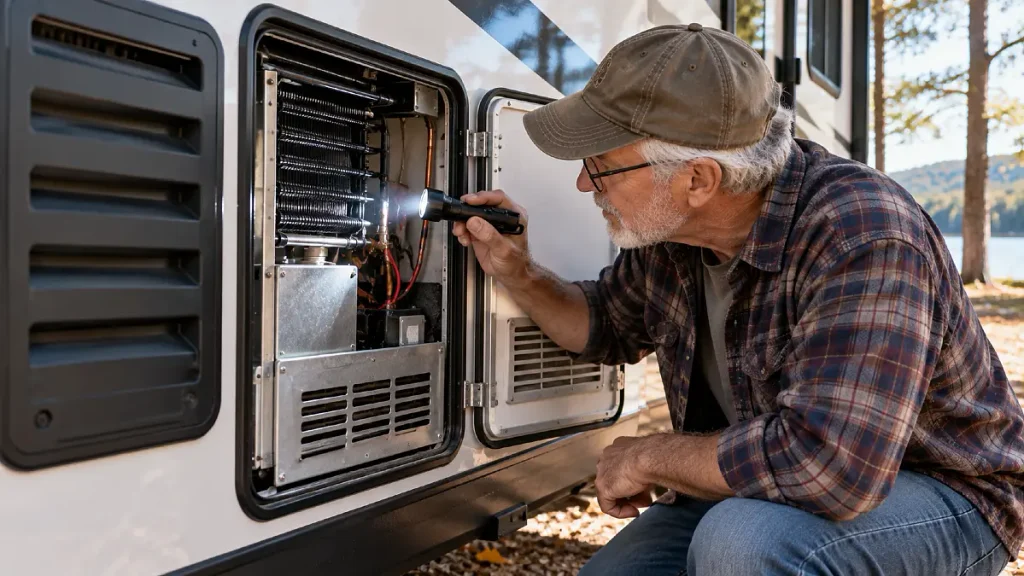
The refrigerator area can contain a much larger cavity than you might expect from looking at the exterior cover.
Check the lower refrigerator access panel if your RV has one. Look for missing screens, cracked plastic, gaps around the frame, loose covers, or open spaces where wiring and pipes disappear into the RV.
KOA lists exhaust vents among common mouse entry areas, while current RV pest guidance also identifies refrigerator vents as places owners should inspect.
Some replacement RV refrigerator vent bases include screens. Camco also sells refrigerator vent components and several pest screen configurations.
Again, airflow matters. Never turn a working appliance vent into a sealed wall.
This is also a good time to look behind the refrigerator access area for separate plumbing or wire holes.
6. Look Closely at Slide-Out Corners and Seals
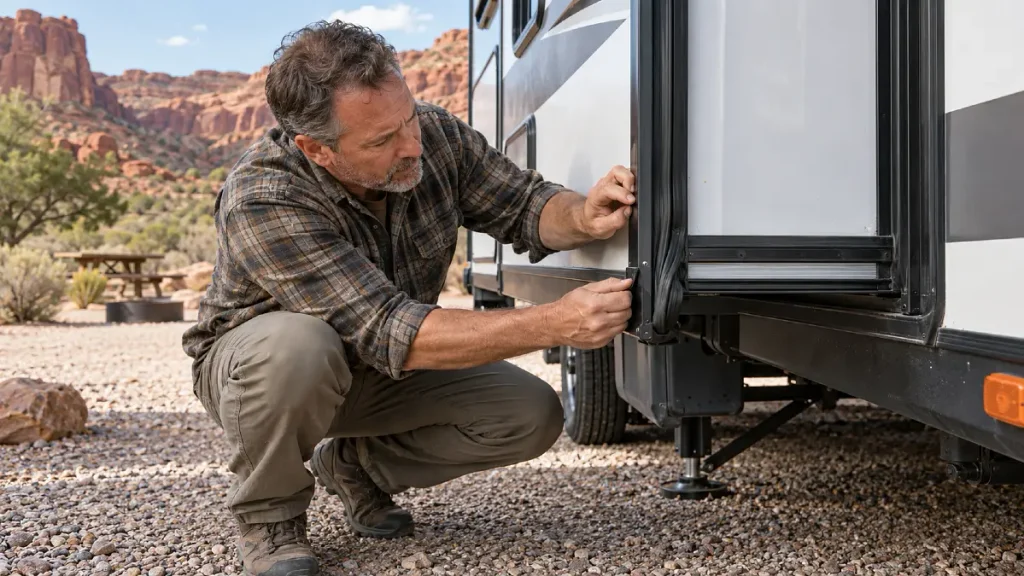
A slide-out adds several moving seals and openings to the RV.
When the slide is fully retracted, inspect every corner from outside. Look closely at the bottom because small seal problems are harder to notice there.
Then check the rubber seals for folds, cracks, gaps, or sections that no longer sit correctly against the slide.
KOA recommends storing slide-outs fully closed. RV pest guidance also identifies slide mechanisms as potential access areas that deserve inspection.
The opening may not be in the visible rubber seal itself. It may be lower down where wiring, cables, rails, or other parts pass through the body.
If the seal is damaged, replace or repair it rather than trying to fill a moving joint with permanent foam.
7. Test Every Exterior Storage Compartment
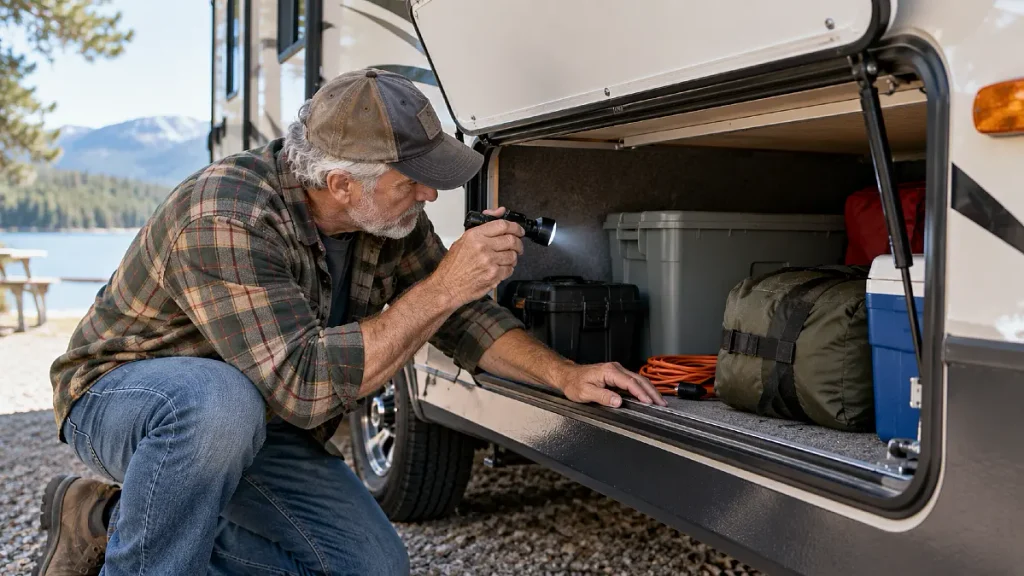
Your storage bay may look completely separate from the living space. It often is not.
Pass-through storage compartments may share walls, floor spaces, plumbing routes, or wire channels with the rest of the RV.
Open every exterior compartment. Check the rubber gasket around the door and make sure the latch pulls the door firmly against it.
Look behind stored equipment too. An open pipe or cable hole at the rear of the compartment can give a mouse access to hidden areas even when the exterior door seals well.
Camping World recommends inspecting every possible entryway rather than focusing on one part of the RV.
Do not leave pet food, bird seed, snacks, or other food products in these compartments during storage.
8. Check the Main Door, Steps, and Floor Edge
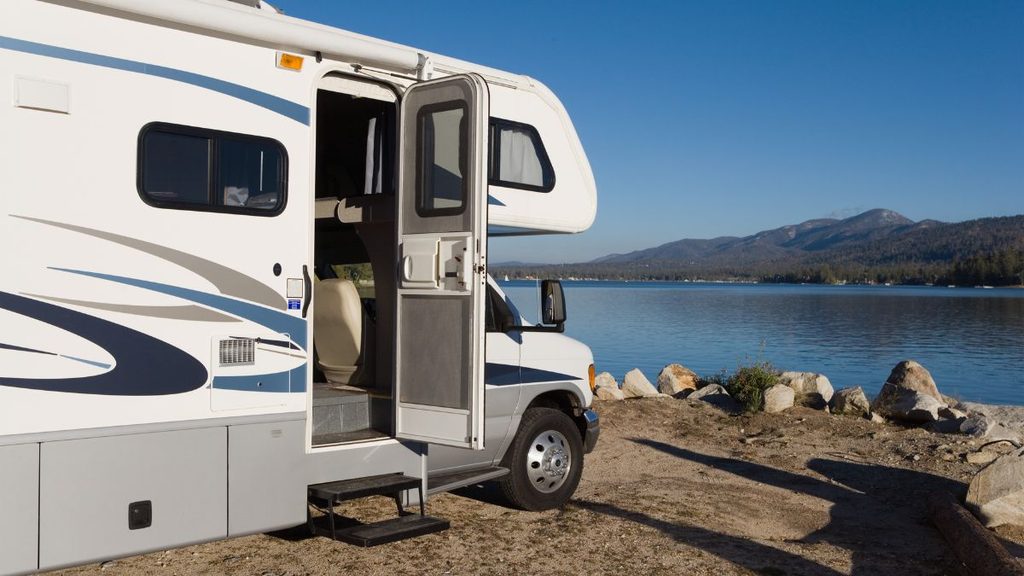
The front door is obvious, but the smallest gap may be at the bottom corner rather than around the handle.
Close the door and inspect it from both sides. Look for daylight around the threshold, worn weatherstripping, damaged corners, or a door that no longer sits squarely in the frame.
EPA pest guidance recommends repairing exterior doors that do not close completely. It also calls for reducing bottom door gaps to less than about 1/4 inch when possible.
Then look below the doorway.
Retractable steps, wiring, lighting, and frame components may create additional openings beneath the floor near the entrance.
The CDC also recommends checking the junction between floors and walls when searching for rodent openings.
What to do: Replace worn weather stripping and repair a door that does not close evenly. Inspect the floor area below it before moving on.
9. Inspect Roof Vents, Trim, and the Front Frame Area
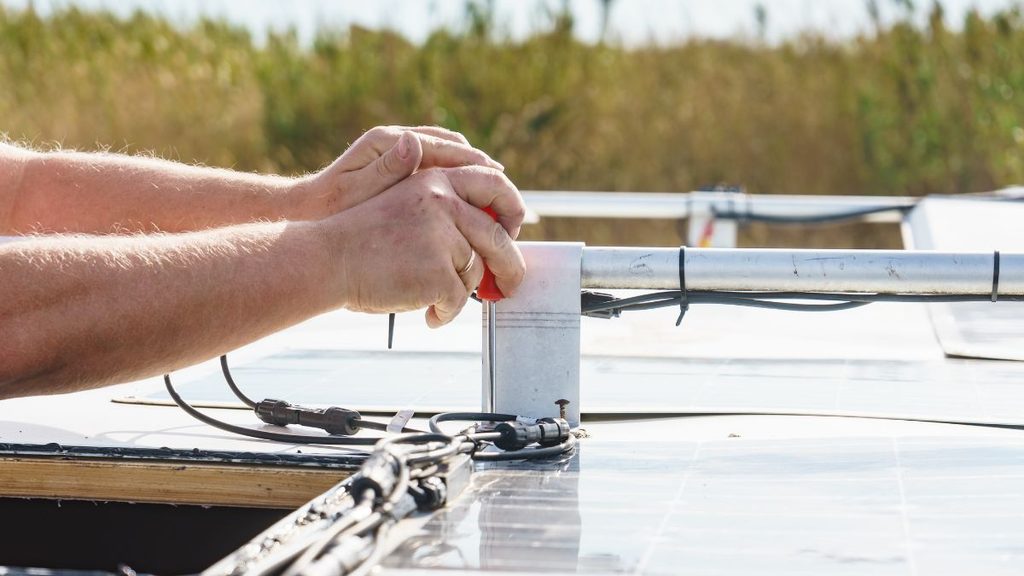
Do not assume every mouse enters from ground level and stays underneath the RV.
CDC trailer guidance specifically recommends checking around roof vents, utility lines, pipes, ducts, gaps between trim and siding, and the trailer tongue.
Inspect roof vents and exterior trim for loose pieces or visible gaps. Check the sealant around roof accessories at the same time.
If roof sealant has failed, use a product that is compatible with your roof material. Dicor, for example, makes RV lap sealants for roof edges, vents, vent pipes, and other roof joints, but its compatibility instructions still need to be followed.
Travel trailer owners should also inspect the front frame and tongue area. Follow wiring, propane lines, and other components toward the body and look for openings where they pass inside.
Do This Final 15 Minute Mouse Check Before Storage
Once the nine areas are inspected, walk around the RV one more time.
Start underneath. Then work upward around every side before checking the interior cabinets and utility spaces.
Use this final check:
Final RV Mouse Check Before Storage
Remove food from cabinets, drawers, and the refrigerator.
Vacuum crumbs from floors, furniture, and hidden corners.
Check every visible pipe and wire pass through.
Confirm repaired underbelly panels are secure.
Inspect exterior compartment seals.
Make sure slides are fully retracted.
Check appliance screens and covers.
Confirm you did not block required ventilation.
Photograph repaired areas so you can compare them next season.
Camping World and KOA both recommend removing food, cleaning the RV, and inspecting potential openings before storage.
Scent products should not replace this work. A sealed entry point solves a different problem than a smell intended to discourage an animal.
For larger openings, CDC guidance favors physical barriers such as metal screening, hardware cloth, sheet metal, or similar materials. For small holes, it recommends steel wool secured with caulk or another suitable repair.
EPA guidance also warns that rodents can gnaw through softer materials. That is why metal reinforcement can matter when you are dealing with a true access hole.
What If You Already Find Mouse Droppings?
Do not immediately grab the vacuum.
The CDC says you should not sweep or vacuum dry rodent droppings, urine, or nesting material because contaminated particles can become airborne.
Wear rubber or plastic gloves. Wet the affected material thoroughly with a household disinfectant labeled as a disinfectant, then follow the product directions and CDC cleanup guidance.
CDC vehicle guidance specifically includes campers. It recommends airing out a stored vehicle, checking for nests and droppings, and inspecting areas such as air intakes before putting the vehicle back into service.
If rodents have reached heating or cooling ducts, wiring, or a large amount of insulation, professional help may make more sense than trying to clean every hidden space yourself.