
That innocent drip from your RV’s gutter just cost another owner $18,000 in water damage repairs. Most RV owners ignore simple $10 solutions that prevent thousands in costly damage.
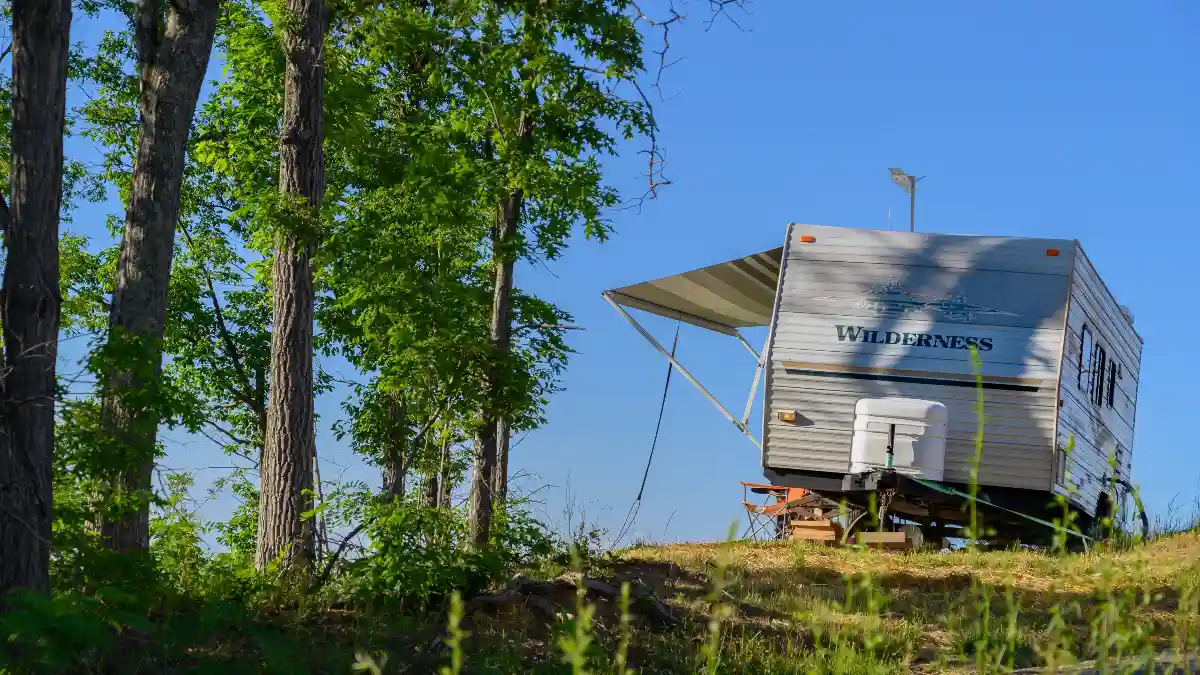
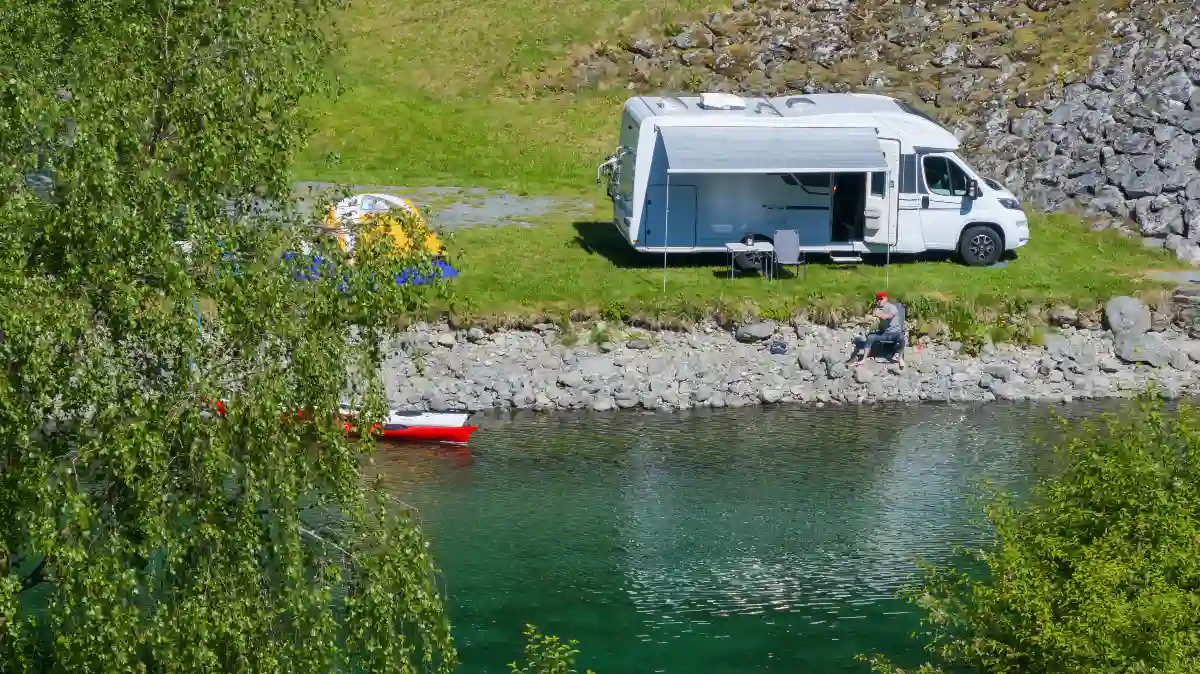
Your standard RV gutters dump water right onto your siding, creating black streaks, basement flooding, and structural rot.
But here’s what the smart owners know: RV gutter spout extensions costing as little as $10 can push that water safely away from your rig. You’ll learn which products actually work in 2025, how to install them properly, and why spending $50 today beats paying $25,000 later for major repairs.
1. The Hidden Cost of RV Water Damage
Water damage will hit your wallet harder than almost any other RV problem. It ranks as the second most common insurance claim for RV owners. And here’s the scary part – most people have no idea how expensive it gets.
The average RV water damage repair costs between $5,000 and $25,000. That’s not a typo. A simple roof leak can destroy your entire vacation fund. Professional repair shops charge $100 to $150 per hour for labor alone. Add in materials, and costs pile up fast.
Here’s what makes it worse. Your insurance probably won’t cover the damage. Most policies exclude water damage from poor maintenance. That means you pay every penny out of your own pocket. No help. No payment plan. Just a massive bill that shows up when you least expect it.
Take this real example. A 2007 Thor Adirondack needed $25,000 in repairs after water got in through failed skylight seals. The damage spread everywhere. Rotted floors. Ruined walls. Mold problems. The owner had to rebuild almost everything inside.
The numbers get even worse when you look at the big picture. About 14,000 Americans deal with water damage every single day. With 11.2 million households owning RVs, that’s a lot of people facing expensive repairs. Insurance companies often declare RVs a total loss when repair costs hit 70% to 100% of the RV’s value.
But here’s the good news. You can prevent most of this damage for less than $50. Simple gutter extensions cost between $10 and $50. Compare that to repair costs, and you’re looking at a return on investment between 100:1 and 1,250:1. That’s one of the best deals you’ll ever find.
The math is simple. Spend $20 today or risk spending $20,000 later. Those cheap plastic extensions might not look like much. But they’re standing between you and financial disaster. Water damage doesn’t care if you’re on vacation or saving for retirement. It just happens. And when it does, it costs more than you think.
2. Current Market Solutions That Actually Work

You have three solid options for RV gutter extensions in 2025. Each works well, but they fit different budgets and needs. Here’s what actually performs in the real world.
Budget Champion: RecPro Long RV Gutter Spouts
RecPro sells the best cheap option at $9.95 for their 655RLPW model. These give you 3.5 inches of extension – longer than most competitors. They come in white, tan, or black to match your RV. The company makes them in America and includes UV protection so they won’t crack in the sun.
You can buy direct from RecPro and they keep them in stock. No waiting around for backorders. For under $10, these beat everything else in the budget category.
Mainstream Pick: Camco CAM42123 Clip-On Extensions
Camco dominates the middle market for good reason. Their CAM42123 extensions cost $17.76 for a 4-pack on Amazon. That covers most RVs completely. These clip on without tools, which makes installation super easy.
Amazon stocks them with Prime shipping. Camping World and etrailer also carry them. The extensions push water 2+ inches away from your RV sides. They’re made from UV-stabilized nylon that holds up well over time.
Camco also makes complete replacement spouts with built-in extensions. The CAM42134 and CAM42323 models run $15.99 to $24.40 for 4-packs. These replace your entire spout system if your current ones are damaged.
Premium Choice: JR Products Extended Spouts
JR Products builds the best extensions money can buy. Their 655-PW-A rigid model and 655-FLEX-PW-A flexible version both come with lifetime warranties. These extend water 3.5 inches from your RV – the longest reach available.
The rigid version works best for straight installations. The flexible model bends to fit awkward mounting spots. Both mount under aluminum tracks instead of clipping on. This gives you a more secure connection that won’t fall off.
You’ll pay more for JR Products, but you buy once and never replace them.
Supply and Innovation Updates
The supply chain stayed stable through 2025. No major shortages hit any of these brands. You can find them when you need them.
Recent improvements focus on longer extensions and better UV protection. The old 2-3 inch standard is being replaced by 3.5+ inch designs. This pushes water further from your RV and gives better protection.
Where to Buy
Amazon carries the full Camco line with fast shipping. etrailer stocks everything and offers good technical support. Camping World has locations everywhere if you want to see products in person. RecPro sells direct with no middleman markup.
All three brands work. Pick based on your budget and how long you want them to last.
3. Professional Installation vs. DIY Methods
Most RV owners can install gutter extensions themselves in about an hour. But you need to know what you’re doing or they’ll fall off the first time you hit a tree branch.
The 5-Step Professional Process
Here’s how pros install extensions that stay put:
- Remove existing gutter rail end screws – Don’t just clip extensions on top. Take off the end caps first.
- Clean and test-fit extensions – Scrub off all dirt, wax, and old sealant. Test fit before you commit to anything.
- Slip behind RV drip rails per specs – Extensions go behind the drip rail, not in front. This gives you a solid mechanical connection.
- Reinstall with mechanical fasteners – Put the original screws back through pre-drilled holes. Don’t rely on clips alone.
- Apply appropriate sealants – Use butyl tape and RV-grade caulk around all connection points.
Where Most People Mess Up
The biggest mistake is skipping surface prep. Extensions won’t stick to dirty or waxed surfaces. They just pop off when you’re driving down the highway.
Another common error is wrong slope management. Extensions need a slight downward angle so water flows away from your RV. Install them level and water pools instead of draining.
Many people also pick the wrong extension type for their RV. Generic extensions don’t fit all gutter shapes. You might need 45-degree angles or special adapters.
RV Type Makes a Difference
Travel trailers need extra attention because they bounce around more on the road. Use extra sealant and double-check all fasteners. The vibration will loosen anything that’s not secure.
Motorhomes often require professional help because of height and electrical systems nearby. You don’t want to mess with anything that could affect your coach’s wiring.
Fifth wheels have their own challenges with bi-level water flow patterns. Water comes off different roof sections at different rates.
When to Hire a Professional
Go pro if your RV has complex rooflines, electrical systems near the gutters, or warranty work requirements. Also consider professionals if you’re not comfortable working at height.
DIY works fine for simple installations on travel trailers and basic motorhomes. Just follow the steps exactly and don’t rush the prep work.
Professional installation costs $200 to $500 but includes warranties and proper materials. DIY costs $20 to $50 for extensions plus your time. Both work if done right.
4. Budget-Friendly DIY Alternatives That Work
You don’t need to spend $20 on fancy extensions. Smart RV owners have figured out how to solve the water problem for under $5. These DIY RV gutter extensions work just as well as store-bought versions.
Pool Noodle Extensions – $1 to $3
Hit the dollar store and grab a small pool noodle. Cut it into 5-6 inch sections with a sharp knife. Slip each section over your existing gutter spouts. That’s it.
The foam pushes water away from your RV sides. Pool noodles cost $1 to $3 and one noodle handles your whole RV. This pool noodle RV hack has saved thousands of RV owners from water damage.
The downside? They look a bit silly. But they work great for weekend camping when you don’t care about appearance.
Clear Vinyl Tubing – $5 to $15
Lowe’s sells clear vinyl tubing in the plumbing section. Get 3/4 inch to 1 inch diameter tubing. Cut 6-8 inch sections and slip them over your spouts.
Secure the tubing with small cable clips from the electrical aisle. The clear tubing looks much better than pool noodles. It directs water further away and costs under $15 for a complete system.
Wire and Alligator Clip System – $1.50
This YouTube hack uses 14-gauge Romex wire and small alligator clips from the hardware store. Crimp 6 inches of wire onto each clip. Attach the clips to your gutter spouts.
The wire guides water drips away from your RV. Total cost is about $1.50 for a 4-clip system. It looks weird but works surprisingly well.
Clothespin Quick Fix
Regular clothespins clipped onto spout ends work for temporary water direction. They cost almost nothing and you probably have some already.
Commercial extensions cost $10 to $50. These DIY budget RV modifications cost $1 to $15. Both solve the same problem. Pick based on how much you care about looks versus saving money.
5. Real User Experiences and Forum Insights

RV owners share mixed results with gutter extensions across major forums. The good news? Most people solve their water problems. The bad news? Some extensions don’t stay put.
Success Stories From Real Users
iRV2 forum members report great results when extensions stay attached. One owner wrote, “Eliminated water dripping right in front of cab doors completely.” Another said the extensions “cleared the side completely” and stopped black streaks on white RV siding.
Forest River owners love how extensions protect entry areas. No more stepping in puddles when you get out of your RV. Several users mention their extensions lasted multiple camping seasons without problems.
The Retention Problem
Here’s where things get frustrating. Keystone RV Forum users complain that clip-on extensions “worked great UNTIL you even lightly brush a leaf or small twig. Then they are gone.”
Forest River Forum members report the same issue. Extensions fall off when hitting tree branches while backing into campsites. One owner lost three sets in a single camping season. At $20 each, that adds up fast.
Brand-Specific Headaches
Winnebago owners face special challenges. Their drip rails don’t work well with generic extensions. Some need 45-degree angles to fit properly.
Jayco owners discovered an even stranger problem. Some Jayco models have gutters installed upside down from the factory. Regular extensions won’t work at all. You need special adapters or complete gutter replacement.
Seasonal Reality Check
Spring brings the worst problems. Winter damage weakens mounting points. Extensions that survived summer camping often fail after freeze-thaw cycles.
Fall maintenance becomes critical. Users recommend checking extensions monthly during heavy camping seasons. Loose extensions cause more damage than no extensions at all.
Replacement Costs Add Up
Lost clip-on extensions cost $5 to $20 each to replace. Some owners go through 4-6 sets per year. That turns a $20 solution into a $100+ annual expense.
Smart users buy extras and keep them in storage. Others switch to permanent mounting systems after losing too many clip-ons.
Gutter extensions work when they stay attached. Choose mounting style based on your camping habits. Lots of tight campgrounds with trees? Go with permanent installations. Open camping areas? Clip-ons work fine.
6. Beyond Gutters: Complete Water Management Strategy
Gutter extensions fix only part of your water problem. Smart RV water management protects your entire rig from moisture damage. Here’s what else you need to check.
Roof Penetrations Are Leak Magnets
Your roof has dozens of holes for vents, antennas, and air conditioners. Each one can leak. Check the sealant around every penetration twice a year. Look for cracks, gaps, or pulled-away edges.
Most RVs leave the factory with incomplete sealing. Don’t assume new means waterproof.
Windows and Doors Need Love Too
Window frames and door seals fail more often than gutters. Run your finger around every frame looking for soft spots or gaps. Pay special attention to corners where different materials meet.
Replace weatherstripping when it gets hard or cracked. It’s cheap insurance against expensive repairs.
Slideouts Create Water Traps
Slideout seals wear out fast. Water pools on slideout roofs and finds every tiny gap. Clean slideout gutters monthly during camping season. Check seals for tears or compression damage.
AC Condensation Overwhelms Gutters
Your air conditioner dumps gallons of water on your roof every day. Standard gutters can’t handle the extra load. Consider adding drain tubes or larger gutters if you run AC constantly.
Your Seasonal RV Maintenance Schedule
Spring: Inspect for winter damage. Check all seals and sealants. Test water flow with a garden hose.
Summer: Clean gutters monthly. Monitor UV damage on seals and extensions. Watch for new soft spots.
Fall: Apply fresh sealant before winter storage. Clean and inspect everything one final time.
Annual: Get a professional inspection. They spot problems you miss.
Water damage starts small and grows fast. Catch it early and repairs cost hundreds instead of thousands. Ignore it and you’ll need a new RV.
7. Cost-Benefit Analysis: Prevention vs. Repair

The math on RV investment protection is simple. Spend a little now or pay a lot later. Here’s what the numbers actually look like.
Prevention Costs Are Tiny
Budget approach: $20 to $50 total. Buy extensions and install them yourself. Takes an hour and costs less than a tank of gas.
Professional approach: $200 to $500 total. This includes quality extensions plus professional installation with warranties. Still cheaper than most RV repairs.
Water Damage Costs Are Huge
Minor damage starts at $800 to $1,500. That’s just for small leaks caught early. Major structural damage runs $5,000 to $25,000 or more. Some RVs get totaled completely.
Professional repair shops charge $100 to $150 per hour for labor. Materials cost extra. Floor replacement alone costs $3,000 professionally.
Insurance Won’t Save You
Your insurance deductible probably costs more than gutter extensions. Most deductibles run $500 to $2,500. Plus insurance often excludes maintenance-related damage anyway.
That means you pay everything out of pocket when poor drainage causes problems.
The Real Numbers
Spend $50 on prevention. Avoid $10,000 in repairs. That’s a 200:1 return on your money. Even if you spend $500 on professional installation, you’re still looking at 20:1 returns.
Water damage costs destroy vacation budgets and retirement savings. Prevention savings protect both your RV and your financial future.
The choice is yours. Pay $50 today or risk $25,000 tomorrow. Smart RV owners always choose prevention.