You’ve scrolled through thousands of perfect vanlife photos, but what you don’t see are the frustrating and expensive mistakes hiding behind the beautiful woodwork. When you’re planning your first van build, the number of choices can feel endless.
You’re worried about making a critical error you’ll have to live with every single day on the road. What if you pick the wrong layout? What if your power dies in the middle of nowhere?
This guide is here to help you get it right the first time. You will learn the seven most common van life regrets from people who have already built one van and are now planning their second.
We’ll show you a clear path to avoid these critical van build mistakes from the very start. Think of this as a shortcut to building a smarter, more comfortable, and more reliable campervan.
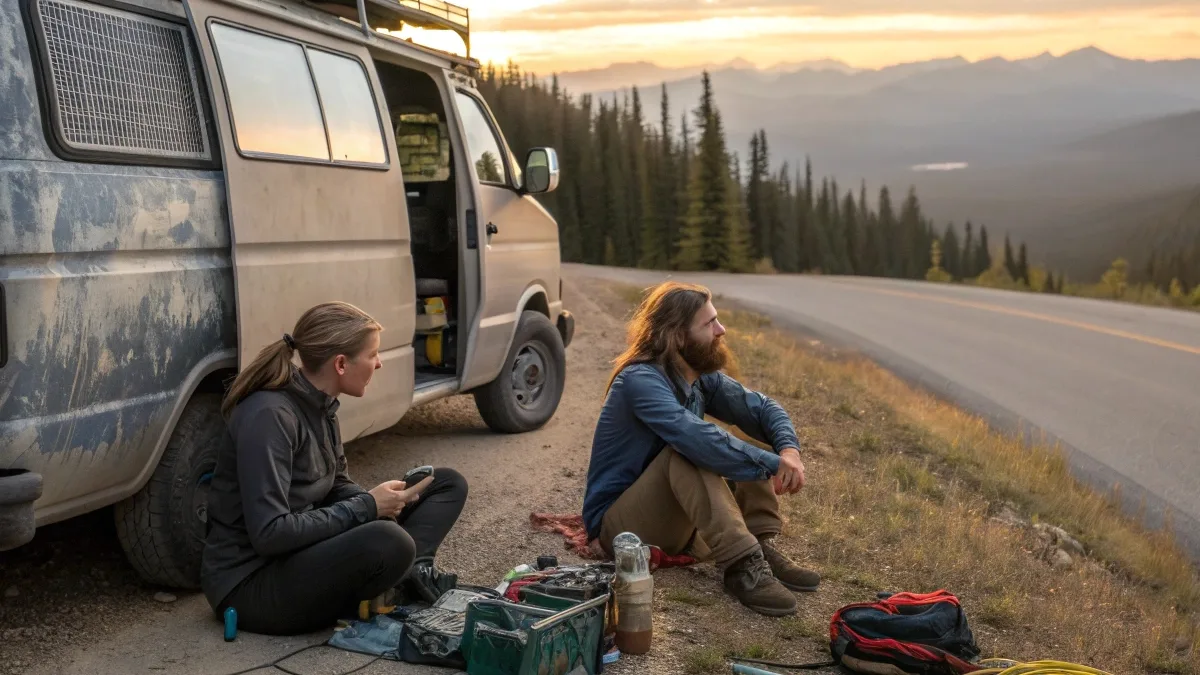
1. Underestimating Our Power Needs
Of all the systems in a van, the electrical system is the one that governs your freedom. We thought we understood this, but we tried to cut corners to save money.
This single decision caused more daily stress than anything else. Instead of enjoying our freedom, we were constantly managing a power shortage, obsessively checking the battery monitor, and making decisions based on how sunny it was.
It was a constant, low-level anxiety that took away from the joy of being on the road.
- The Mistake: We chose cheaper AGM batteries and a small solar array to save money upfront. We thought we could get by with a minimal electrical system, but we were wrong.
- The Consequence: This led to constant “power anxiety.” We couldn’t use our laptops for work or run small appliances without worrying. We spent too much time chasing sunny weather or paying for campsites just to plug in, which defeated the purpose of being off-grid.
- The Second Build Solution: We are investing in a robust Lithium (LiFeP04) battery system. While lithium batteries cost more initially, they last much longer and you can use almost all of their stored power (unlike AGMs). Before buying anything, we used a power audit calculator from a site like Explorist.Life to add up exactly how much power we use.
From Power Anxiety to Off-Grid Freedom
The Mistake: Underpowered System
We opted for cheaper AGM batteries and a small solar array, thinking it would suffice. This initial cost-saving led to a severely limited electrical system that couldn’t meet our needs.
The Consequence: Constant Power Anxiety
Our inadequate setup caused persistent “power anxiety.” We couldn’t use essential appliances or work on laptops without worrying about running out of energy, forcing us to seek power hookups and undermining our off-grid goal.
The Solution: Smart Lithium Investment
We’re upgrading to a robust Lithium (LiFePO4) battery system. Though a higher upfront cost, lithium offers significantly longer lifespan and deeper discharge, ensuring reliable power. A precise power audit (e.g., Explorist.Life) guided our exact needs.
2. Choosing a Convertible Bed Over a Fixed Bed

The idea of a multi-purpose space is tempting in a tiny home. A seating area that magically transforms into a bed seems like the most efficient use of every square inch. We fell for this idea completely.
We designed a beautiful U-shaped dinette that looked amazing during the day, but we didn’t think about the reality of setting it up and taking it down every single morning and night. The novelty wore off in about a week, and then it just became a daily chore we dreaded.
- The Mistake: We designed a dinette that converted into our bed to save space. We wanted a big seating area for meals and relaxing.
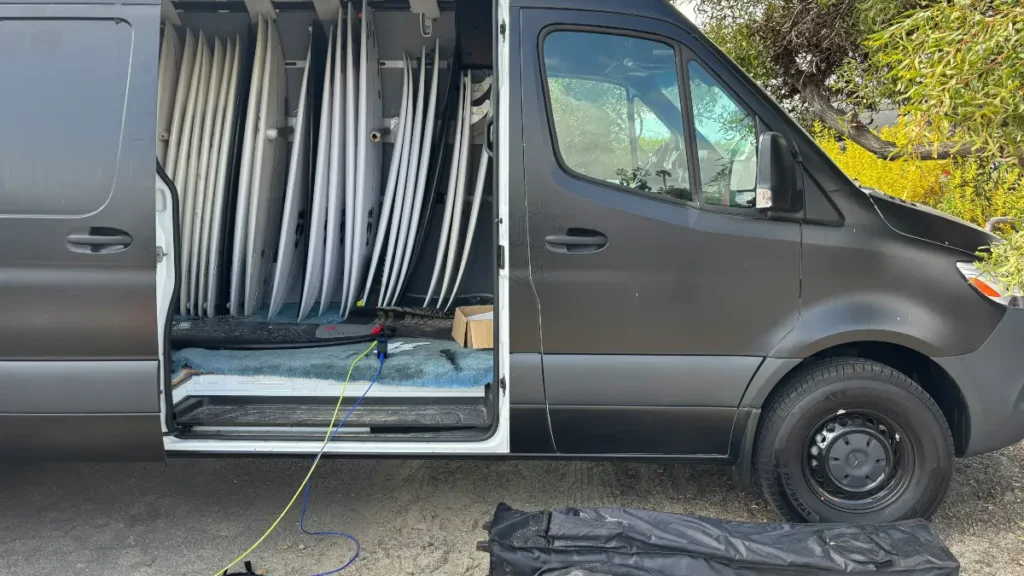
- The Consequence: The daily chore of breaking down the table, moving cushions, and setting up bedding became exhausting. When we were tired, it was the last thing we wanted to do. It also meant we had nowhere to store our bulky outdoor gear.
- The Second Build Solution: Our next build will have a fixed bed. A permanent bed simplifies life on the road. More importantly, it creates a massive “garage” storage area underneath, perfect for bikes, climbing gear, or storage tubs. You can still have a small seating area, but your sleeping space should be simple and ready when you are.
The Bed Debate: Convertible vs. Fixed
The Mistake: Convertible Dinette
- Exhausting daily chore of converting the bed.
- Zero storage for bulky outdoor gear.
The Solution: Fixed Bed
- Simplifies life, always ready for rest.
- Creates a massive “garage” for storage underneath.
3. Skimping on Insulation and Airflow
Insulation isn’t a glamorous part of a van build. You can’t see it when it’s done, so it’s easy to treat it as an afterthought and use whatever is cheap and available.
We learned the hard way that insulation and ventilation are the foundation of comfort. They are what make a metal box livable in the real world, from freezing mountain nights to scorching desert days.
- The Mistake: We used cheap fiberglass insulation and only installed a single roof fan to push air out.
- The Consequence: The van was never a comfortable temperature. Worse, the moisture buildup from breathing and cooking led to dampness and the start of mildew. Poor van insulation makes a van miserable in both hot and cold weather.
- The Second Build Solution: Quality insulation and proper ventilation are not optional. For our next build, we’re using a high-quality, moisture-resistant material like 3M Thinsulate. We are also installing two roof fans (like the Maxxair Fan Deluxe). One will pull fresh air in at the back, and one will push stale, humid air out at the front. This creates an airflow circuit that keeps the air fresh and dramatically reduces condensation.
Insulation & Airflow: The Comfort Essentials
The Mistake
Using cheap insulation and only installing a single roof fan for exhaust.
The Consequence
An uncomfortable climate that led to moisture buildup, dampness, and mildew.
The Solution
Using quality, moisture-resistant insulation and two fans to create a fresh airflow circuit.
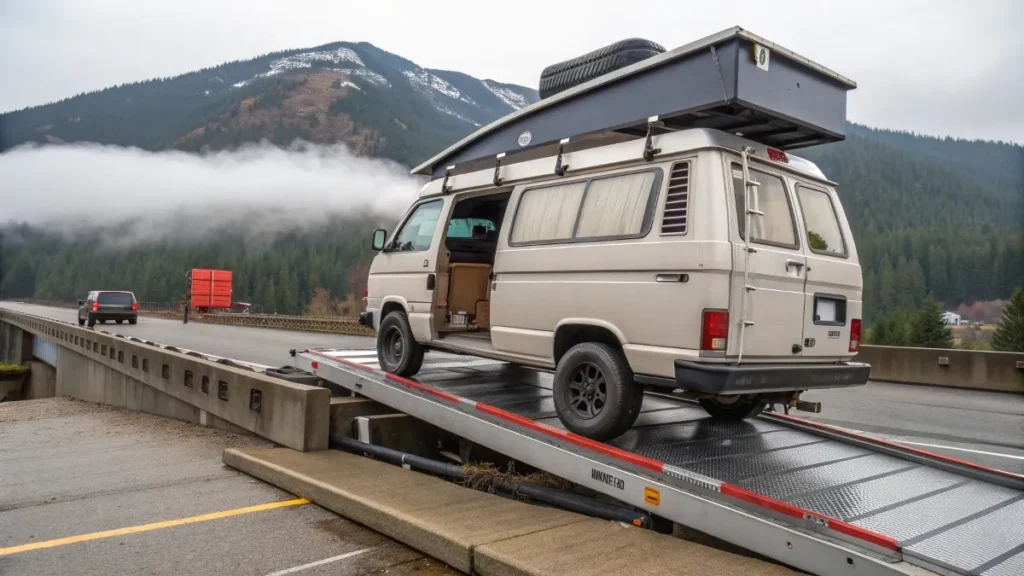
4. Picking the Wrong Base Van for Our Travel Style
The excitement of finally buying a van can easily overshadow logic. You find a listing that’s in your budget, and you jump on it because you’re so eager to start building. That’s exactly what we did.
We focused so much on the price and condition of the vehicle that we barely considered if it was the right type of vehicle for the adventures we dreamed of. This mismatch between our van’s capabilities and our travel goals created a constant barrier to the experiences we truly wanted.
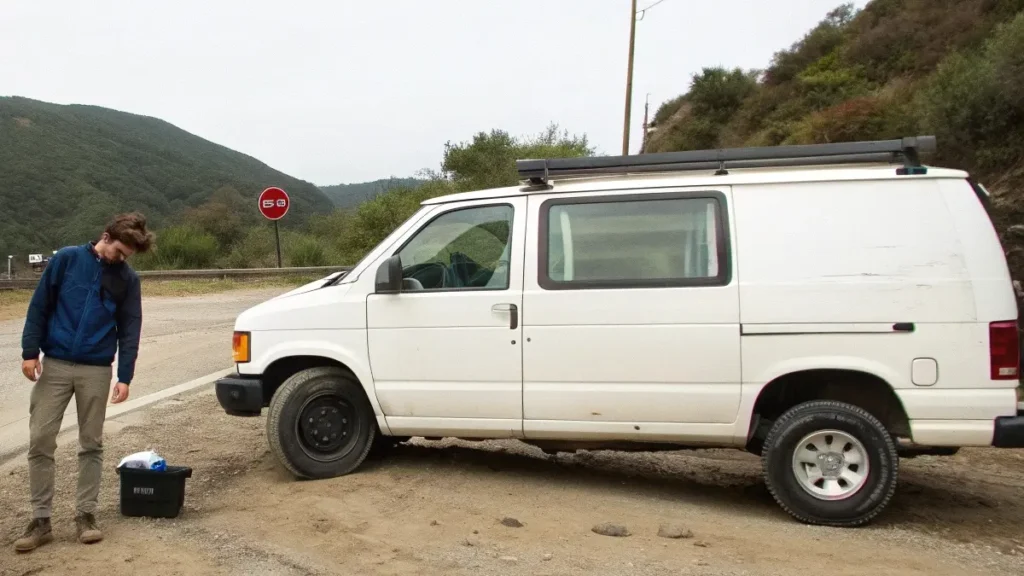
- The Mistake: We got a 2WD, low-roof van without considering our dream of exploring remote mountain roads and wanting to stand up inside.
- The Consequence: We were constantly limited. We couldn’t access trailheads down bumpy forest roads, and the low roof made rainy days feel incredibly cramped. The van we bought didn’t match the adventures we wanted to have.
- The Second Build Solution: In our second van build, choosing the base van is step one. Think hard about your needs:
- High Roof vs. Low Roof: A high roof means you can stand up and move freely, which is a huge quality-of-life improvement. A low roof is stealthier and can fit in parking garages.
- AWD/4×4 vs. 2WD: If you plan on chasing snow or exploring remote areas, AWD is worth the investment. For fair-weather and city travel, 2WD is perfectly fine and more fuel-efficient.
- Wheelbase: A shorter van is easier to park and drive in cities. A longer van gives you much more living space. When comparing a Sprinter vs Transit vs ProMaster, consider these factors, not just the price tag.
Crucial Van Choices: Roof, Drive, & Wheelbase
High Roof vs. Low Roof
High: Stand up, move freely (quality of life).
Low: Stealthier, fits parking garages.
AWD/4×4 vs. 2WD
AWD/4×4: For snow & remote exploration.
2WD: Fuel-efficient for fair weather & city.
Wheelbase Length
Shorter: Easier parking & city driving.
Longer: Significantly more living space.
5. Overcomplicating the Plumbing (or Not Having It!)
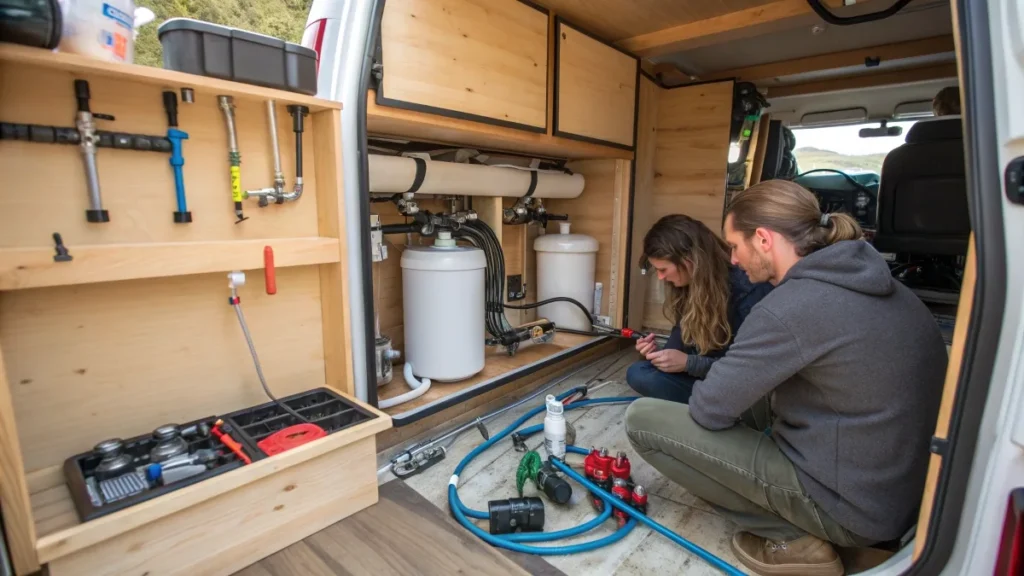
When it comes to water in a van, it’s easy to get paralyzed by the options. On one side, you see complex systems that look like they belong in a house, with water heaters, multiple pumps, and sensors.
On the other, you see people making do with a simple jug. We wanted the “best of both worlds” and engineered a system that was too complex for its own good. It gave us the convenience of a tap but came with the constant risk of leaks and the headache of maintenance.
- The Mistake: We built a system with a permanent water tank, an electric pump, and a water heater.
- The Consequence: A leak developed behind a cabinet on a bumpy road, and we had to tear a wall apart to fix it. Winterizing the system was a huge pain. On the other hand, friends with no running water found simple tasks like washing hands and dishes to be a constant chore.
- The Second Build Solution: Keep your van plumbing simple and effective. A basic sink with a foot pump connected to portable fresh and grey water jugs is the perfect middle ground. It’s cheap, easy to install, impossible to leak inside your walls, and you can take the jugs out to fill them anywhere.
Van Plumbing: The Simple vs. Complex Blueprint
The High-Risk Build
- Built-in tanks and pumps create hidden leak points behind walls.
- Complex systems are difficult and tedious to maintain and winterize.
The Simple & Smart Solution
- A basic sink with a foot pump is reliable and efficient.
- Portable jugs are easy to fill, clean, and can’t cause hidden leaks.
- This middle-ground approach combines convenience with absolute reliability.
6. Ignoring Payload and Using Heavy Materials
Weight is the invisible enemy of every van build. It creeps up on you. You add a sturdy cabinet here, a solid wood countertop there, and piece by piece, you build a van that is beautiful, strong, and dangerously heavy.
We never thought about the total weight until the build was finished. We were so focused on making it feel like a solid tiny home that we forgot it was still a vehicle with strict legal limits.
- The Mistake: We used heavy materials like MDF and thick pine from the hardware store because they were cheap and easy to find. We never thought about the van’s Gross Vehicle Weight Rating (GVWR).
- The Consequence: A trip to a truck scale showed our van was dangerously overweight. This meant less fuel efficiency, extra strain on the brakes and suspension, and a higher risk of a tire blowout. It was unsafe.
- The Second Build Solution: Calculate weight from the very beginning. Use lighter materials like 8mm or 12mm baltic birch plywood instead of heavier options. Weigh your empty van before you start, and weigh it again when you’re done to make sure you are under your legal payload capacity.
7. Building for Instagram, Not for Real Life
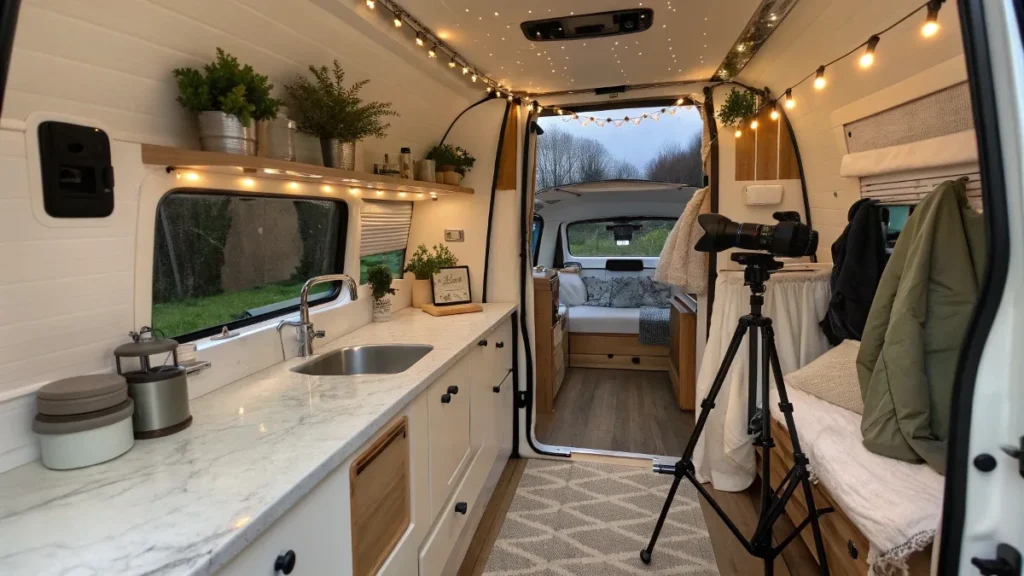
It’s nearly impossible to plan a van build without getting influenced by social media. You see stunning vans with subway tile, open shelving, and perfect decor, and you want that for yourself. We fell into that trap.
We made several design choices based on how they would look in a photo rather than how they would function in daily life on a bumpy road. The result was a van that looked amazing when perfectly clean and parked, but was often impractical and frustrating to actually live in.
- The Mistake: We prioritized aesthetics over function. We installed cool-looking open shelving and didn’t plan for “ugly” storage, like a place for trash or dirty shoes.
- The Consequence: Our stuff went flying every time we hit a bump. There was no dedicated place for everyday items, so the van always felt cluttered and chaotic. It looked great when parked and cleaned, but it was stressful to actually live in.
- The Second Build Solution: In our second van build, every item will have a home. We are using drawers and cabinets with strong latches. We are designing a small “mudroom” area by the door for shoes and jackets. Think about your real-life needs and hobbies, and create dedicated van storage solutions for them. A practical van is a happy van.
A Smarter Build for a Better Adventure
Building a campervan is a big project, but you don’t have to learn everything the hard way. By focusing on a powerful electrical system, a simple layout, proper insulation, the right base van, practical plumbing, a safe weight, and functional storage, you can avoid the most common headaches.
Planning your first or second van build? Tell us in the comments which one of these van life regrets you’re now planning to avoid.