

Your camper van can feel perfectly dry all summer. Then one cold fall weekend brings hours of steady rain, and suddenly there is water beside a window, dampness under the mattress, or a suspicious mark around the roof fan.
That is frustrating, but the rain is also giving you useful information. A long wet weekend can expose small camper van rain problems before they become much larger repairs.
The trick is figuring out whether the moisture came from outside or formed inside the van. A leaking roof seal needs a different fix from condensation caused by two people sleeping in a closed van.
Here is a quick place to start.
| What You Notice | First Place to Check |
|---|---|
| Drip near ceiling | Roof fan, vent, roof sealant |
| Water in window track | Weep holes, latch, window seal |
| Wet floor near door | Door weather seal and threshold |
| Fogged glass everywhere | Ventilation and humidity |
| Damp mattress underneath | Airflow below bed |
| Water near awning side | Awning pitch and runoff |
| Wet area near utility opening | Exterior port or access seal |
| Power trouble during rain | Cord, pedestal, electrical protection |
1. Check the Roof Vent Before a Small Leak Reaches the Ceiling
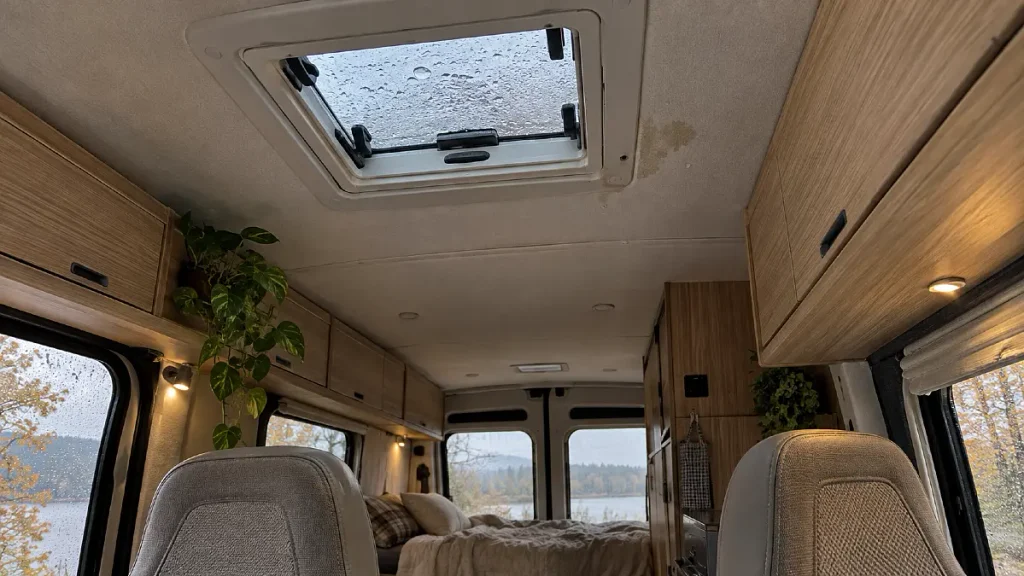
A roof fan or vent creates a large opening in a surface that otherwise has very few places for rain to enter. The vent itself may be fine while the sealant around its flange has started to separate.
Look inside first. Check the ceiling trim, nearby cabinets, screw locations, and the edge of the vent for fresh water or discoloration.
Winnebago provides model specific sealant diagrams for its 2026 camper vans, including the Travato, Revel, and Solis. Its maintenance guidance also tells owners to inspect roof vents, seams, windows, and other sealed openings regularly.
Do not climb onto a wet camper roof just because you found a drip. Wait for safe conditions and check your owner’s manual because some van roofs are not intended to be walked on.
Do this after the rain: photograph the wet location inside. Once everything is dry, compare that point with the roof vent, fan flange, antenna, or other roof fitting above it.
Do not grab a random tube of sealant. Use the material specified for your roof and component.
2. Clear Window Weep Holes Before You Blame the Glass
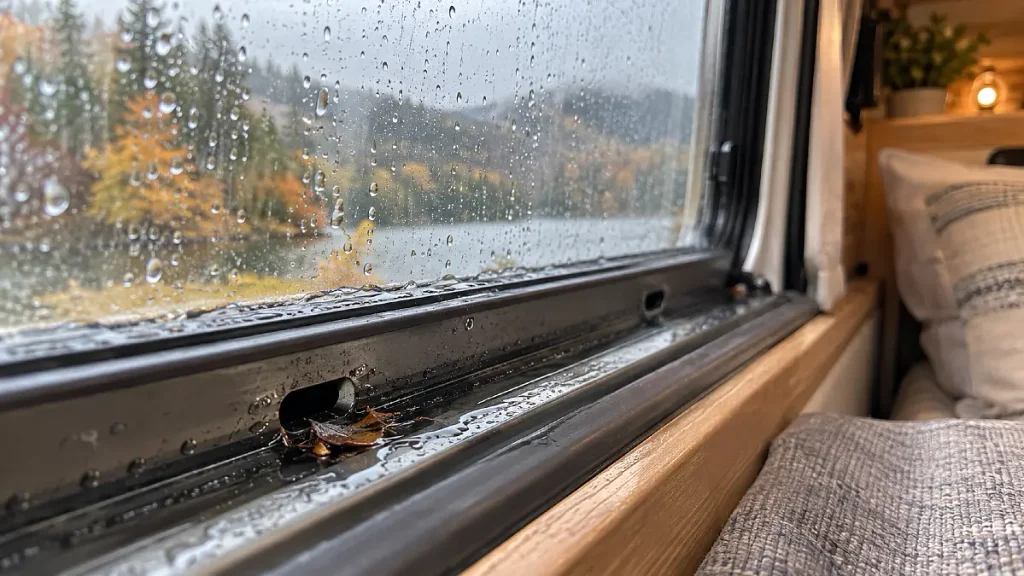
Water along the bottom of a camper window does not always mean the entire window needs to come out.
Many RV windows have small drainage openings called weep holes. They let water escape from the frame. Dirt, insects, and debris can block them.
Lippert explains that blocked weep holes can cause water to collect where it should be draining. Its window troubleshooting guidance recommends checking these openings along with the latches, seals, and window fit.
Look closely at the bottom exterior edge of the frame. Do not cover a drainage opening with sealant because it looks like an unwanted gap.
If you need to test the window later, use a gentle flow of water rather than a pressure washer. Lippert’s rain test calls for a gentle shower from about 5 to 10 feet away for roughly two minutes while another person watches from inside.
Your quick check: dry the window track, clear visible debris, then watch where new water appears during the next rain.
3. Test Rear and Sliding Door Seals While the Rain Is Still Falling
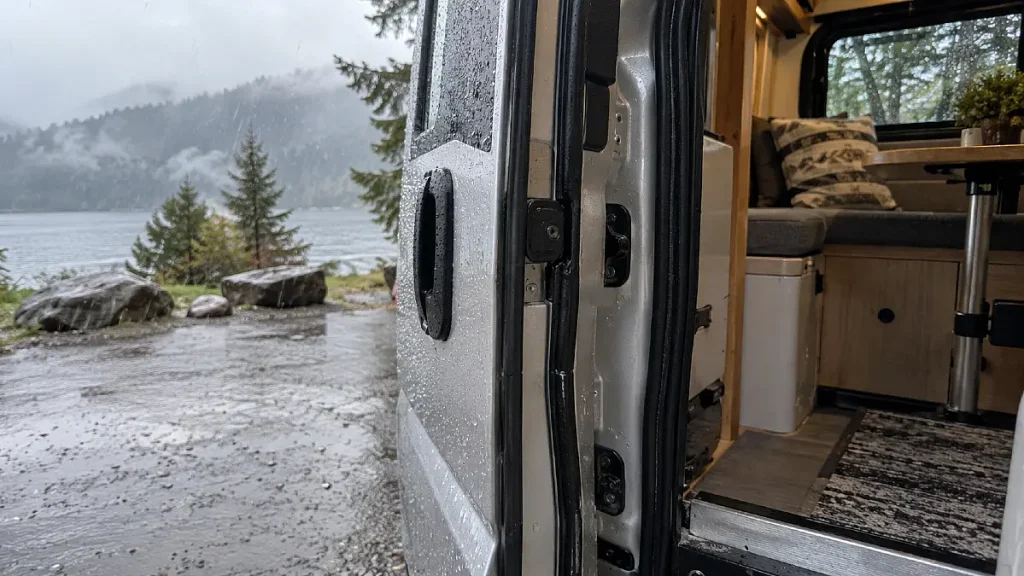
Camper van doors are opened constantly. Shoes hit the lower seals. Dirt collects in the channels. Cargo rubs against the edges.
A door can still close and lock while a small section of weather seal is no longer making good contact.
During rain, run a dry paper towel around the inside edge of the sliding door and rear doors. A small wet section can help you find the entry point before water spreads across the floor.
Check for a seal that is torn, twisted, dirty, crushed, or partly pulled away. Also look at the lower threshold where water and dirt collect.
Winnebago includes entrance door weather seals among the areas owners should inspect for deterioration and water entry.
Do not assume every puddle beside the door came through the door seal. Wet shoes, coats, or a dripping awning can create almost the same pattern.
Dry everything first. Then watch what happens during fresh rain.
4. Inspect Every Roof Rack, Solar Cable, and Added Roof Opening
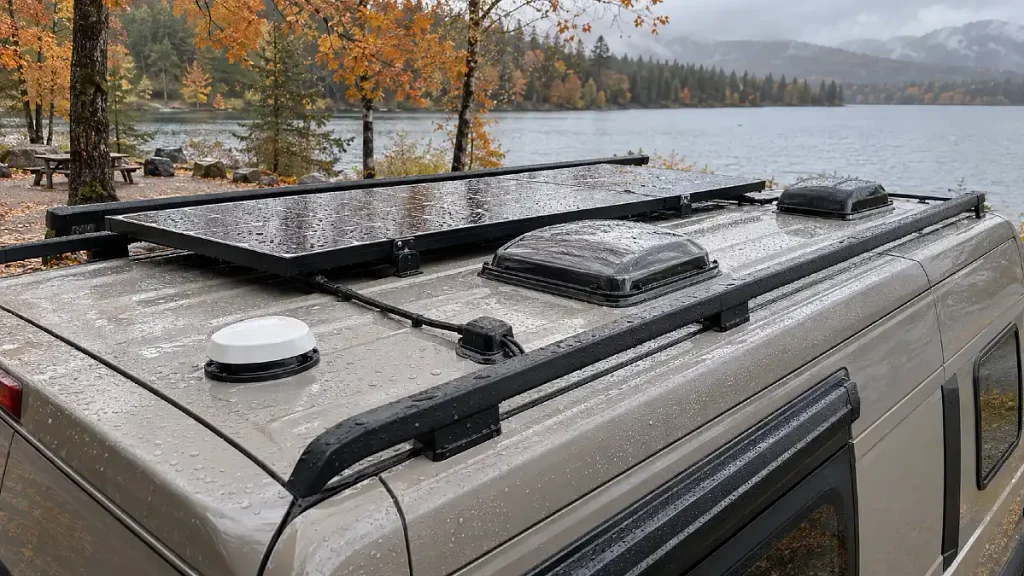
Factory roof vents are easy to remember. Smaller modifications are easier to forget.
Your camper may have solar panel mounts, cable entry housings, antennas, roof racks, awning brackets, lights, or other equipment attached after the van was built. Every added opening deserves attention when you are tracking a leak.
Water can also travel before it becomes visible. The first wet ceiling panel is not always directly below the failed seal.
Start with the highest wet point you can find inside. Then compare that location with every fitting above and around it.
Look for obvious gaps, lifted edges, old repairs, cracks, and sealant that has separated from one side of a fitting.
Winnebago’s current owner resources provide separate sealant diagrams for individual models because different locations can require different sealing materials. That is a good reminder to check your own model documentation before repairing anything.
If you did not install the roof equipment yourself, take clear photos. A qualified RV shop will have much more to work with than a general description of “water somewhere near the ceiling.”
5. Keep Ventilation Working Even When Rain Closes the Windows
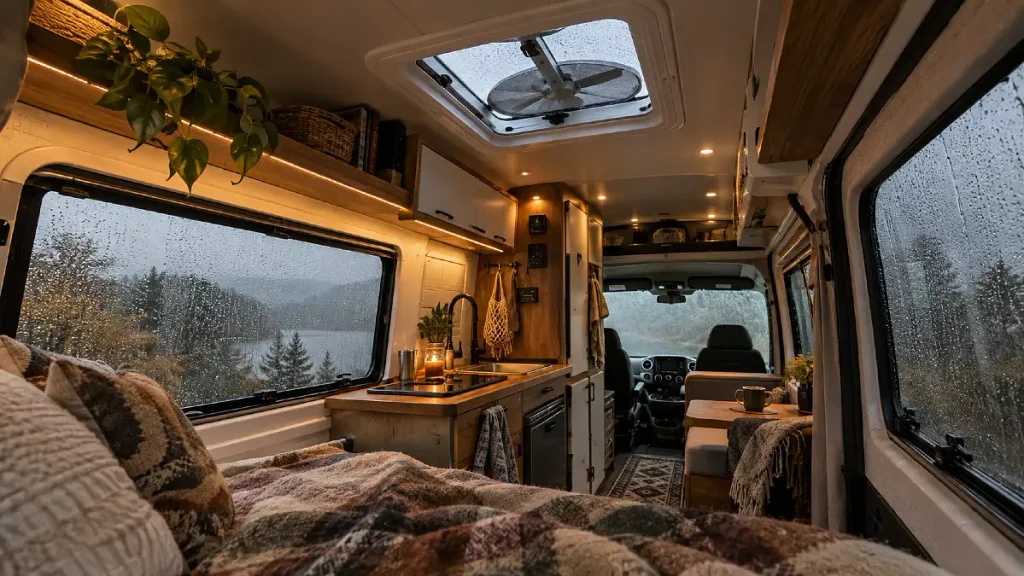
Sometimes the van is not leaking at all.
Fall rain usually brings cooler glass and metal. At the same time, people are breathing, cooking, changing out of damp clothes, and sometimes drying towels inside a very small space.
Moist air can then collect on cold surfaces. You may see droplets on windows, metal door frames, ceiling panels, and other cool spots.
CDC moisture guidance recommends keeping indoor humidity no higher than 50 percent when practical because excess moisture supports mold growth. A camper can temporarily run higher during wet weather, but the guidance shows why moisture should not simply be ignored.
A small digital hygrometer can tell you much more than guessing from how the air feels.
You also need a way to exchange damp indoor air for outside air. Some RV roof fans are built specifically for use during rain. Maxxair says its Deluxe models use an integrated rain shield so the fan can operate while it is raining.
That does not mean every roof vent can stay open in rain. Check the design of the one installed on your van.
Watch the pattern. Water forming evenly on several windows often points to indoor humidity. Water appearing from one frame corner points more strongly to a local drainage or sealing problem.
6. Lift the Mattress Before Dampness Becomes a Hidden Problem
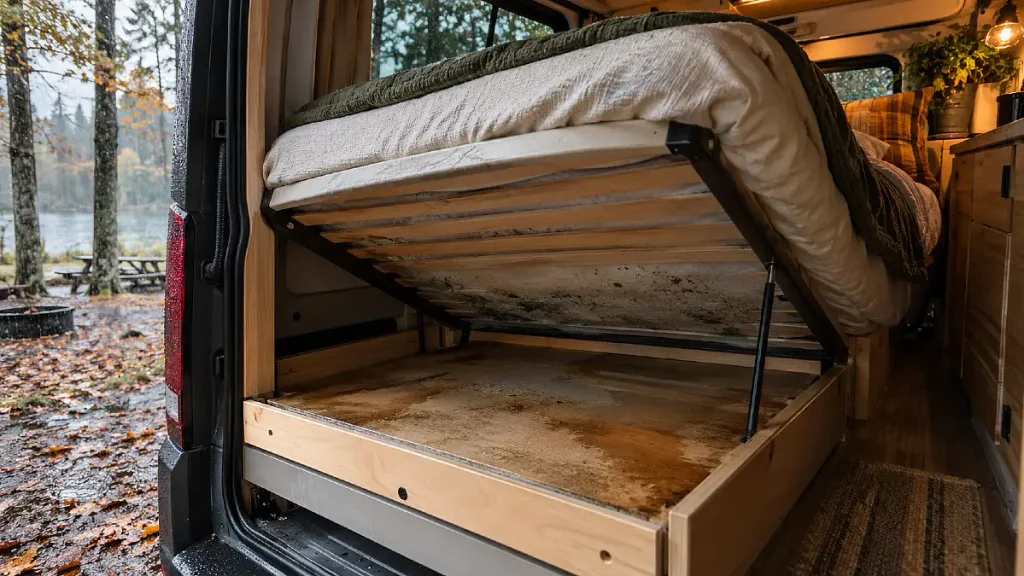
The top of your bed can feel completely dry while the underside is damp.
A mattress often sits above a cooler floor, storage area, or exterior surface. If the bed rests on a solid platform with almost no airflow, moisture can remain trapped below it.
This becomes easier to notice after several cold nights.
Avocado’s current guidance for van and camper use says mattresses in mobile spaces face added humidity, condensation, and temperature changes. It recommends airflow beneath the mattress rather than leaving it directly against an unventilated solid platform.
Lift one corner of the mattress the morning after a cold rainy night. Feel both the mattress and the platform.
If you find dampness, let both dry fully. Then look at better airflow through slats, ventilation holes, or a product made to create an air gap.
DRICORE, for example, sells a ventilating underlay specifically for RVs, campers, boats, and vans. Its raised design creates space for air beneath the mattress.
You do not need that exact product. You do need a bed setup that does not trap moisture night after night.
7. Create a Wet Gear Zone Before Water Spreads Across the Floor
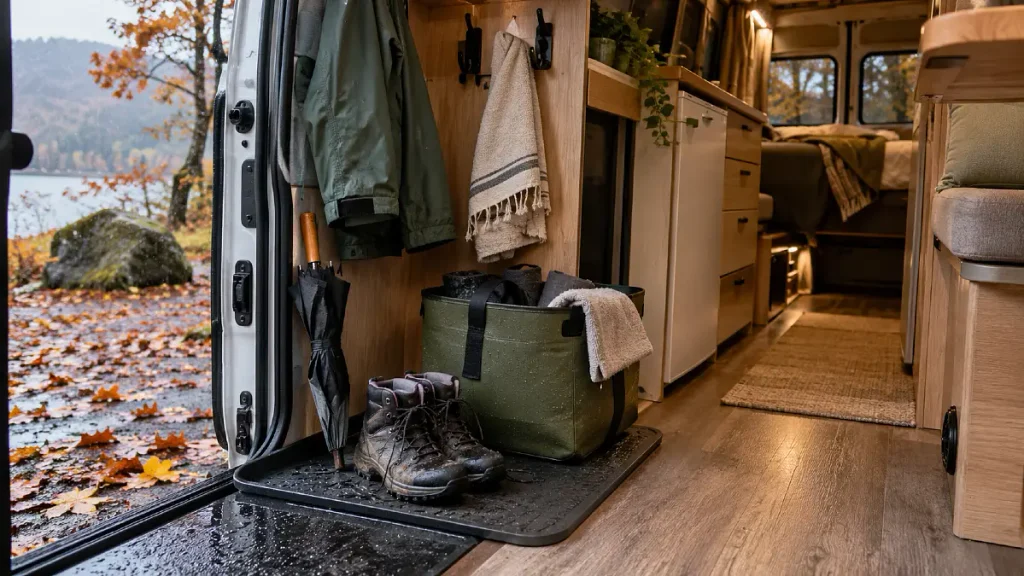
A rainy weekend can expose a layout problem that has nothing to do with failed sealant.
You open the sliding door with wet shoes. A rain jacket gets tossed onto the bench. An umbrella drips beside the cabinet. The dog’s paws add another trail across the floor.
Soon the whole van feels damp even though no exterior seal has failed.
Give wet items one clear place to go. A removable rubber mat, shallow washable tray, hooks near the door, and a dedicated towel can keep most of that water away from the living area.
Avoid hanging soaking clothes directly against wood panels, bedding, or upholstered seats. Give them air and move them outside to dry when weather allows.
Check beneath the entry mat each day. A mat can protect the floor while also hiding water underneath it.
This is one of the cheapest rainy season improvements because you may not need to rebuild anything. You are simply controlling where the water goes.
8. Check Awning Pitch Before Rainwater Starts Pooling
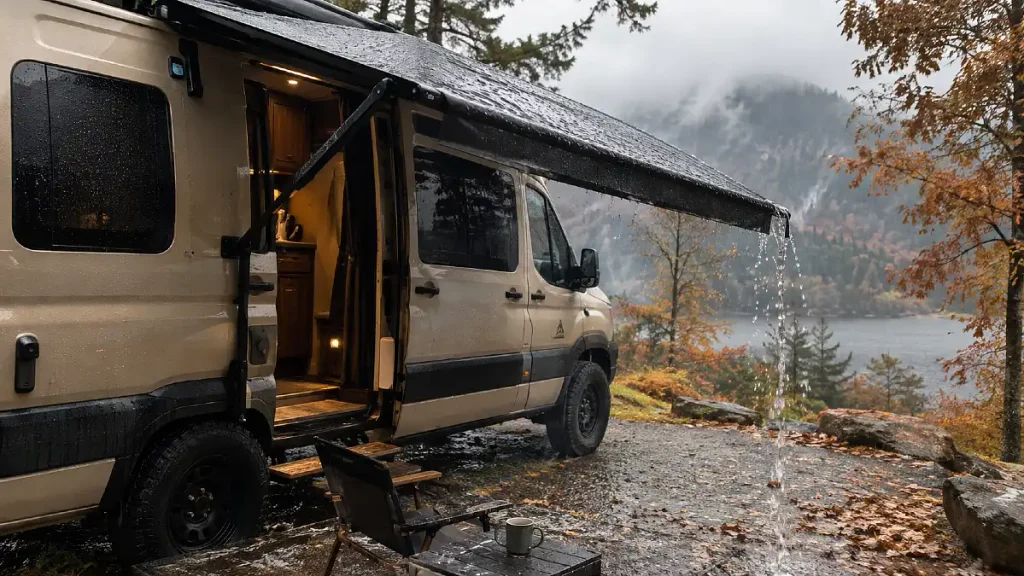
An awning can make rainy camping much nicer. It can also put a surprising amount of runoff exactly where you do not want it.
Watch the fabric during light rain. Water should not sit in a growing low spot.
Dometic’s awning instructions explain that proper slope helps water run off. Its guidance also warns that water pooling on the fabric can create a hazardous situation.
The exact adjustment depends on your awning. Do not copy another camper’s setup without checking the manual for yours.
Also look at where the runoff lands.
If most of the water pours beside the sliding door, you may spend the weekend stepping into mud and carrying water into the van. A small change in parking position or approved awning pitch may improve the entry area.
And remember that an awning is not a storm shelter. Wind can become the bigger concern even when the rain itself looks manageable.
When conditions are getting worse, follow the awning maker’s instructions and retract it when required.
9. Inspect Exterior Ports and Access Doors for Water Tracks
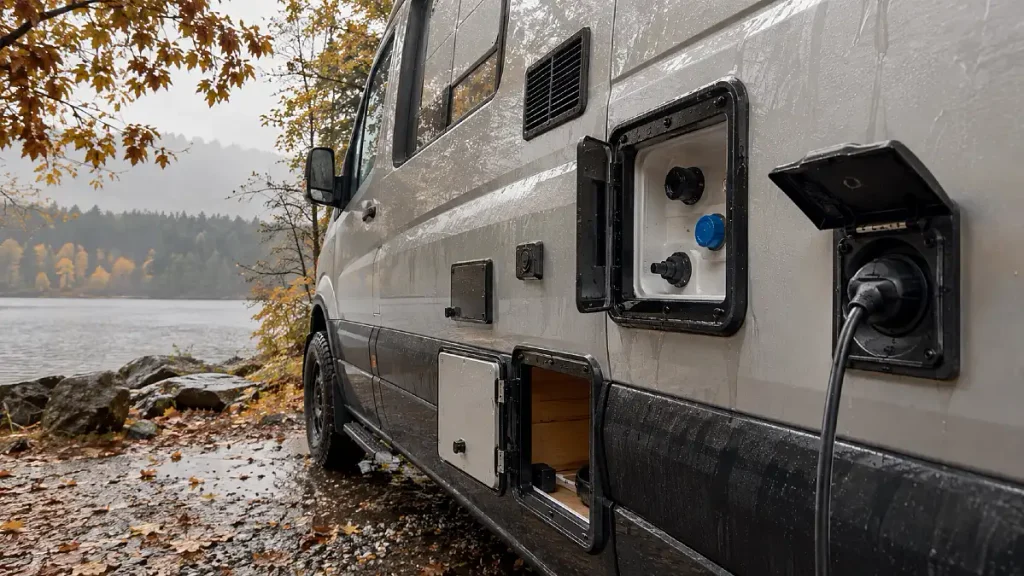
The big roof openings get most of the attention. Small sidewall openings can also cause trouble.
Walk around the van after several hours of rain and look at the shore power inlet, water connections, exterior storage doors, utility panels, and any approved appliance openings.
You are looking for water going around a sealed housing where it should not enter.
You are not trying to seal ventilation openings that were intentionally built into an appliance.
Winnebago maintenance guidance includes windows, vents, exterior compartment doors, moldings, and attachments among the places that should be checked for seal damage and water entry.
If you find moisture inside a cabinet beside an exterior fitting, dry the area and trace the water carefully.
Do not simply cover every visible opening with caulk. Some components need drainage or ventilation to work safely.
When you are unsure whether an opening is a drain, vent, or failed seam, check the component manual before touching it.
10. Treat a Wet Shore Power Area as an Electrical Warning
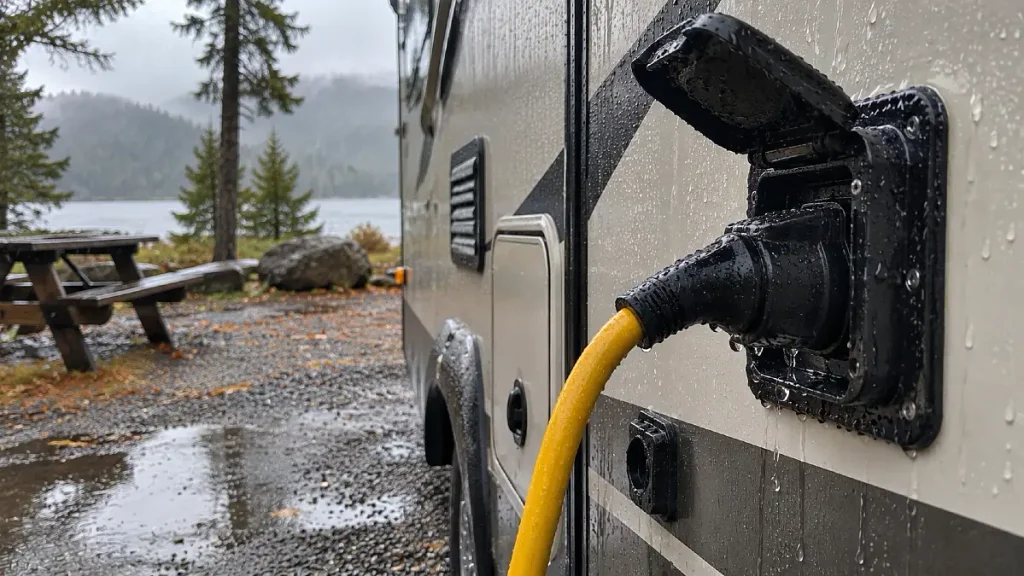
Rain changes an electrical hookup from a convenience check into a safety check.
Look at the campground pedestal before plugging in. A cracked receptacle, damaged cover, corrosion, looseness, overheating marks, or a cord with damaged insulation deserves attention.
RVIA’s current electrical guidance tells campground operators to inspect pedestals for visible damage, corrosion, overheating, looseness, and grounding problems. It also notes that damaged power cords and lost grounding can contribute to dangerous conditions where the RV exterior becomes energized.
Do not open a campground electrical pedestal yourself.
If a pedestal looks damaged, report it and request another site or qualified inspection. Avoid connecting or disconnecting equipment while you are standing in water.
An RV electrical management system can also check several power conditions before electricity reaches the van. Some portable units are designed for outdoor exposure. Hughes, for example, lists an IP65 water resistance rating for its Power Watchdog unit.
That rating does not make unsafe campsite wiring acceptable. Protective equipment is another layer, not permission to use a damaged pedestal.
11. Check the Campsite Before Heavy Rain Turns It Into a Low Spot
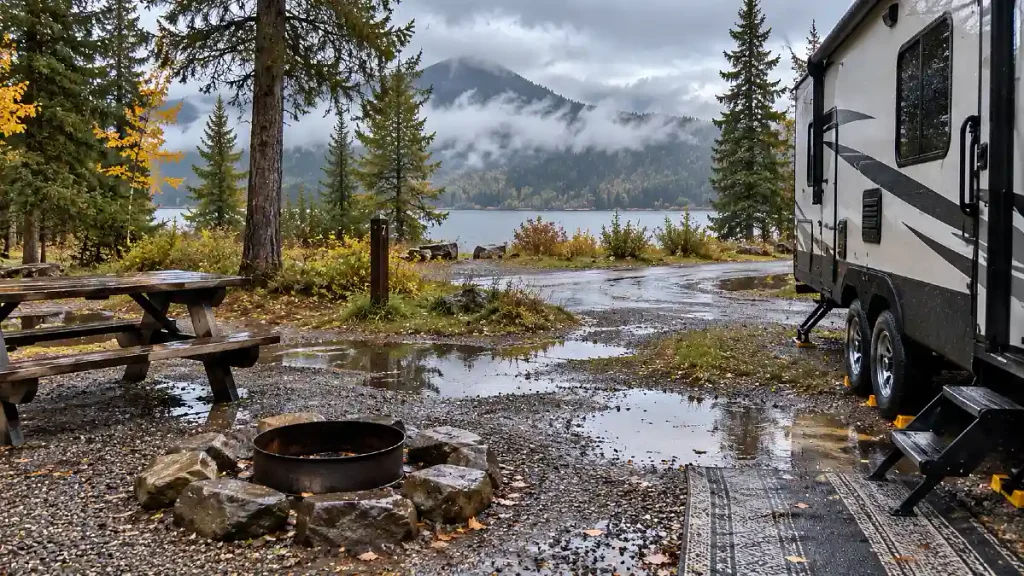
Some rainy weekend problems begin outside the van.
A campsite that looked flat and convenient on Friday afternoon may become the collection point for runoff overnight.
Before heavy rain, look at the ground around you. Are you below the access road? Are you beside a drainage channel, creek, wash, or steep slope? Can you see places where old water has already cut through the soil?
The National Weather Service warns that heavy rain can produce sudden flash flooding at campgrounds. Its advice is clear: move to higher ground when warned and never attempt to cross floodwater in a vehicle or on foot.
This matters even more at night because rising water and damaged roads are harder to see.
Keep weather alerts enabled when storms are expected. Know how you would leave the campsite before the rain becomes severe.
If conditions look wrong, moving early is far easier than trying to pack a camper van after water has already reached the site.
Use the Rain as a Free Camper Van Inspection
A wet weekend does not automatically mean your camper has serious damage. It does give you a rare chance to see where water moves while the evidence is still fresh.
Check roof openings, windows, doors, exterior fittings, bedding, the entry floor, and your electrical hookup. Photograph anything suspicious before it dries.
Then fix the cause instead of hiding the symptom.
That matters financially too. Progressive notes that RV water damage linked to wear, deterioration, or neglected maintenance may not be covered under ordinary comprehensive coverage, although policies and optional coverages differ. Check your own policy before assuming a future repair will be covered.
The best time to deal with camper van rain problems is when they are still a damp corner, a blocked drain, or a tired seal rather than a damaged wall or permanently wet interior.