
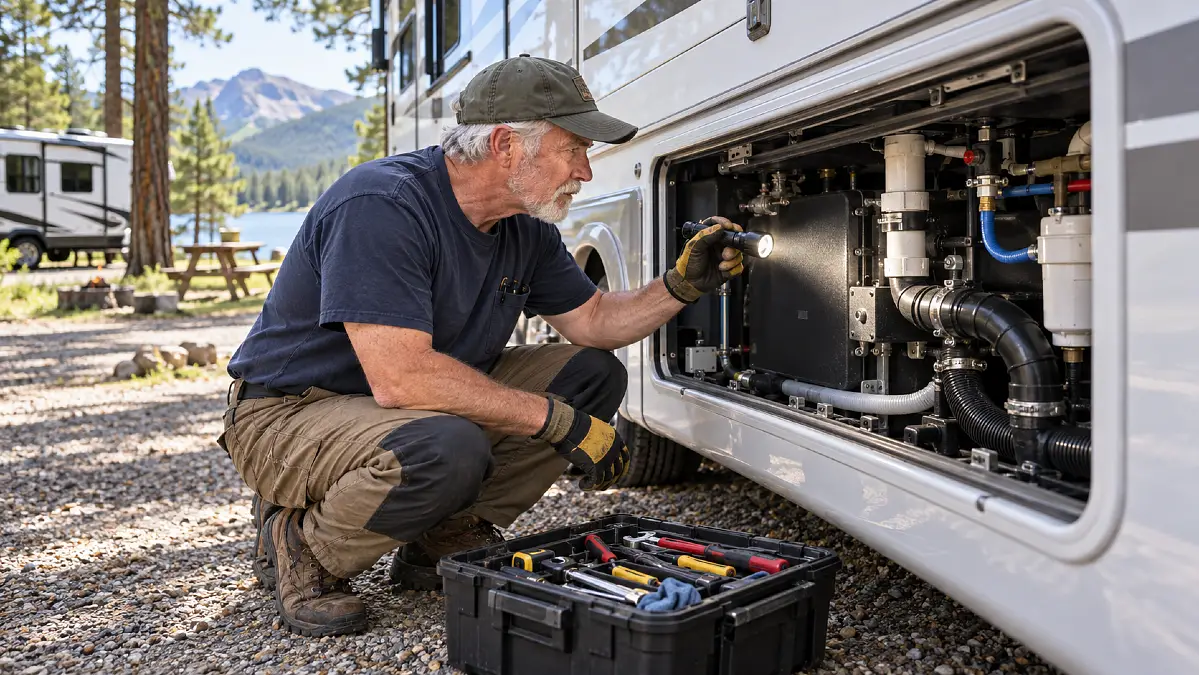
The forecast says 31°F tonight. Your RV looks fine from the driveway, the fresh water tank seems empty, and there is no obvious reason to worry. The problem is the water you cannot see.
A few cups left inside a valve, shower line, toilet fitting, drain trap, or water heater can matter once temperatures drop. The National Weather Service uses 32°F or below as the threshold for many Freeze Warnings and warns that freezing weather can damage unprotected outdoor plumbing.
That is why a good RV winterization checklist goes beyond draining one tank. Before the first freeze arrives, check these nine weak spots and compare every step with the winterization instructions for your exact RV.
| Weak spot | What you are looking for |
|---|---|
| City water inlet | Trapped water around the inlet and valve |
| Low point drains | Water left in plumbing lines |
| Water heater | Water inside the tank or wrong bypass setting |
| Exterior fixtures | Water inside showers and spray ports |
| Toilet and drains | Water in valves, sprayers, and traps |
| Hidden water lines | Washer, flush, refrigerator, and kitchen lines |
| Tanks and valves | Water around tanks and exposed dump plumbing |
| Battery system | Low charge or inactive tank protection |
| Seals and slides | Gaps, ice risk, cracked or failing sealant |
1. Check the City Water Inlet Before Water Gets Trapped
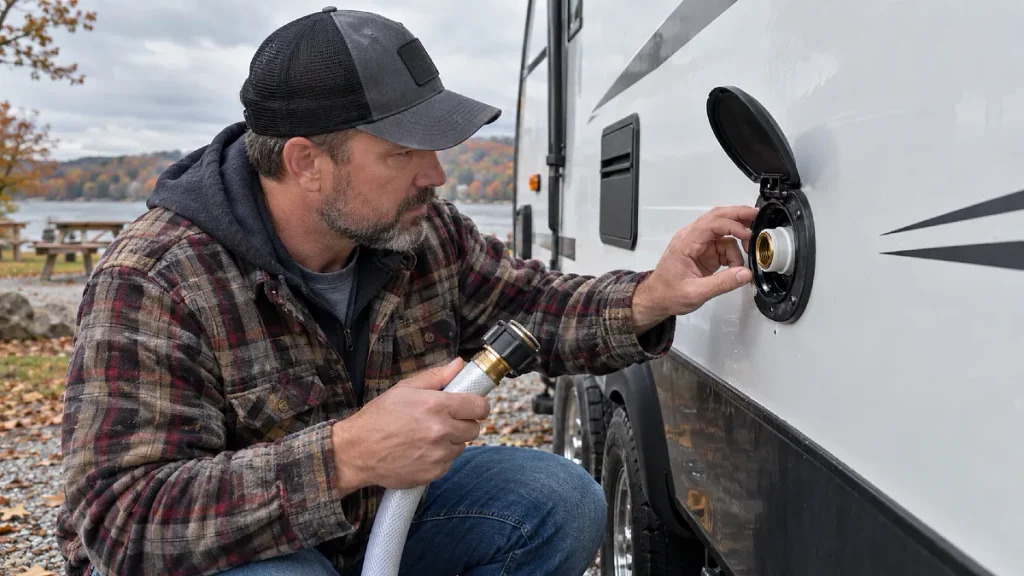
The city water connection is easy to overlook because the hose may already be disconnected. But disconnecting the hose does not prove that the inlet and nearby plumbing are dry.
Airstream’s current support material lists the city water inlet and regulator as separate exterior plumbing components alongside low point drains and exterior showers. These areas deserve their own check before freezing weather.
If your RV maker allows compressed air winterization, the city water connection may also be where the blow out adapter attaches. The Camco CAM36143 blow out plug, for example, is made to connect an air line to an RV city water inlet.
Do not simply connect a compressor and turn up the pressure. Keystone’s current compressed air procedure says to use no more than 30 PSI for its process, and another RV may specify something different. Follow your own manual first.
Check now:
- Remove the drinking water hose.
- Find the city water inlet and regulator.
- Check your manual for the approved draining method.
- Use regulated air only if your RV maker allows it.
- Inspect the inlet for cracks, loose fittings, or leaks.
2. Open the Low Point Drains and Clear Hidden Water
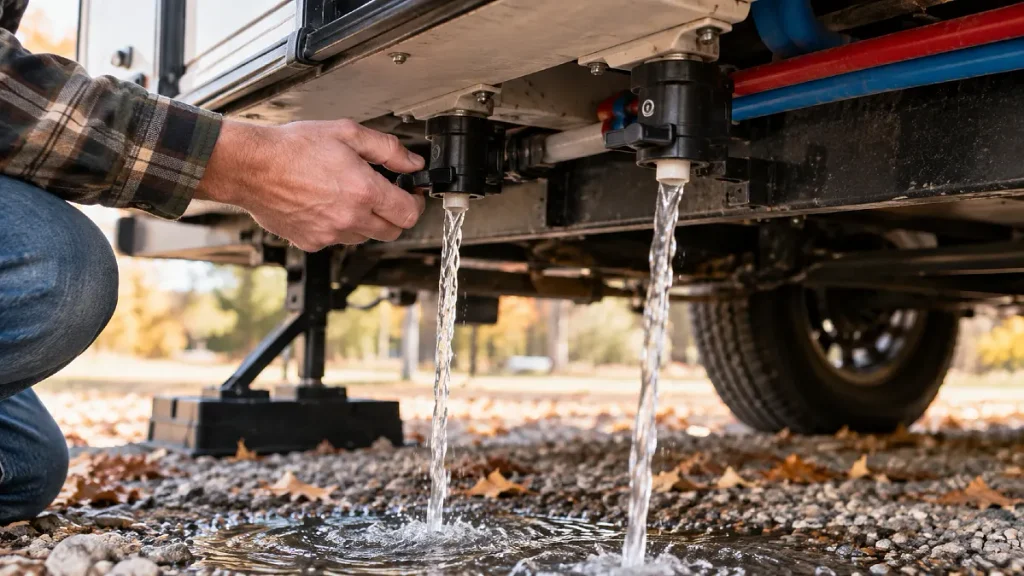
Low point drains are designed to let water escape from the plumbing system. They are one of the first places you should find before cold weather arrives.
Winnebago includes opening low drain points in its winterization process, while Keystone tells owners to remove or open low point drains and open the faucets so water can leave the lines.
The mistake is assuming that opening those drains automatically leaves every part of the system dry. Depending on the RV layout, water can remain around fixtures, valves, hoses, pumps, and other branches.
Open the drains according to your manual. Then work through the hot and cold fixtures as your manufacturer directs.
If your system uses compressed air, clear one fixture at a time using the pressure limit specified by the RV maker. If your system uses RV antifreeze, follow the winterization valve and pump procedure for your model.
Do not guess where the drains are. Their location changes between floorplans, and some are hidden behind panels or beneath the RV.
3. Drain and Bypass the Water Heater Correctly
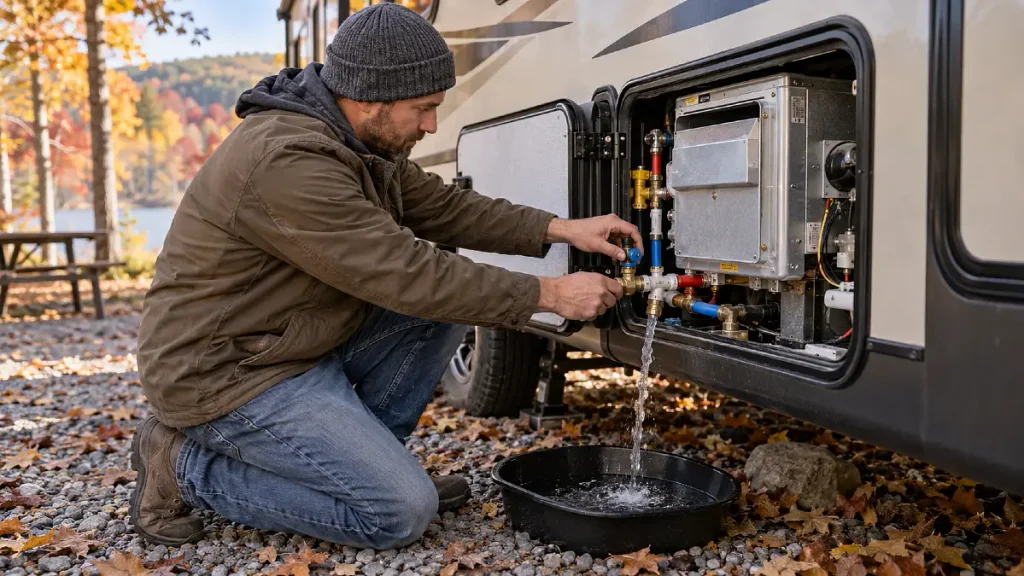
Turning off the water heater is not winterizing it. Water may still be sitting inside the tank.
Before draining a tank style heater, turn off its heat source and let the water cool. Pressure must also be released according to the heater and RV manufacturer’s instructions before removing a drain plug or anode rod.
Winnebago’s 2026 towable manual shows a separate water heater bypass setting for winterizing. The bypass keeps RV antifreeze from filling the water heater tank while the rest of the fresh water system is protected.
That valve position matters. A wrong setting can waste antifreeze or leave part of the plumbing unprotected.
Tankless water heaters need their own procedure. Do not assume the steps for a conventional tank apply to a tankless unit.
Before the freeze, confirm three things: the heater has been drained as required, the bypass is in the correct winter position, and any drain plug or anode has been handled according to the manual.
4. Do Not Forget the Exterior Shower and Spray Ports
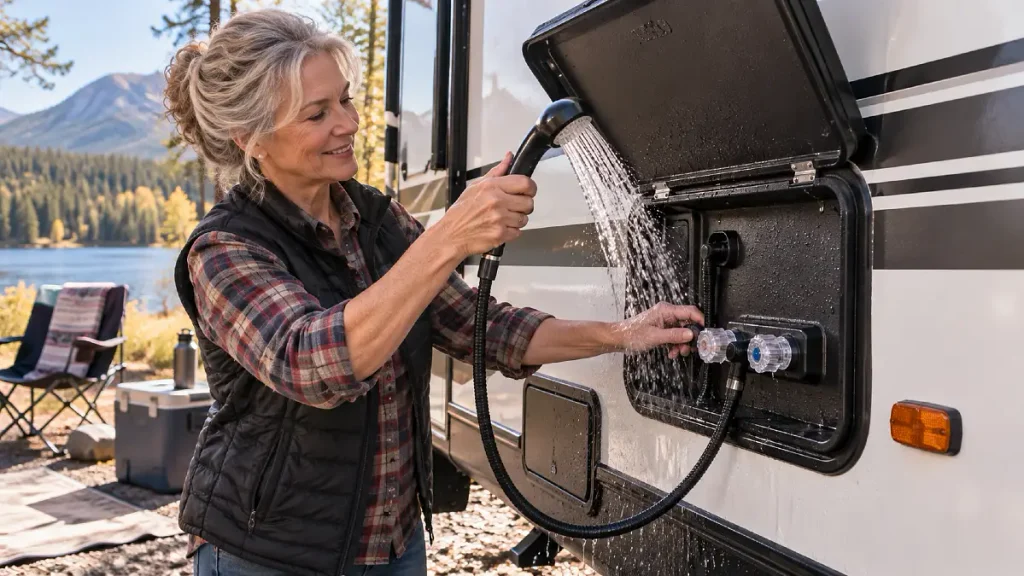
Your indoor faucets are easy to remember because you see them every time you enter the RV. The outside shower may sit untouched for weeks.
That makes exterior fixtures an easy place to leave water behind.
Airstream’s 2026 International manual specifically tells owners to operate the external shower during its antifreeze winterization process when the trailer has one. Keystone also includes the outside shower when draining and protecting hot and cold water lines.
Check every exterior fixture your RV has, including:
- Outside shower.
- Spray port.
- Outdoor kitchen faucet.
- Exterior rinse connection.
- Detachable shower hose.
- Hot and cold outdoor valves.
Run or drain both the hot and cold sides as directed. A closed faucet can leave water trapped on one side even when another part of the system appears empty.
If a hose or shower head can be removed for winter storage, check the manual first. Drain it fully before putting it away.
5. Protect the Toilet Valve and Every Drain Trap
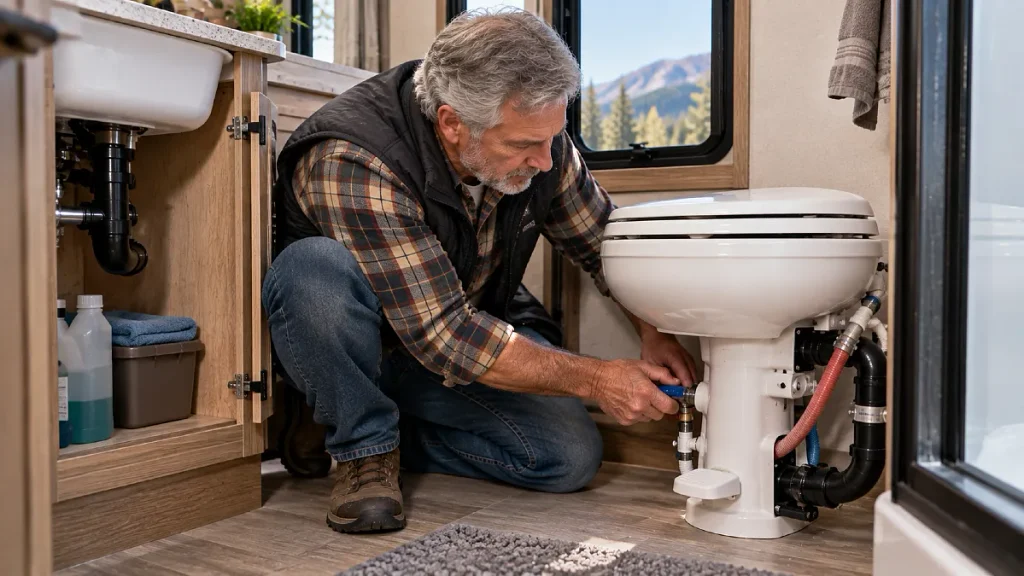
The bathroom contains several small water holding areas that are easy to miss. The toilet valve is one of them.
Keystone’s compressed air instructions tell owners to hold the toilet valve open until the supply line has been cleared. Airstream’s 2026 manual also calls for flushing the toilet and operating the toilet hand sprayer when fitted during its antifreeze process.
Then check what sits below your sinks and shower.
Drain traps normally hold liquid. During winterization, many manufacturer procedures call for RV approved nontoxic antifreeze in these traps so the plumbing remains protected.
Keystone’s current guide calls for antifreeze in sink drains, shower drains, traps, and the toilet. It also warns that automotive antifreeze is poisonous and is not suitable for an RV potable water system.
Use the product and amount required by your RV maker. More is not automatically better.
6. Find the Water Lines Most Owners Forget
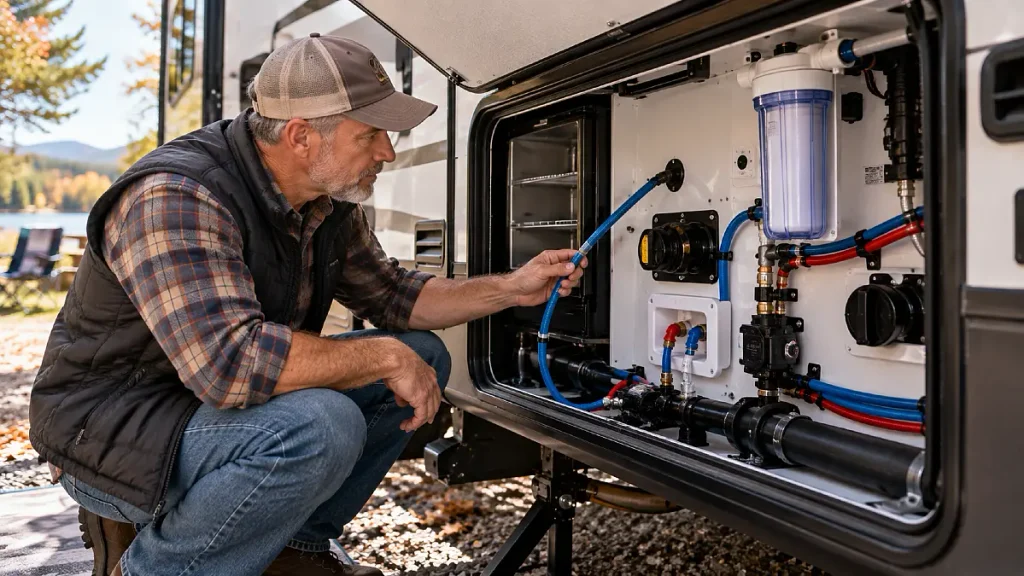
Modern RVs can have water running to far more than the kitchen sink and shower. Every added water feature creates another place to inspect.
Keystone’s current compressed air guide specifically addresses the black tank flush, toilet supply, shower hose, washer hookups, outside fixtures, and refrigerator water lines where fitted.
Walk through your RV slowly and make a list of every item that touches water.
Look for:
- Black tank flush connection.
- Washing machine hookups.
- Ice maker water line.
- Refrigerator water dispenser.
- Outdoor kitchen faucet.
- Hand shower hose.
- Spray hose.
- Water filter housing.
Appliances can have special winter procedures, so this is one area where a general checklist cannot replace the appliance manual.
Do not pump RV antifreeze into an appliance just because antifreeze is being used elsewhere in the RV. Keystone, for example, tells owners using its compressed air process not to add antifreeze to a residential refrigerator ice maker line.
7. Check Holding Tanks and Dump Valves
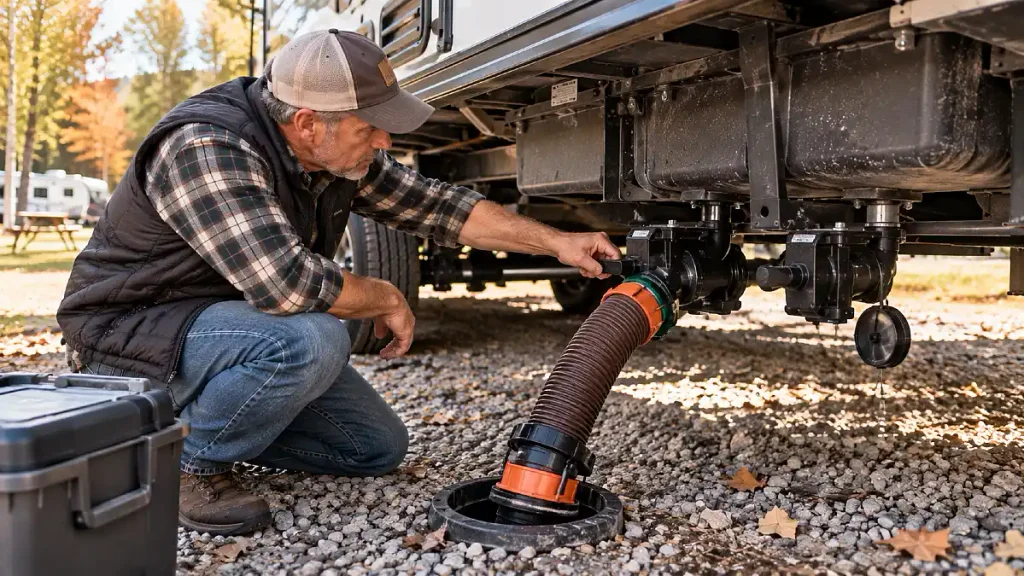
Fresh, gray, and black tanks are large, so they usually get more attention than small water lines. The weak spot may instead be the valves and plumbing around them.
Winnebago’s 2026 towable manual tells owners to drain holding tanks properly and identifies the fresh water tank, dump system, water heater, and related plumbing as parts of the seasonal water system.
Some newer RVs add cold weather protection around these systems. For example, current Grand Design models advertise heated and enclosed underbellies and enclosed gate valves, while some Keystone models use forced furnace air around tanks plus 12 volt tank heating pads.
That equipment helps, but it does not mean every RV can safely sit full of water through every freeze.
Check what your specific model actually has. Look at the fresh tank, holding tanks, termination pipes, dump valves, and any exposed sections beneath the RV.
If the RV is going into storage, follow the full winterization procedure. If you plan to keep camping, follow the cold weather operating limits in the owner’s manual and keep watching the forecast.
8. Test the Battery Before Cold Weather Protection Depends on It
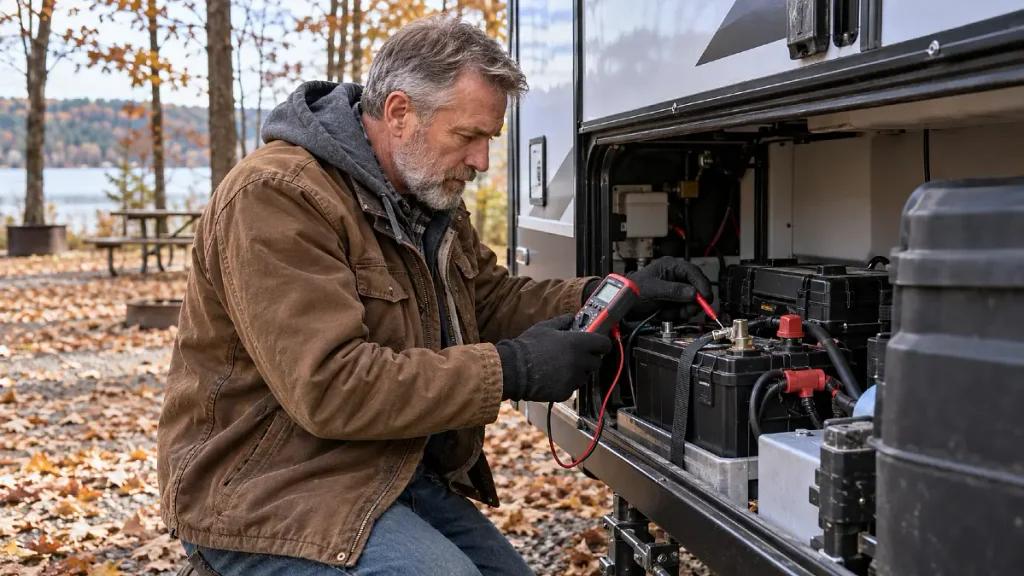
Cold weather protection can depend on electricity. Tank heating pads, controls, pumps, thermostats, and other equipment may need a healthy 12 volt system.
Start by checking the battery charge and terminals. If the RV is going into storage, follow the battery maker’s storage instructions rather than leaving a weak battery forgotten for several months.
For conventional lead acid batteries, Interstate Batteries says a fully charged battery can resist freezing until about 75°F below zero. A discharged battery may freeze at roughly 15°F.
That is a huge difference, and it shows why battery state matters before winter storage.
Lithium batteries need different care. Charging limits in cold temperatures depend on the battery chemistry, battery management system, and manufacturer, so use the battery maker’s instructions.
If your RV has tank heating pads, switch them on and confirm they actually receive power. Do the same for any controls tied to cold weather protection.
Also check how your heated underbelly works. Some designs route furnace heat into the underbody, so a portable heater in the living area may not provide the same protection to the plumbing.
9. Inspect Slide Seals and Roof Seams While Weather Is Dry
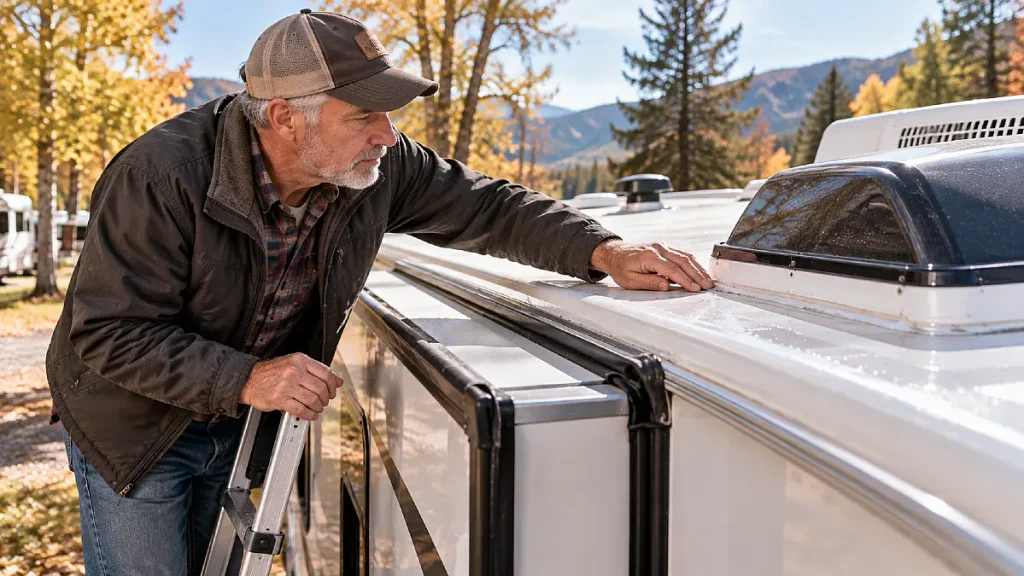
Freeze preparation is mostly about water systems, but the exterior deserves one final inspection before cold and wet weather settle in.
Lippert’s 2026 slide guidance notes that cold weather can stiffen rubber seals and make slide mechanisms work harder. Ice around gaskets or the slide roof can add resistance, so a frozen slide should never be forced to move.
Look closely at slide seals while everything is dry. Watch for gaps, displaced rubber, debris, torn sections, or places where daylight is visible.
Then inspect roof edges, vents, skylights, antennas, and other roof openings.
Lippert’s maintenance guidance recommends checking RV seals for gaps and resealing where needed. Dicor makes different sealants for different roof materials, which is a reminder that you should identify the roof surface before buying a tube of sealant.
Do these repairs before freezing weather if possible. Dicor’s current coating guidance warns against applying products when conditions will not allow them to cure before rain, dew, or freezing temperatures arrive.
Do This RV Winterization Check Before the Forecast Hits 32°F
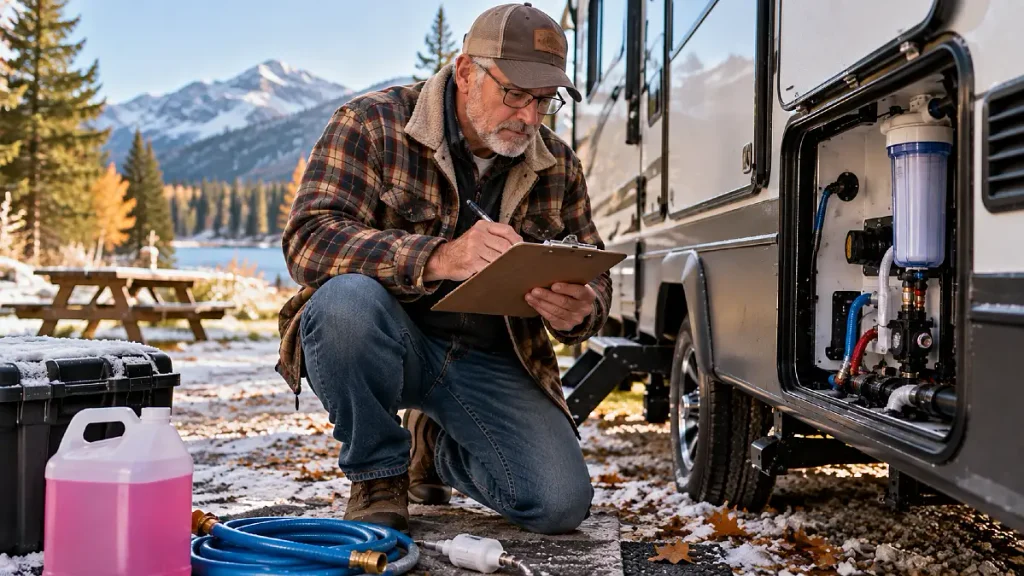
The worst time to learn where your low point drains are is the evening a Freeze Warning appears. Find the valves, manuals, tools, and winterization supplies while the weather is still comfortable.
Your RV winterization checklist should cover more than the fresh water tank. Check the city inlet, drains, water heater, outside fixtures, toilet, hidden appliance lines, holding tank plumbing, battery system, slides, and exterior seals.
Then compare your work with the instructions for your exact RV. Models differ, and one valve position or forgotten water line can change the whole process.
Watch your local National Weather Service forecast as fall temperatures fall. When the first freeze is approaching, you will already know where every weak spot is and what needs to be done.